
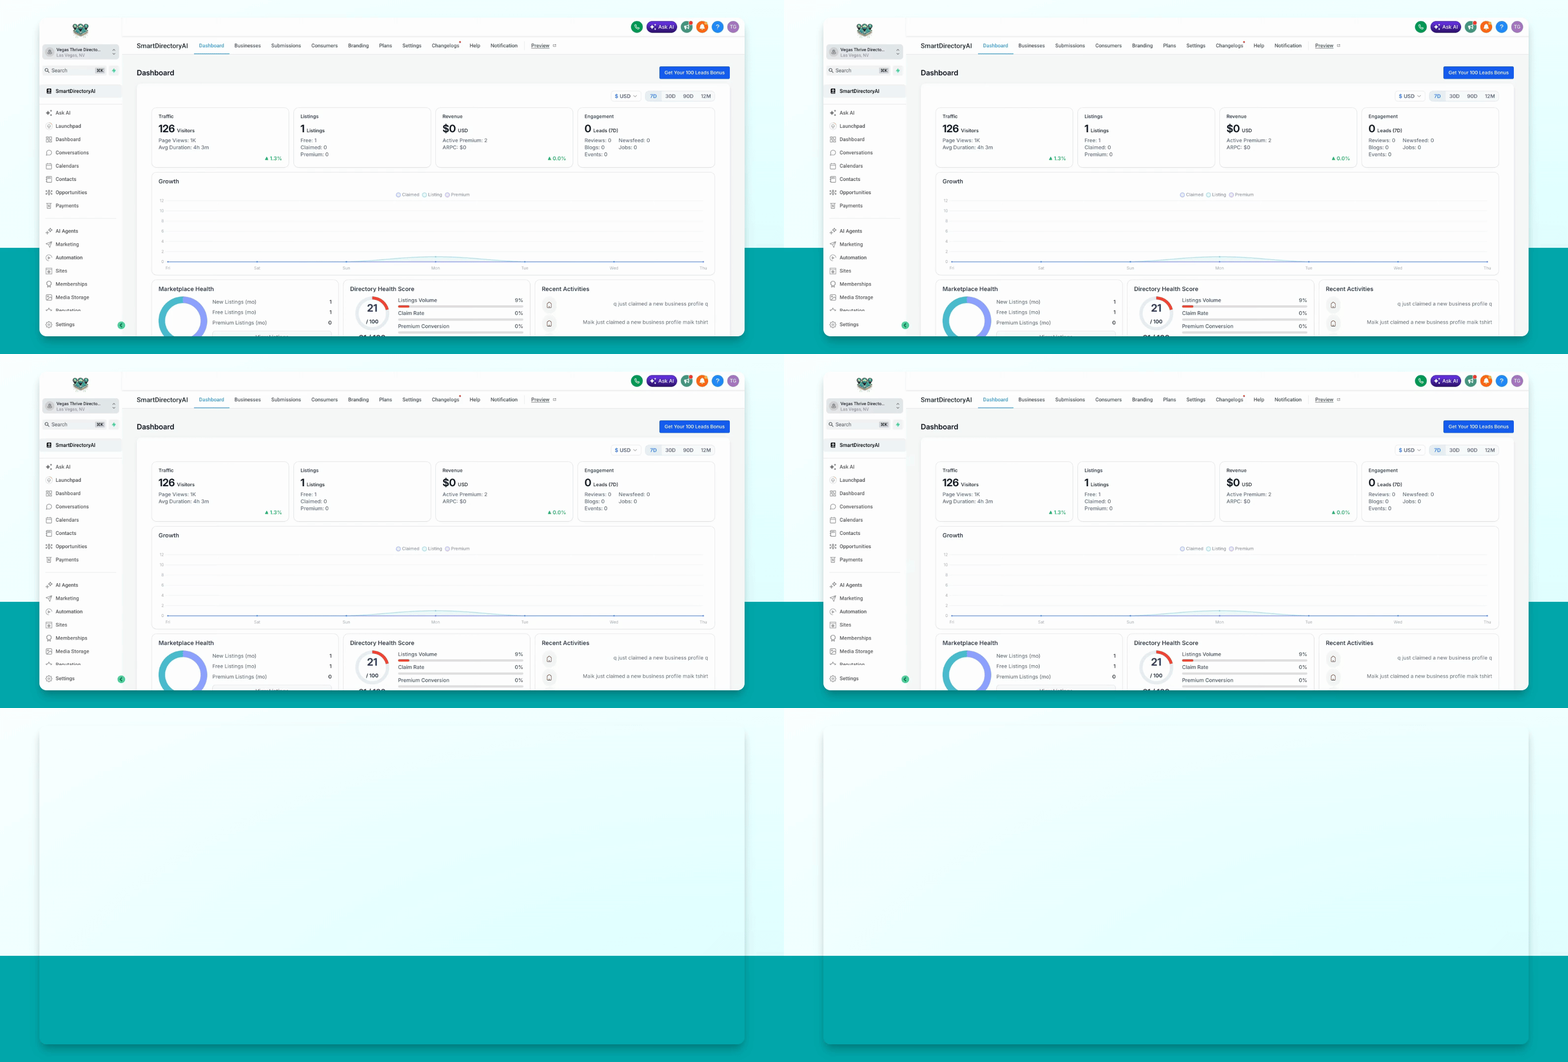
To create a premium plan in your Smart Directory AI dashboard, first navigate to Plans, Price and Planning. Let's look at the steps:
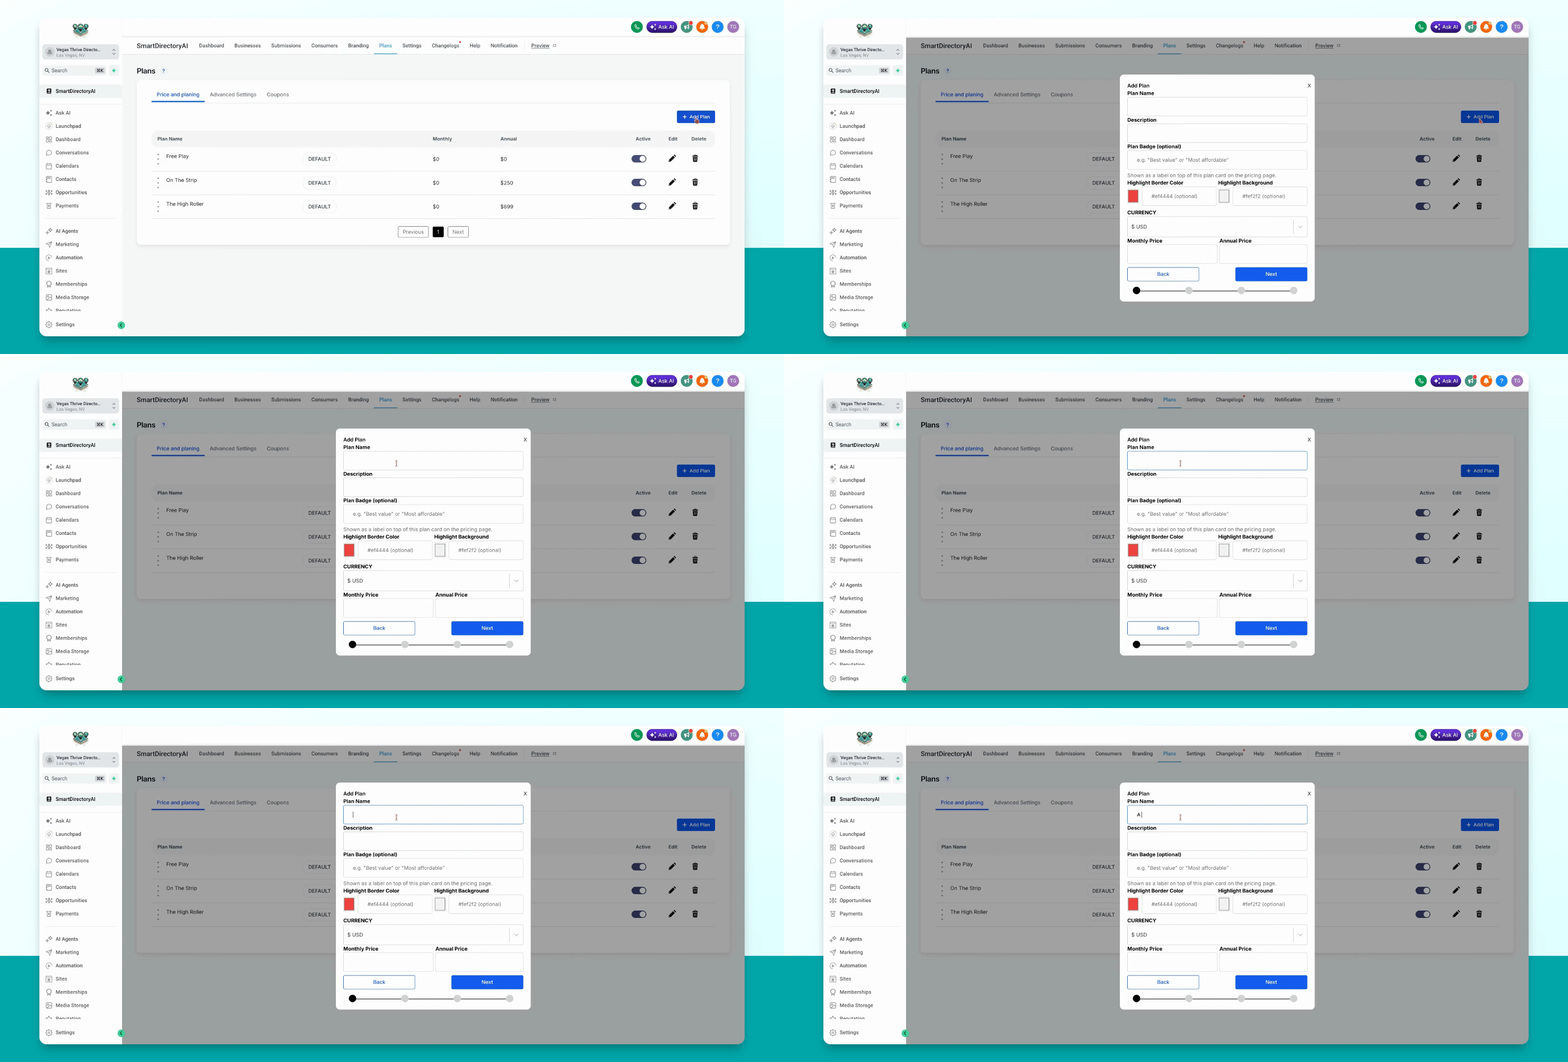
Step 1: Add a New Plan
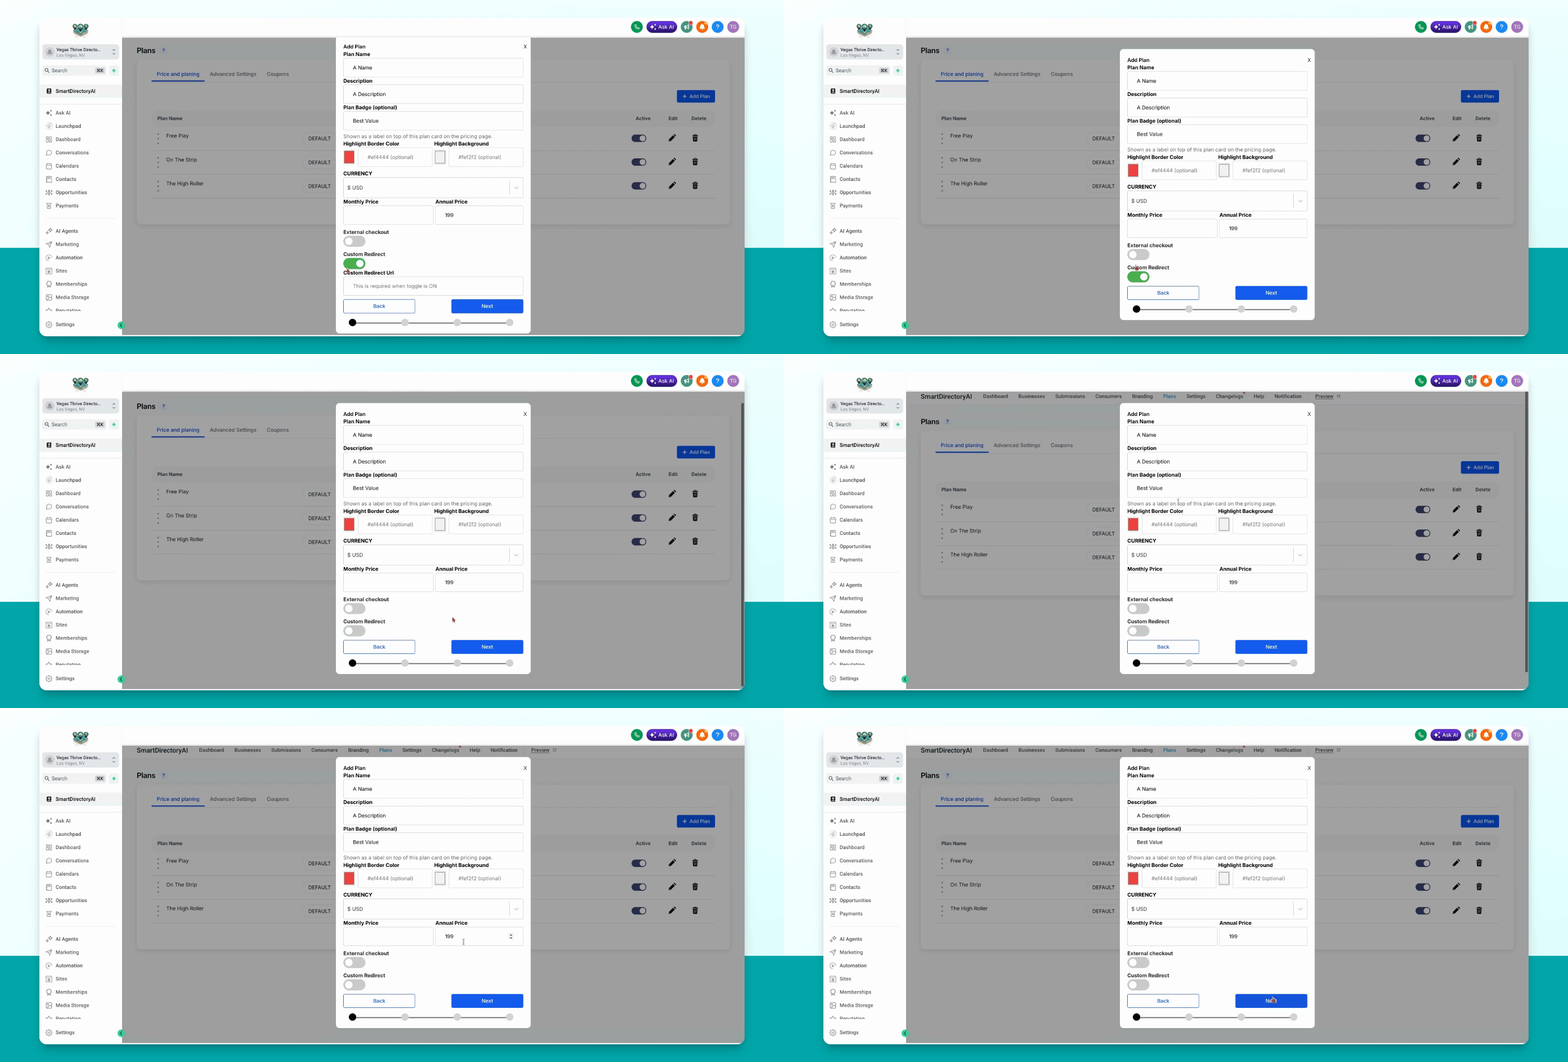
Click the blue Add Plan button to start creating your new plan.
Step 2: Enter Plan Details
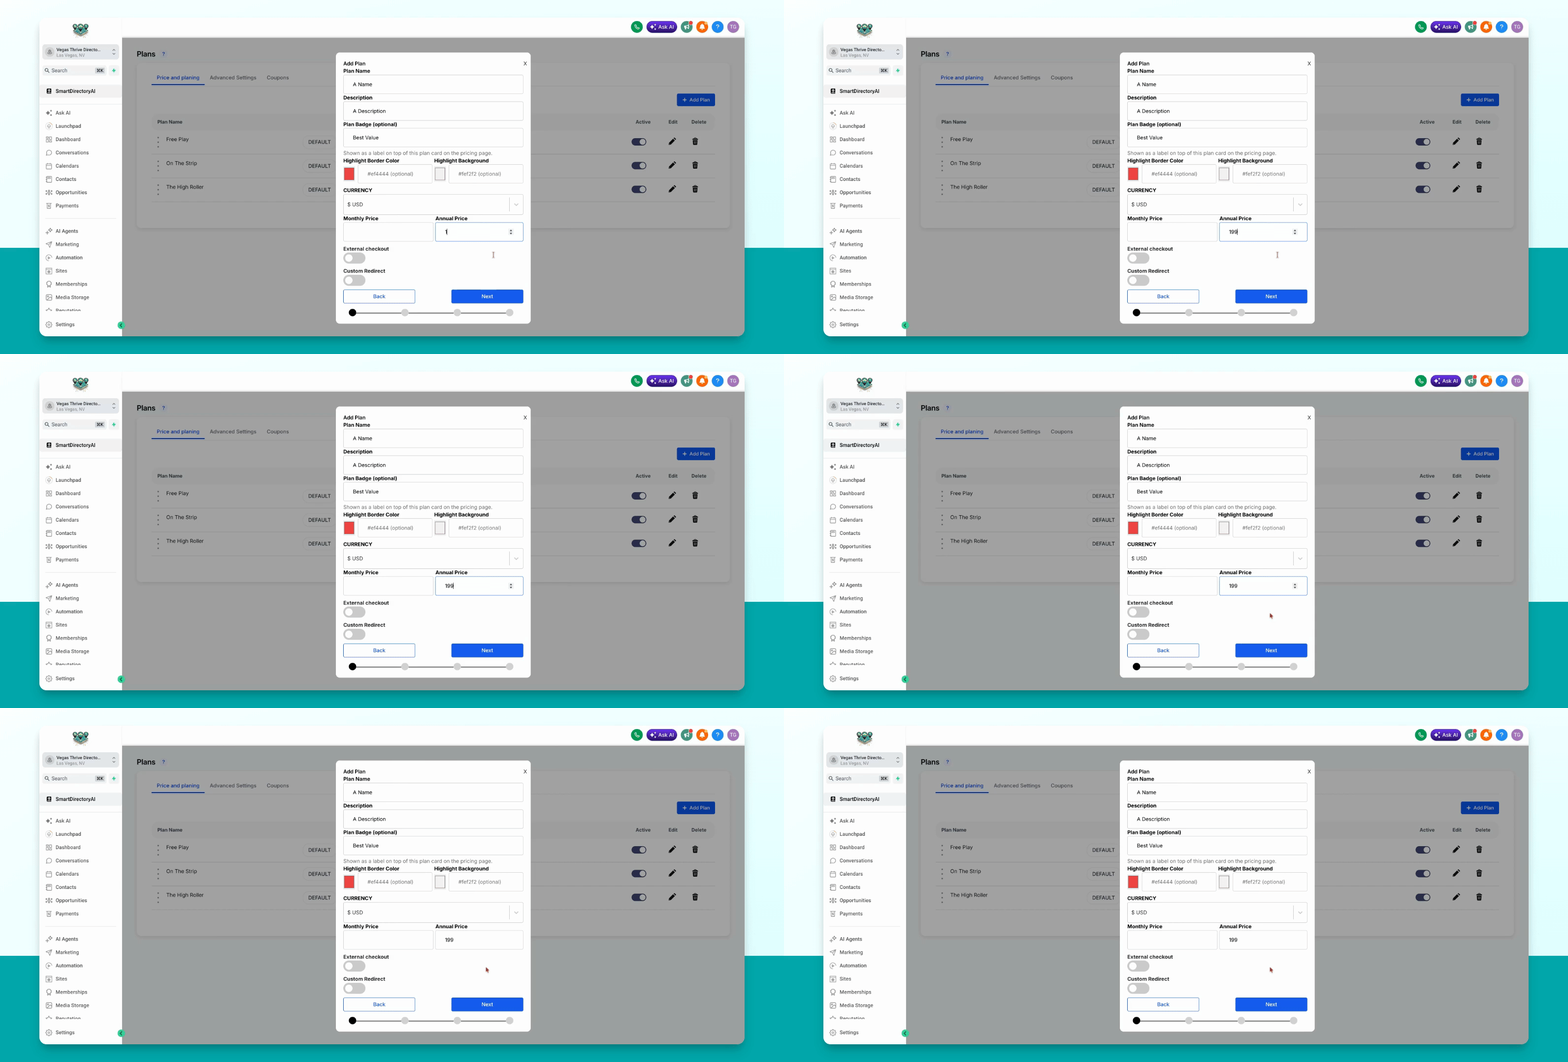
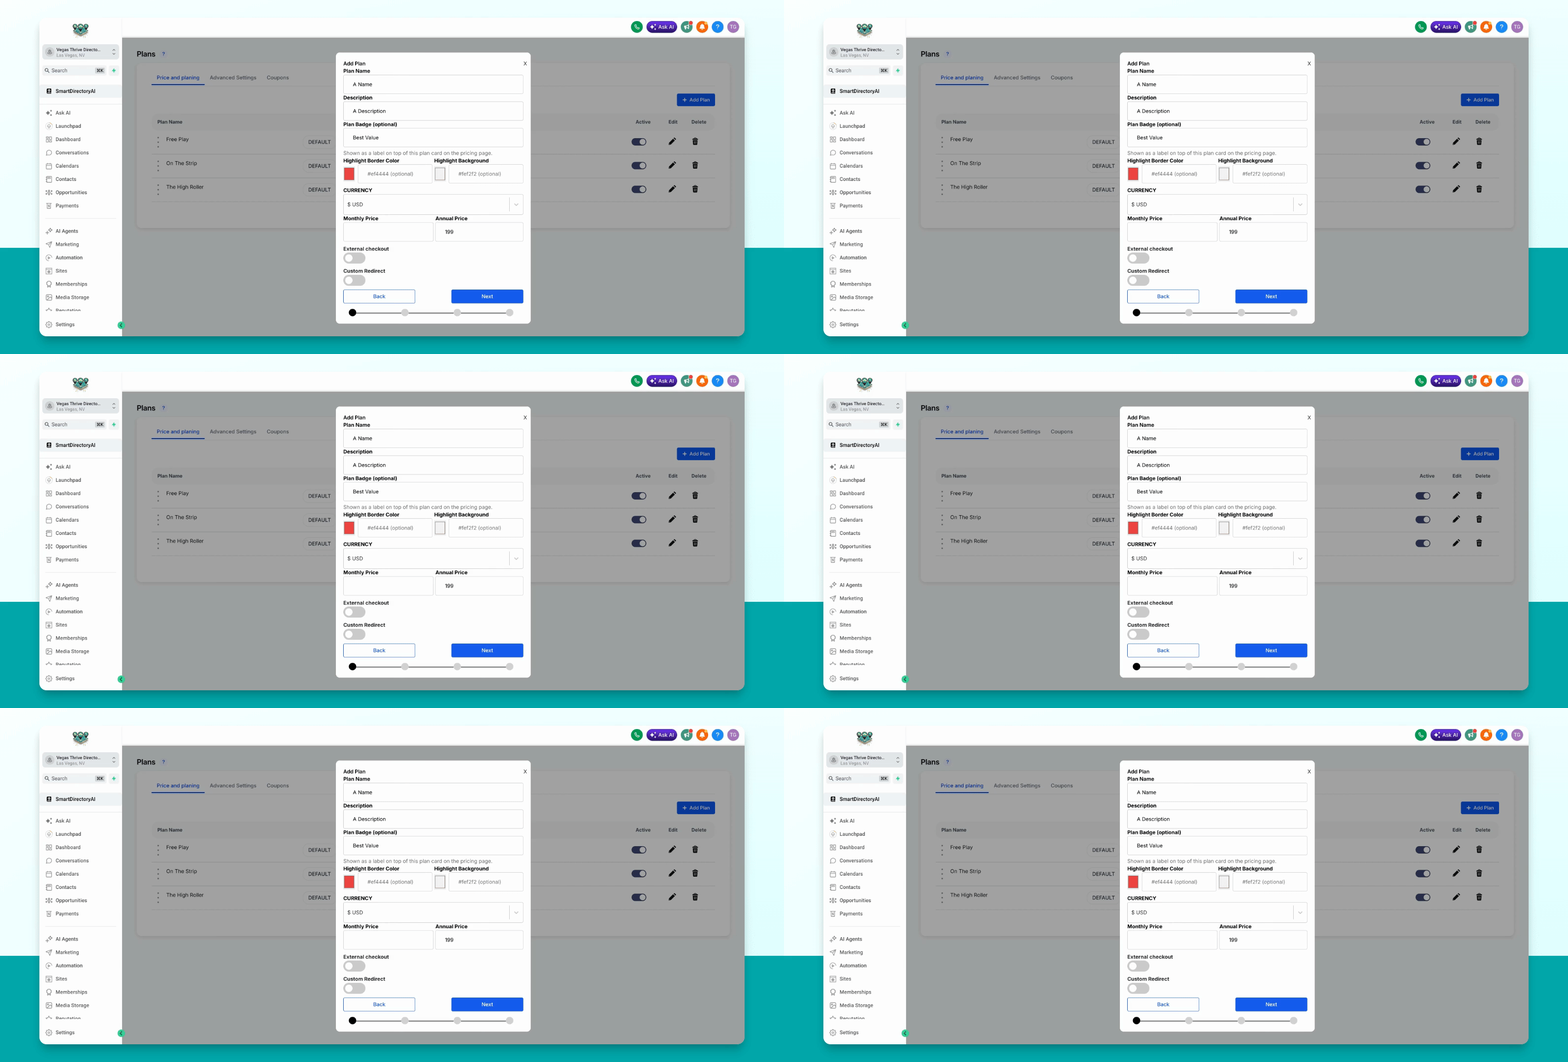
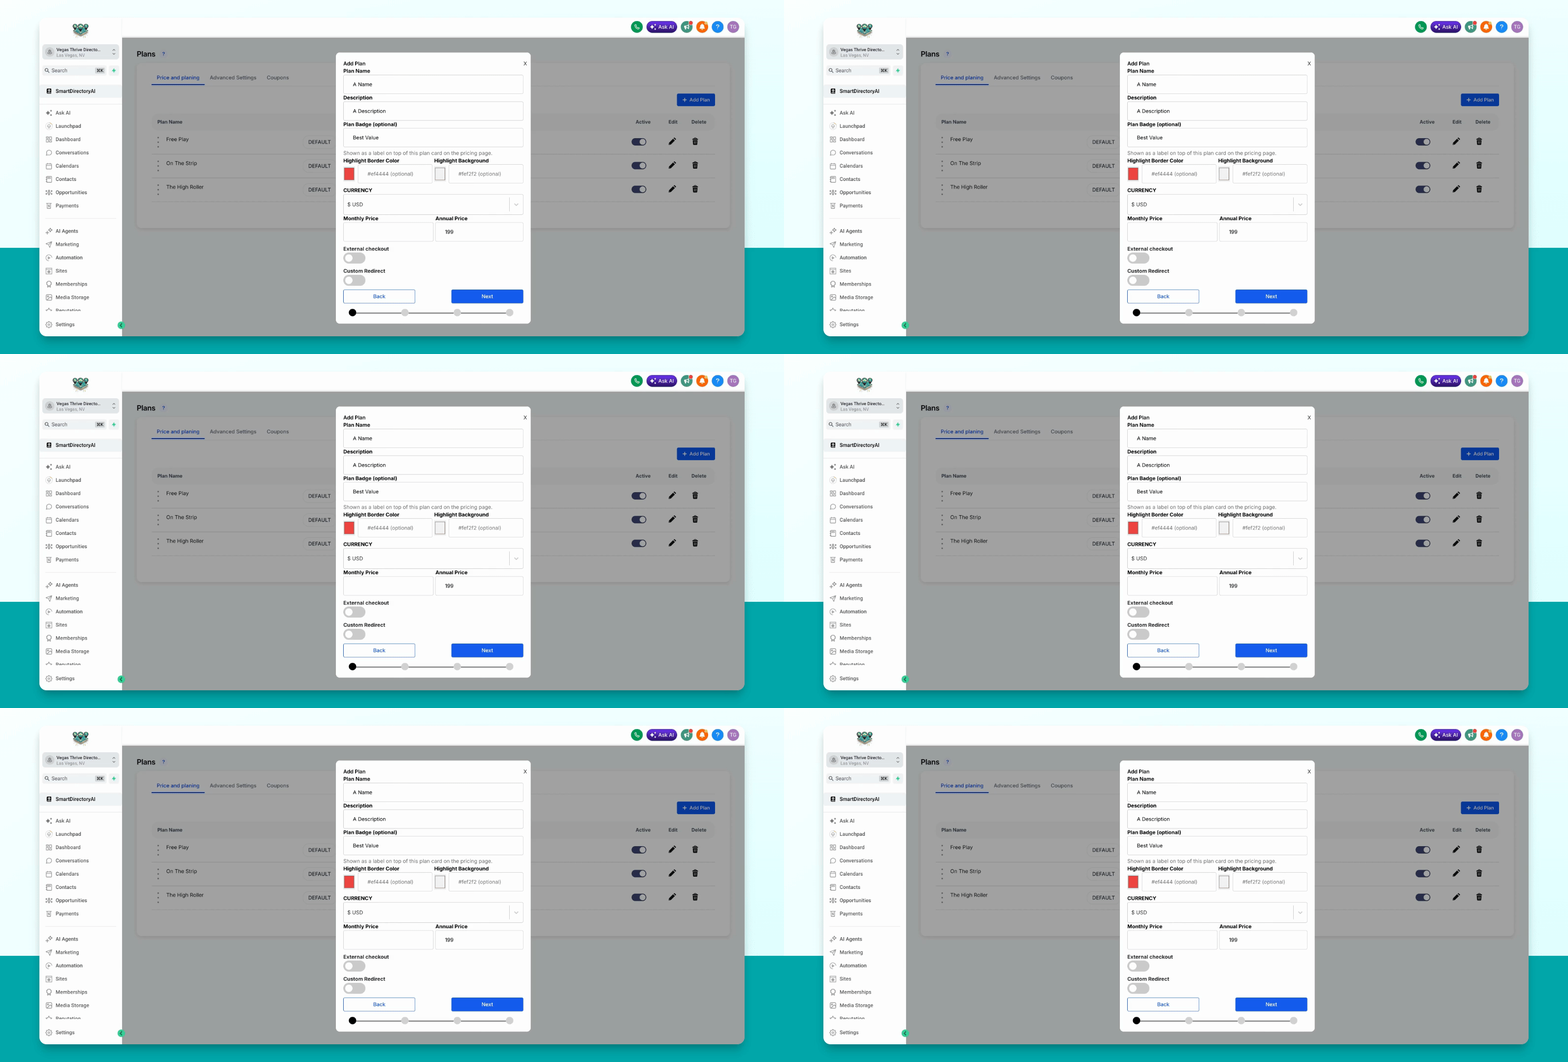
Enter a name and description for your plan. Optionally, create a badge such as Best Value or Most Affordable and set its colors.
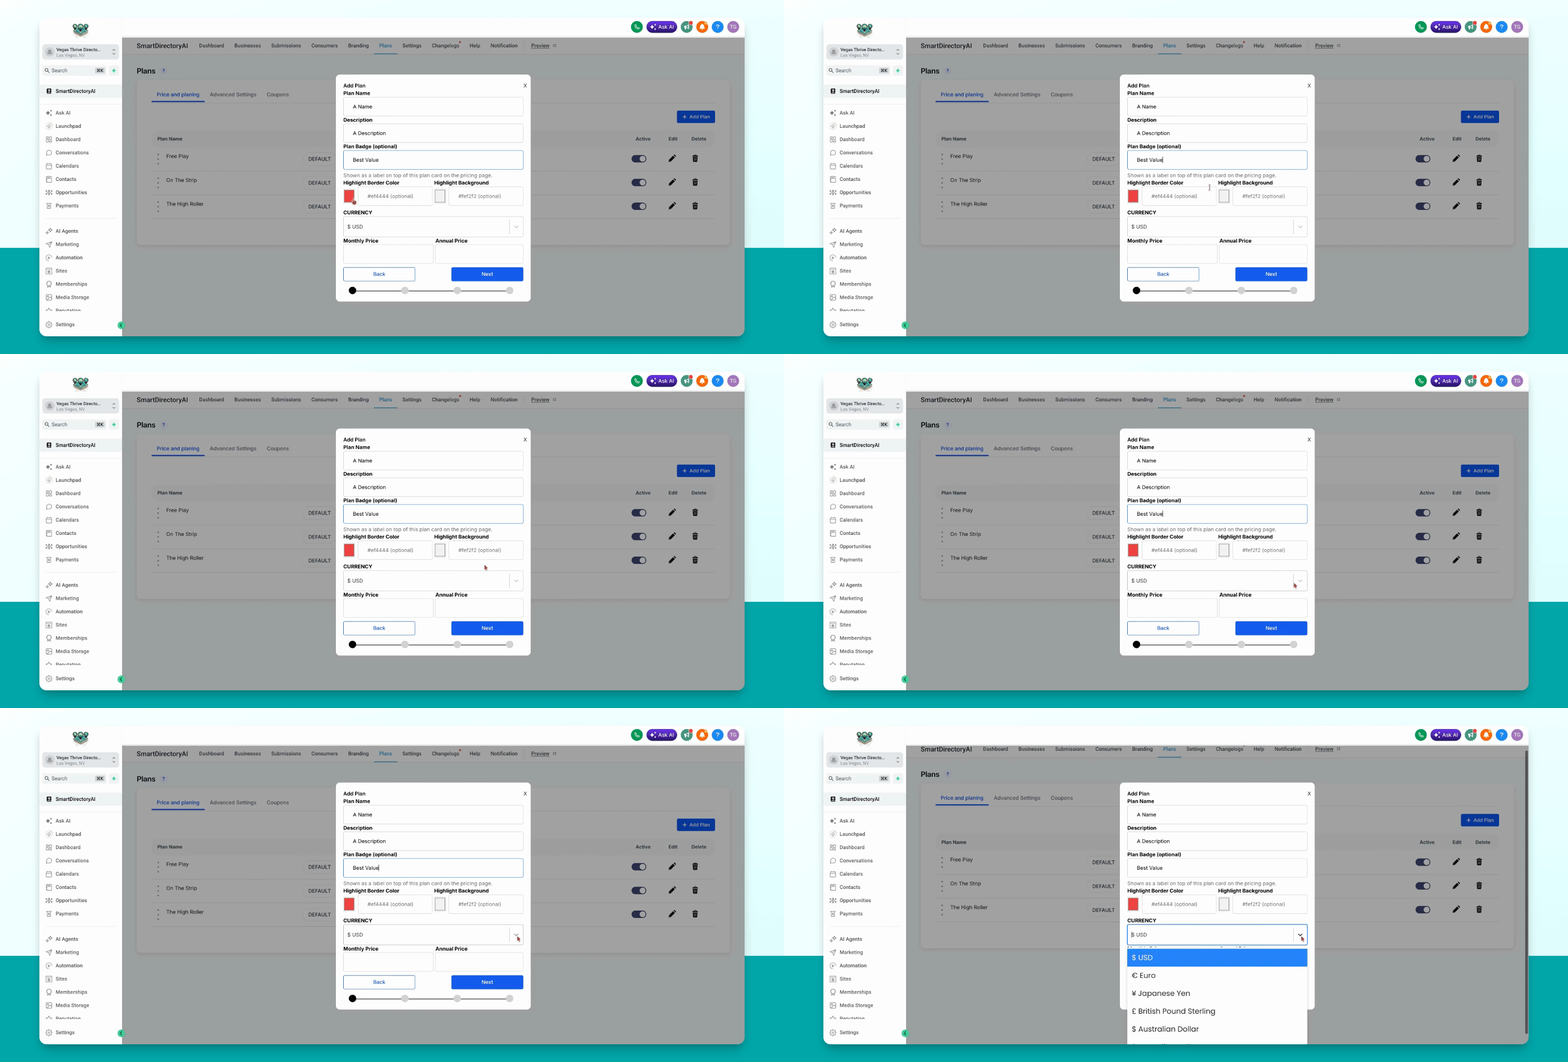
Step 3: Set Currency and Pricing
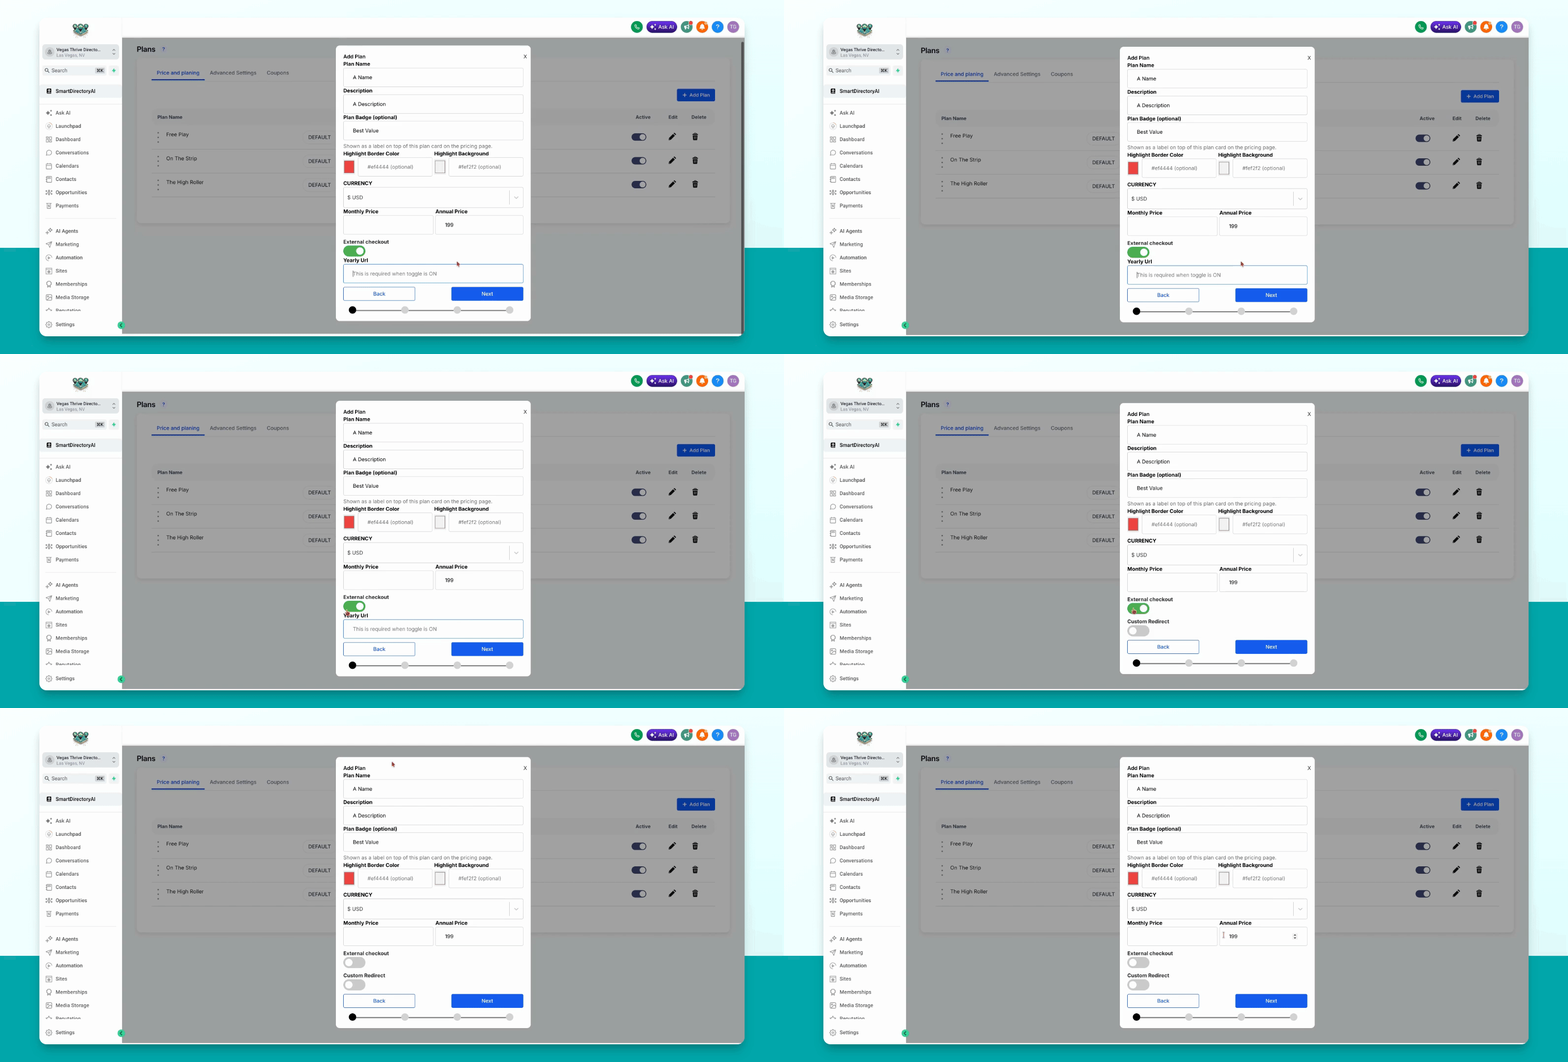
Select your preferred currency from the dropdown. If this is a free plan, leave the price fields blank. For a monthly plan, enter a monthly price. For an annual plan, enter an annual price.
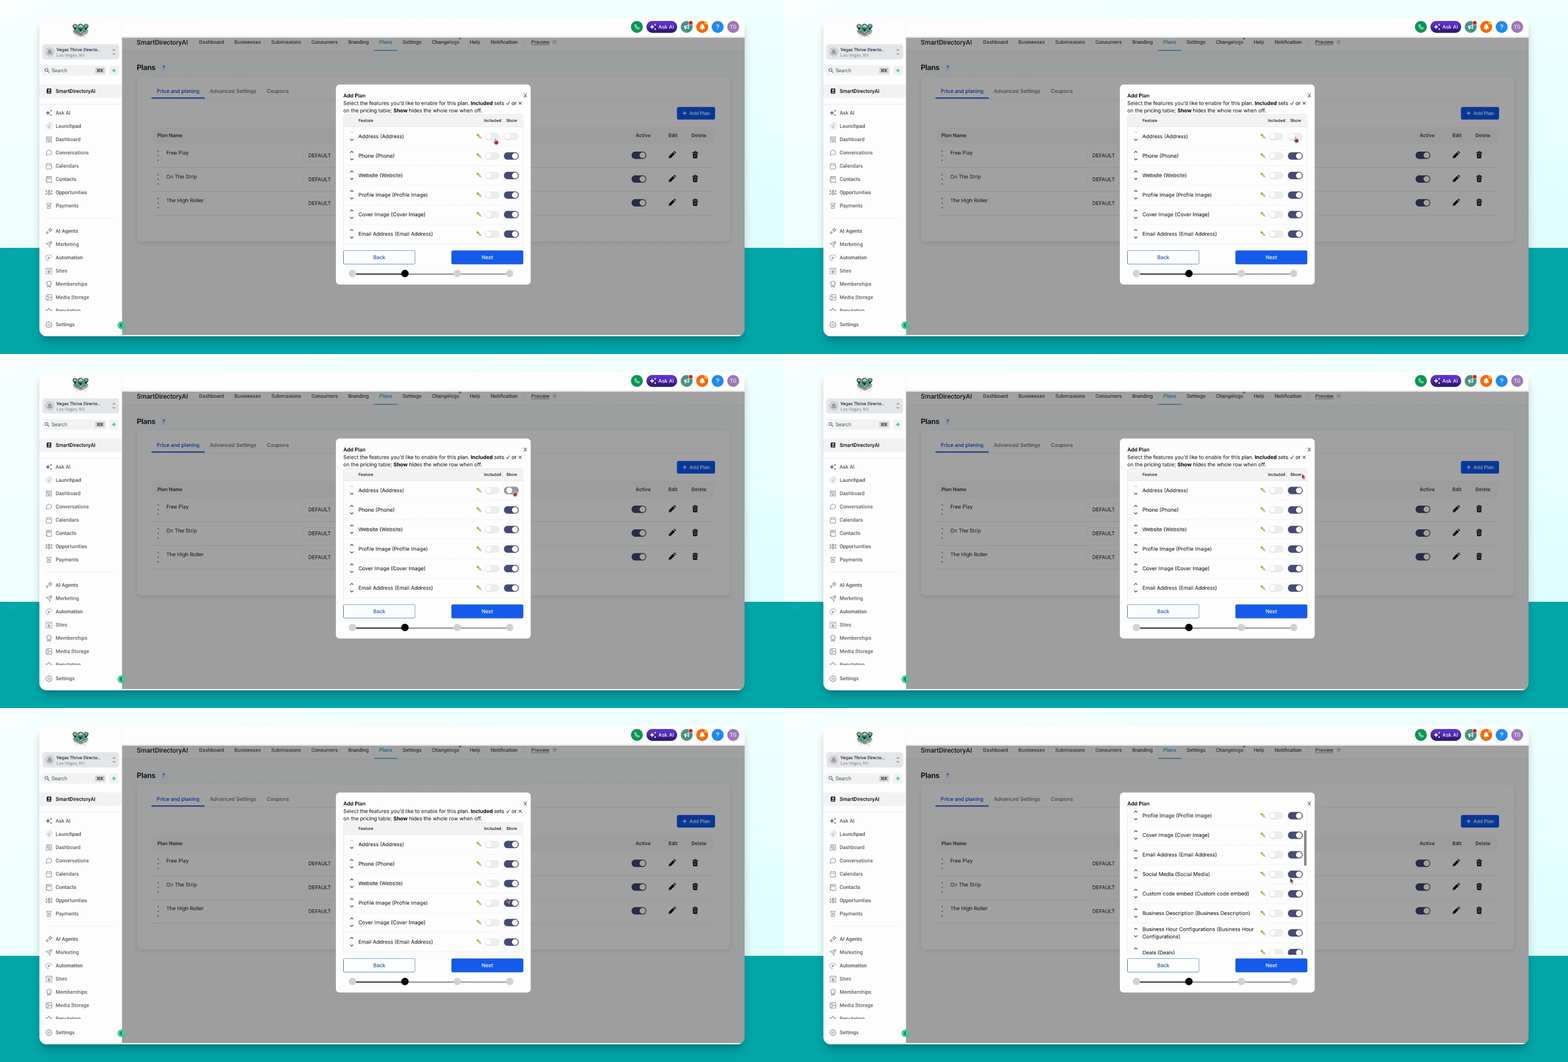
Step 4: Configure Plan Features
After setting your price, proceed to the next screen. Here, you can enable or disable features for the plan and choose which to display on your directory front. Toggle the respective buttons to include or show features as needed.
Step 5: Finalize and Submit
Once you've selected the desired items, click Next. Optionally, set up a trial period (e.g., 30 days free before billing starts). When finished, click Submit to save your plan. Your new plan will appear in the group.