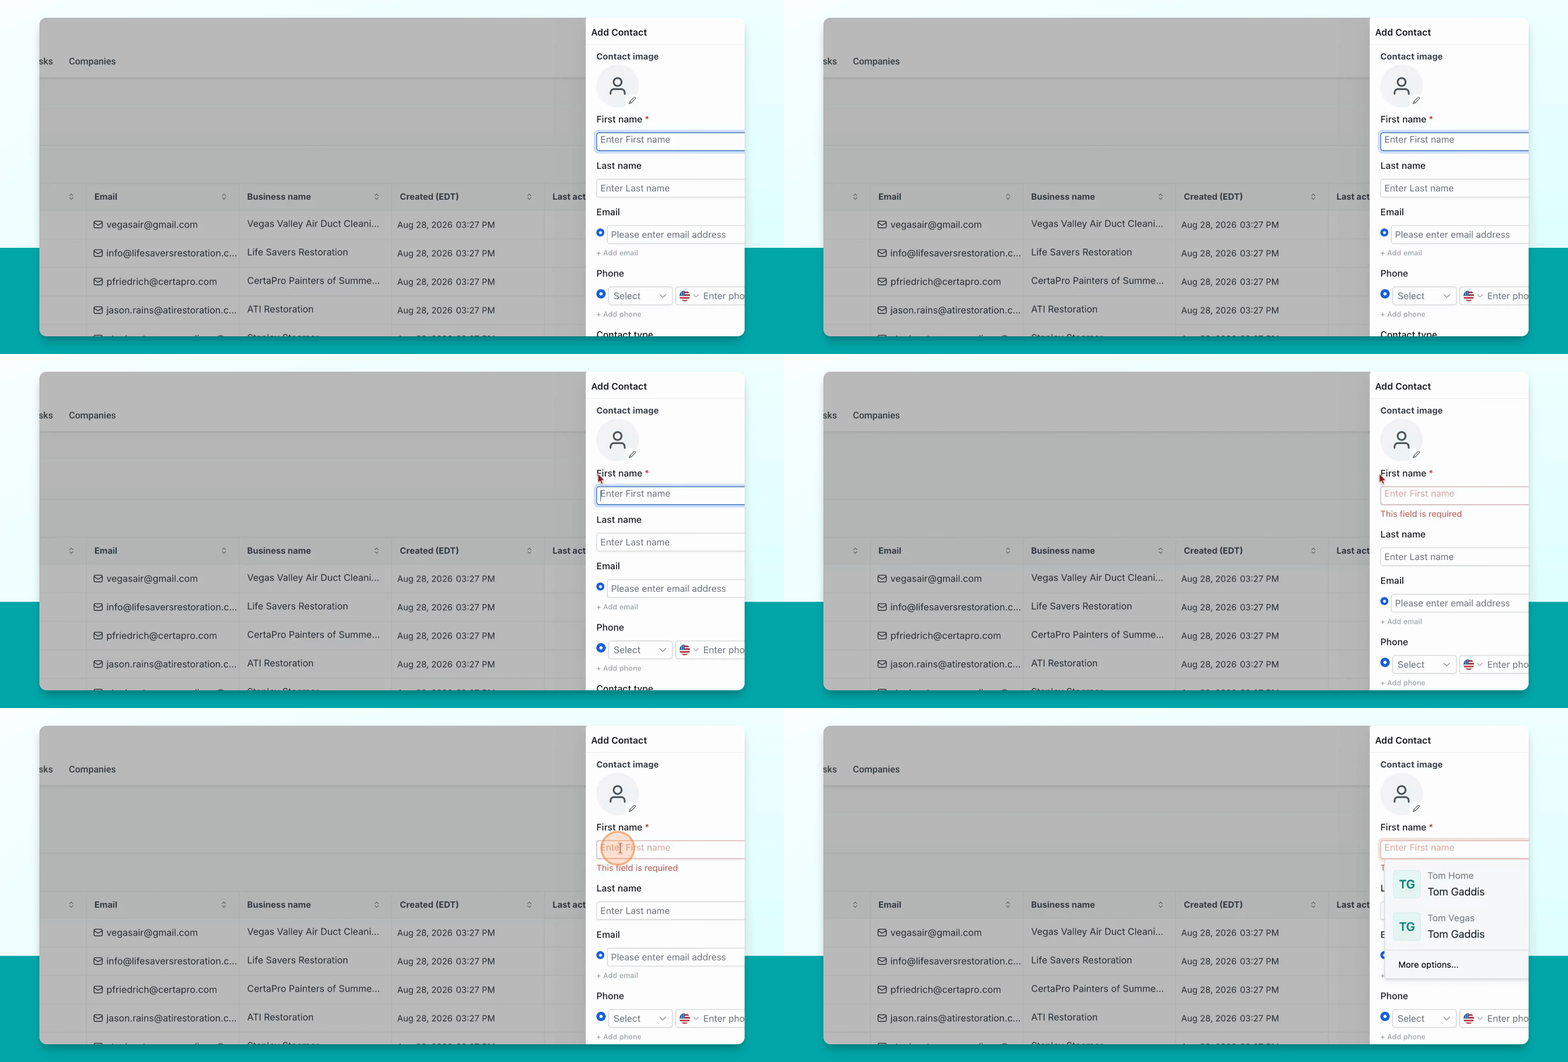

IMPORTANT: For any contact you're adding as a listing on your SmartDirectoryAI, make sure the full business name is added to the FIRST NAME field.
To create a business listing in your Smart Directory AI dashboard, you must start by adding a contact. Let's look at the steps:
Step 1: Go to Contacts and Add Contact
In your dashboard, navigate to Contacts and click the Add Contact button to begin creating a new listing.
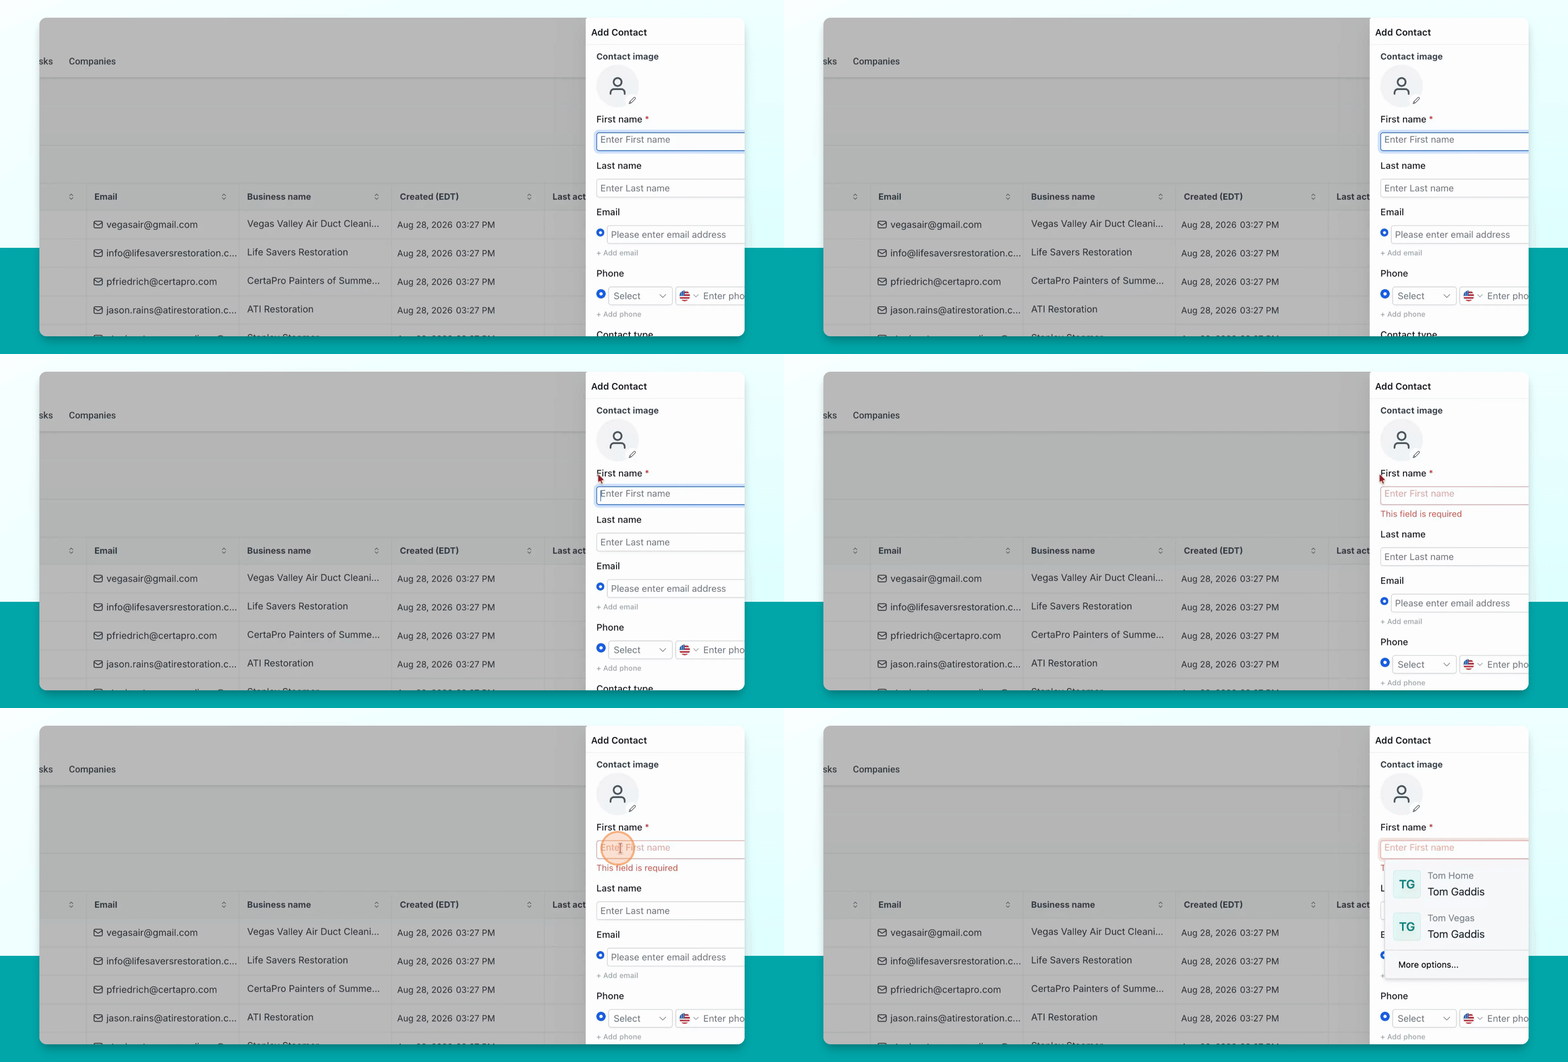
Step 2: Enter Business Name in First Name Field
In the First Name field, enter the business name. The system requires this field, and the business name will be displayed on your directory listing. Leave the Last Name field blank.
Step 3: Add Email Address
If you have the business's email address, enter it in the email field.
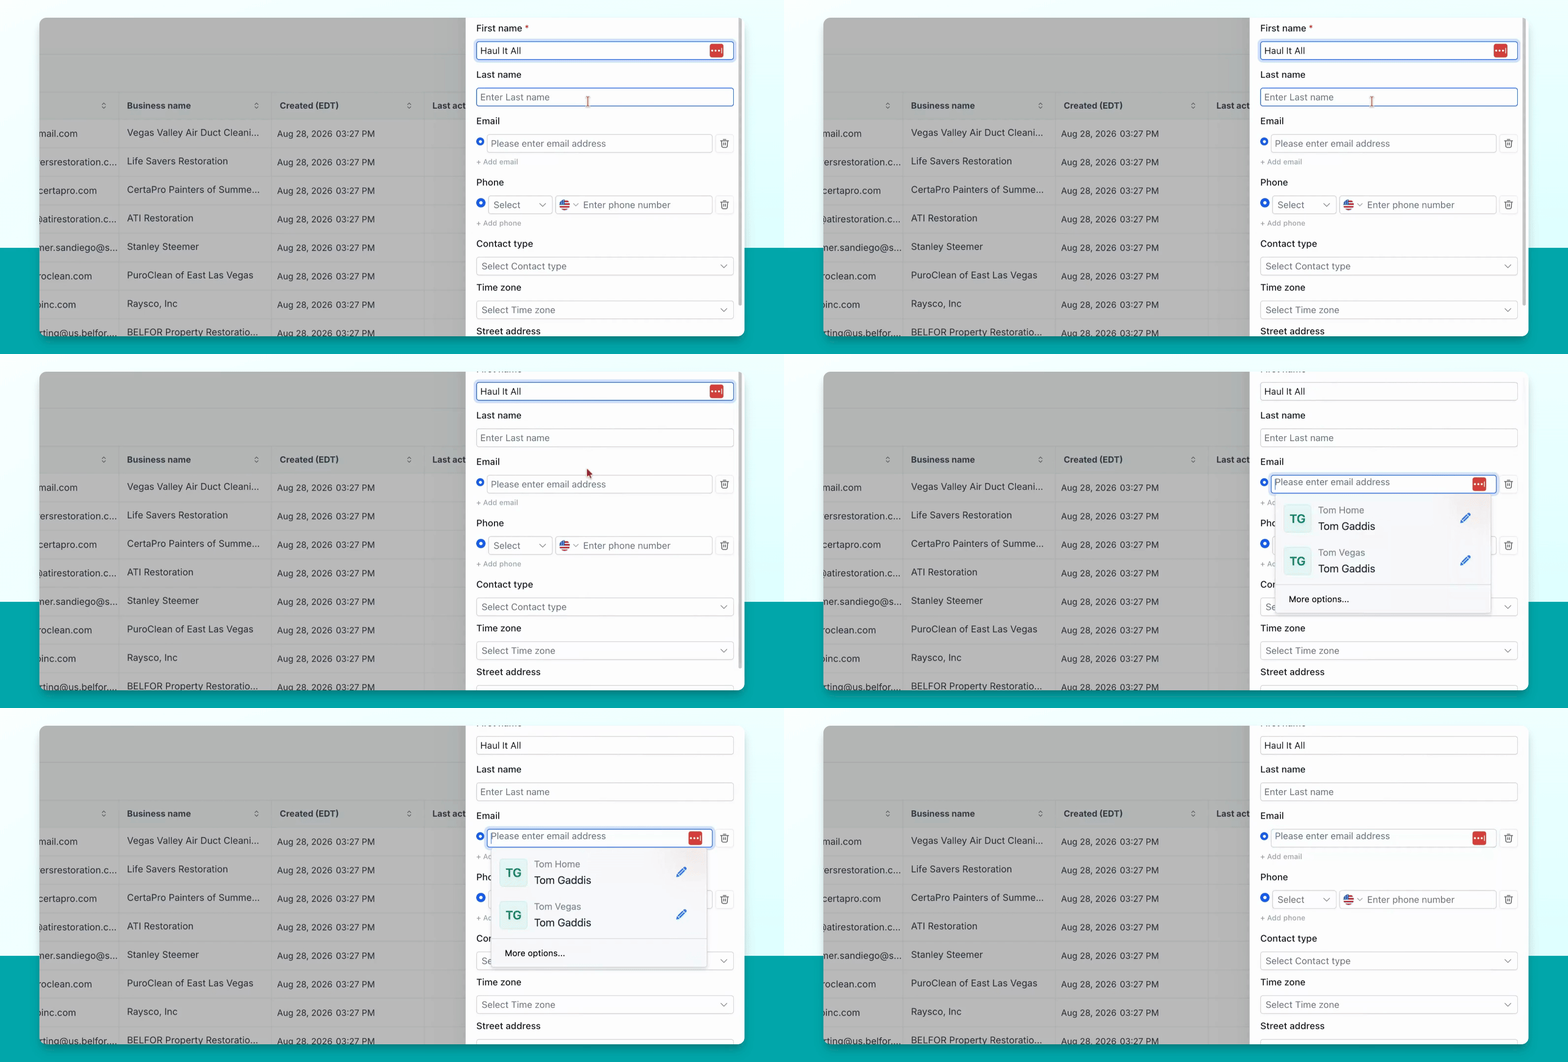
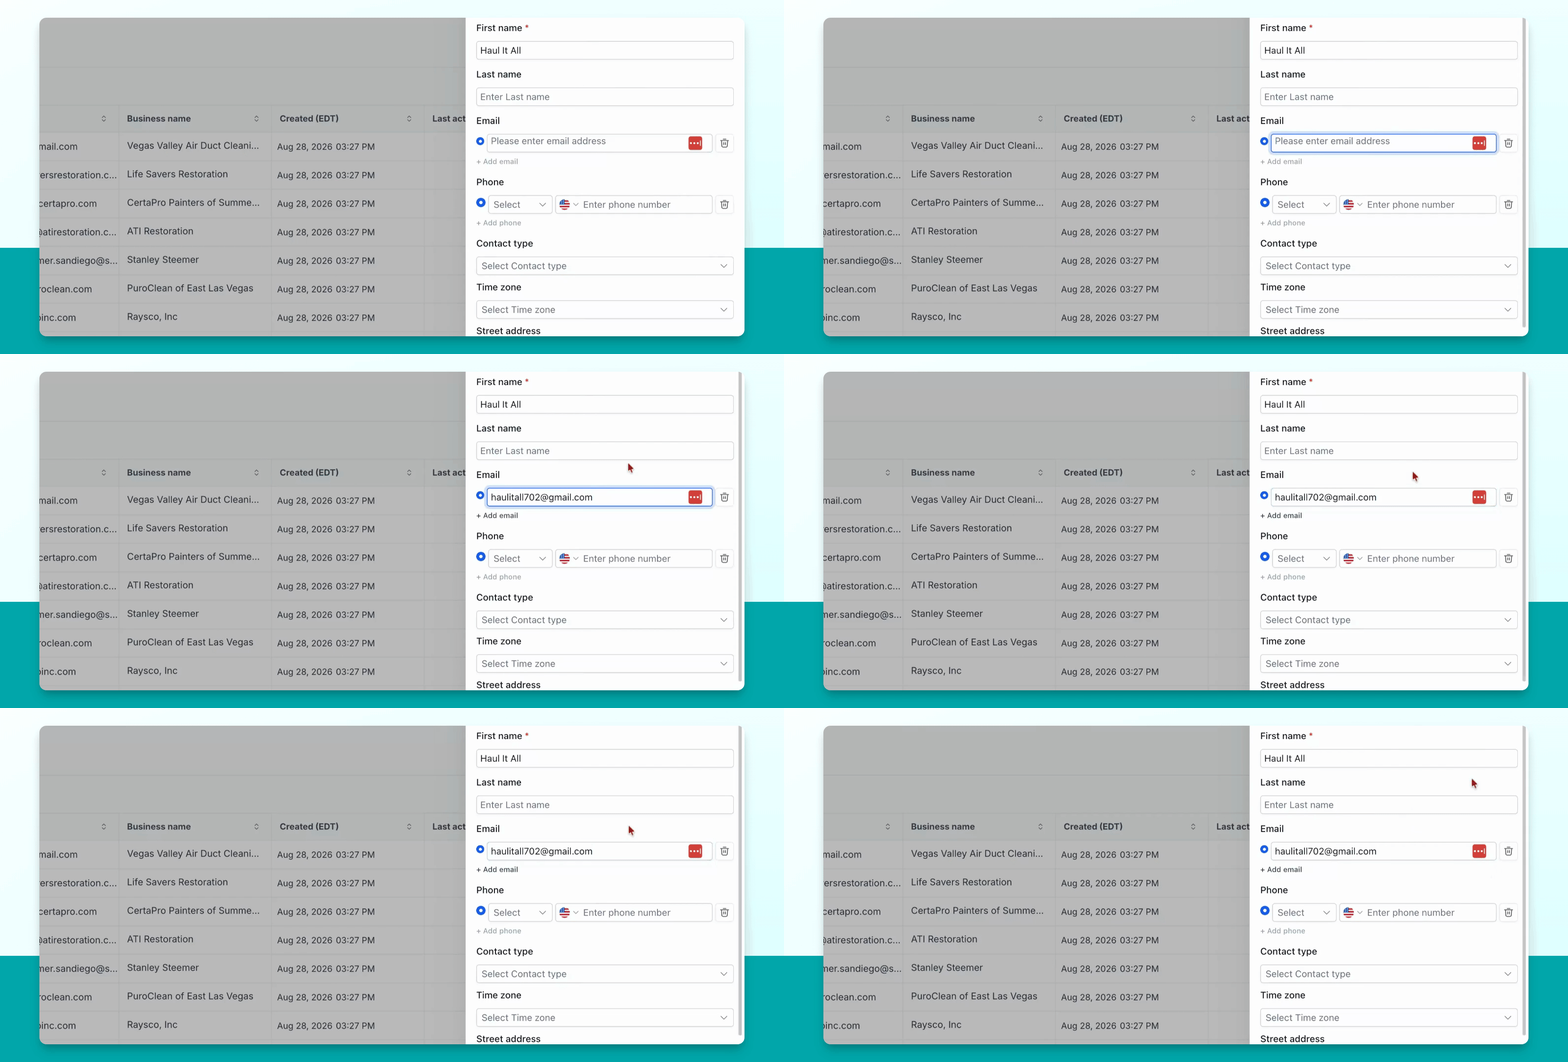
Step 4: Enter Phone Number and Address
Enter the business's phone number. Then, input the street address, city, state, and zip code as provided by the business owner or as you have gathered.
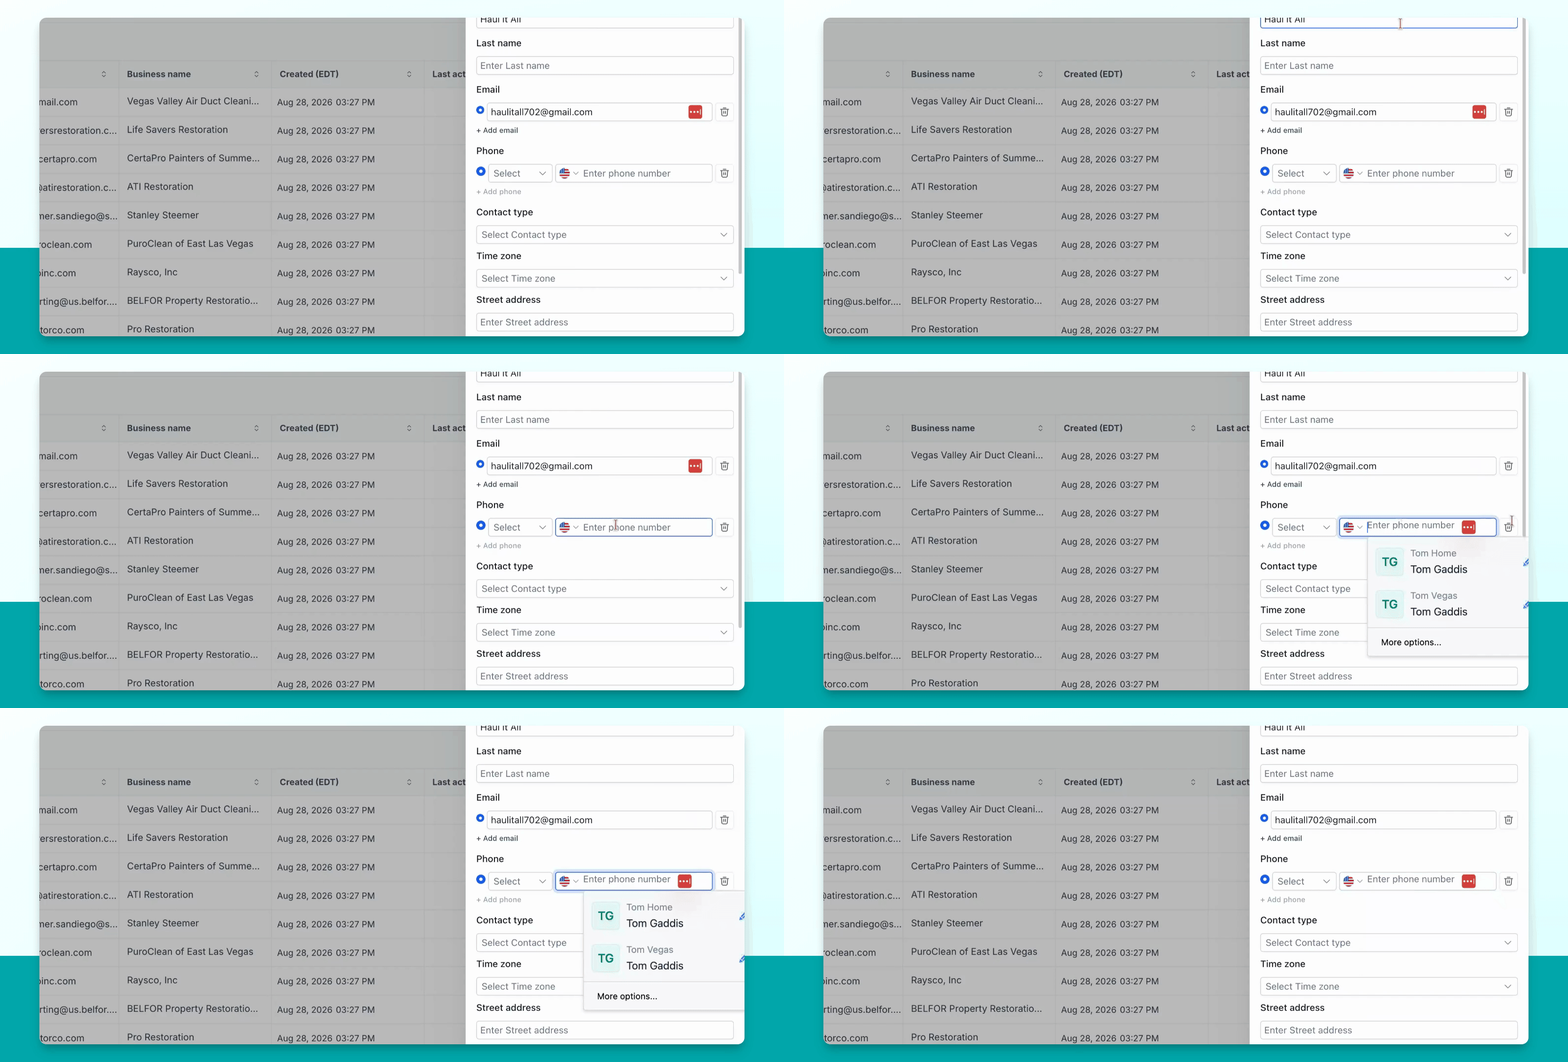
Step 5: Add Website
Enter the business's website in the appropriate field.
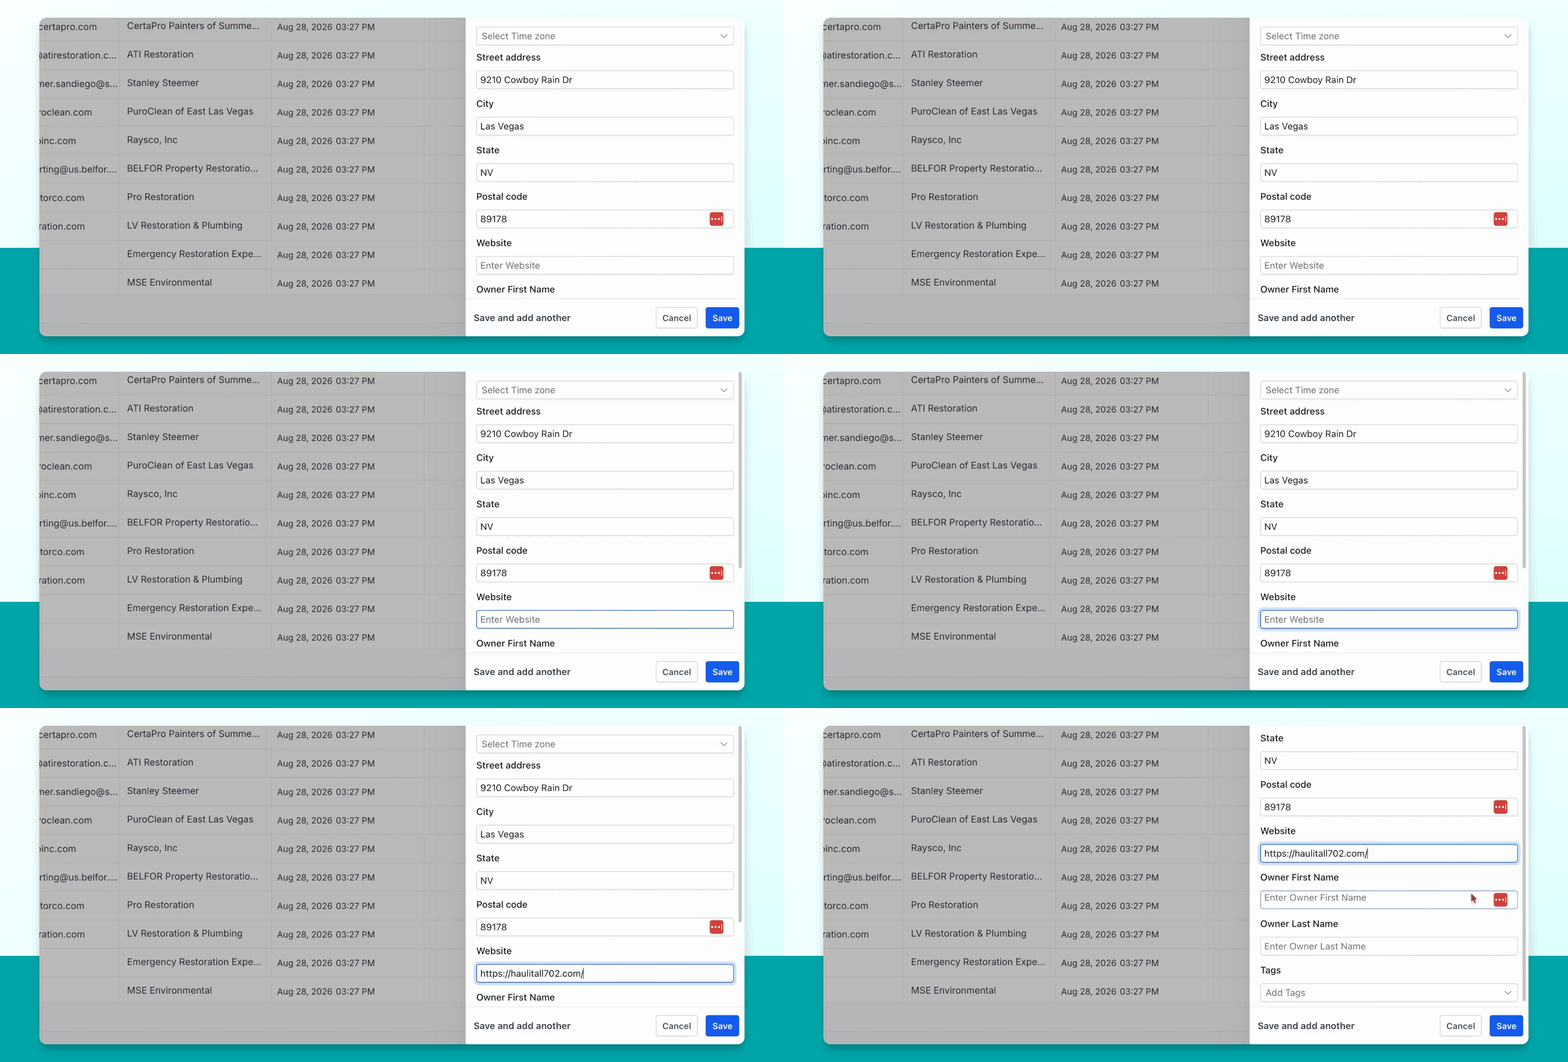
Step 6: Fill Optional Custom Fields
If you have created custom fields, such as for the owner's name, you can fill them in here.
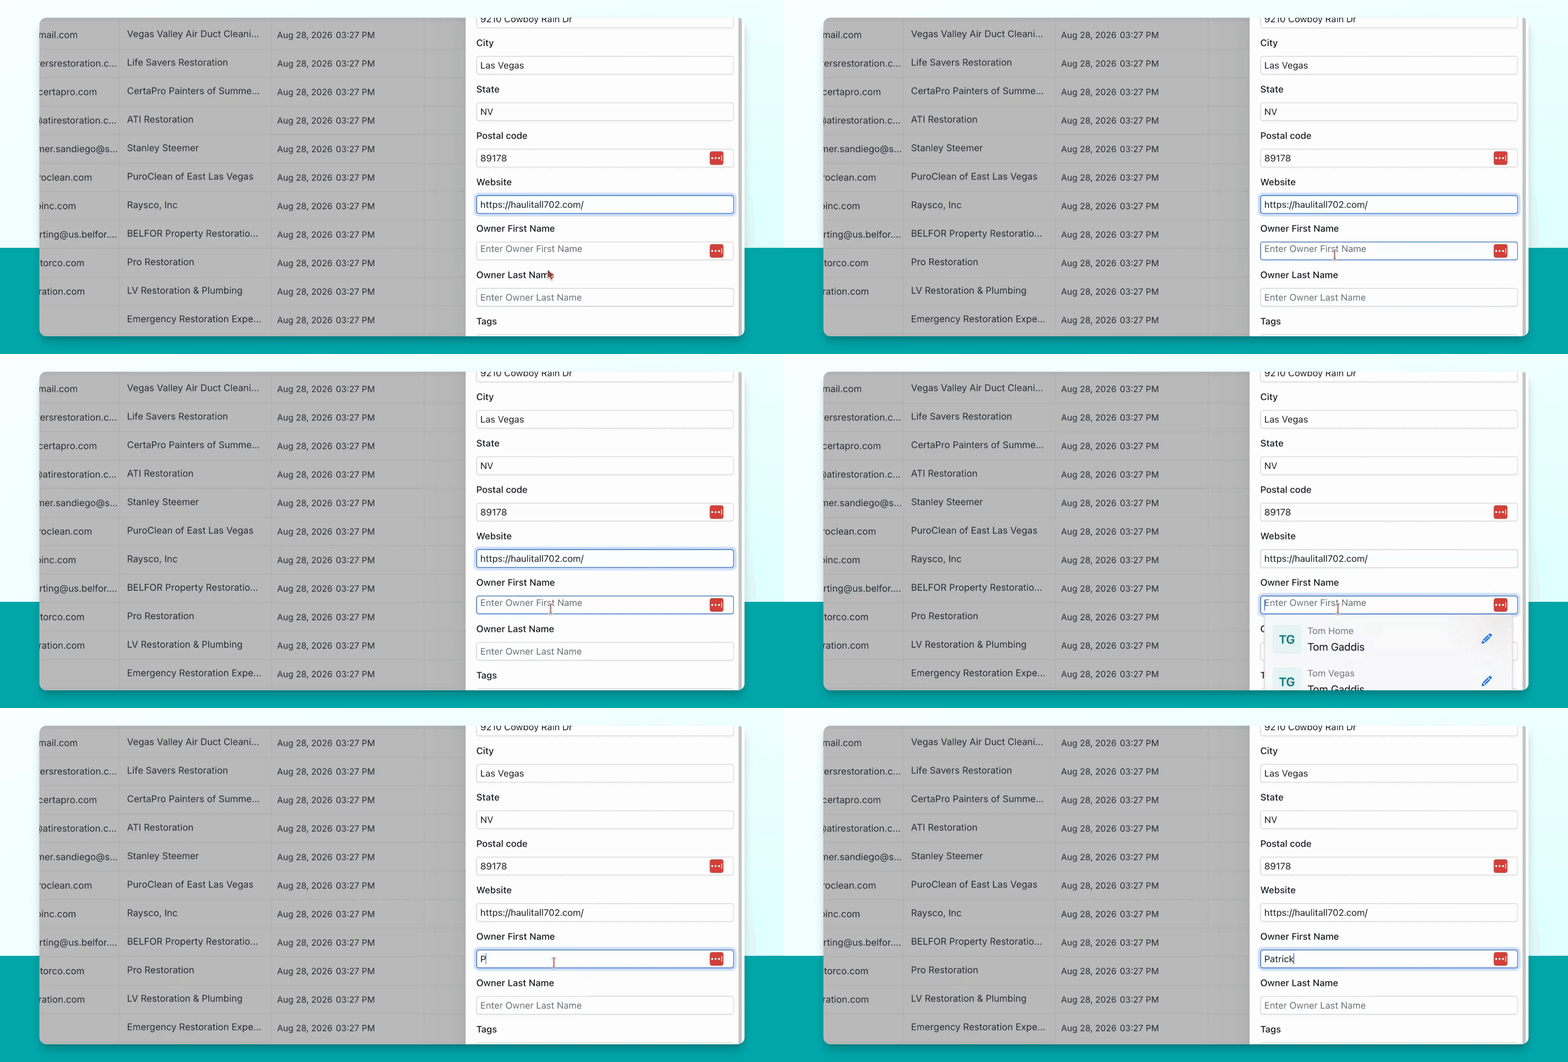
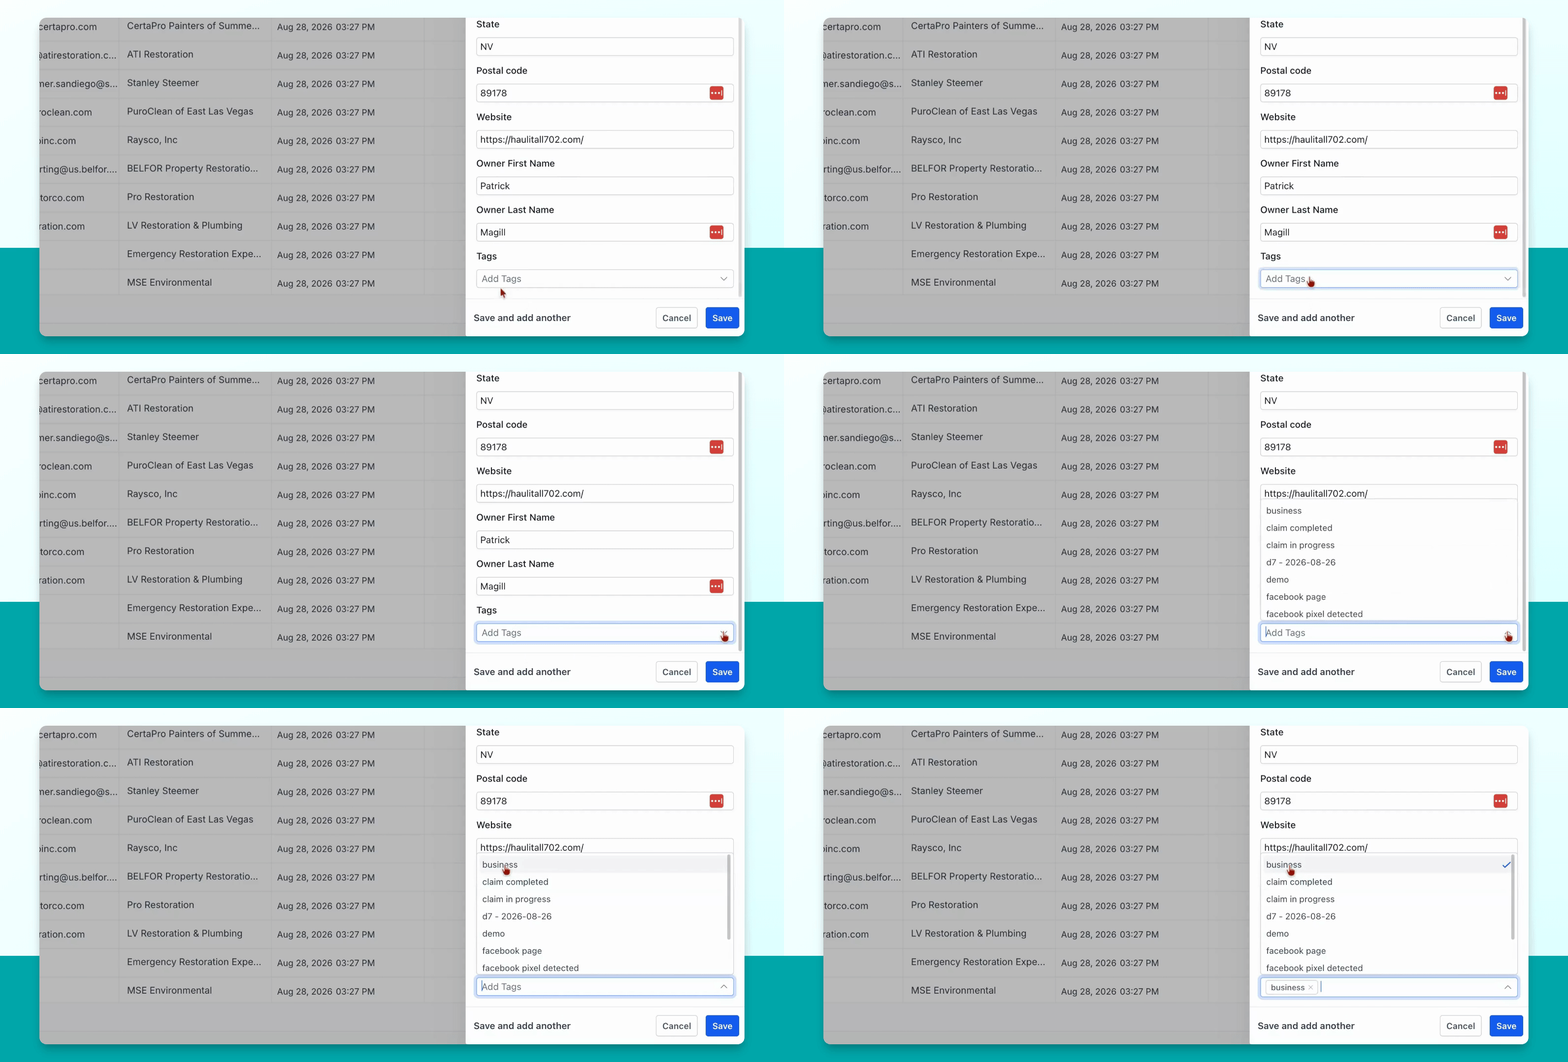
Step 7: Add the Business Tag
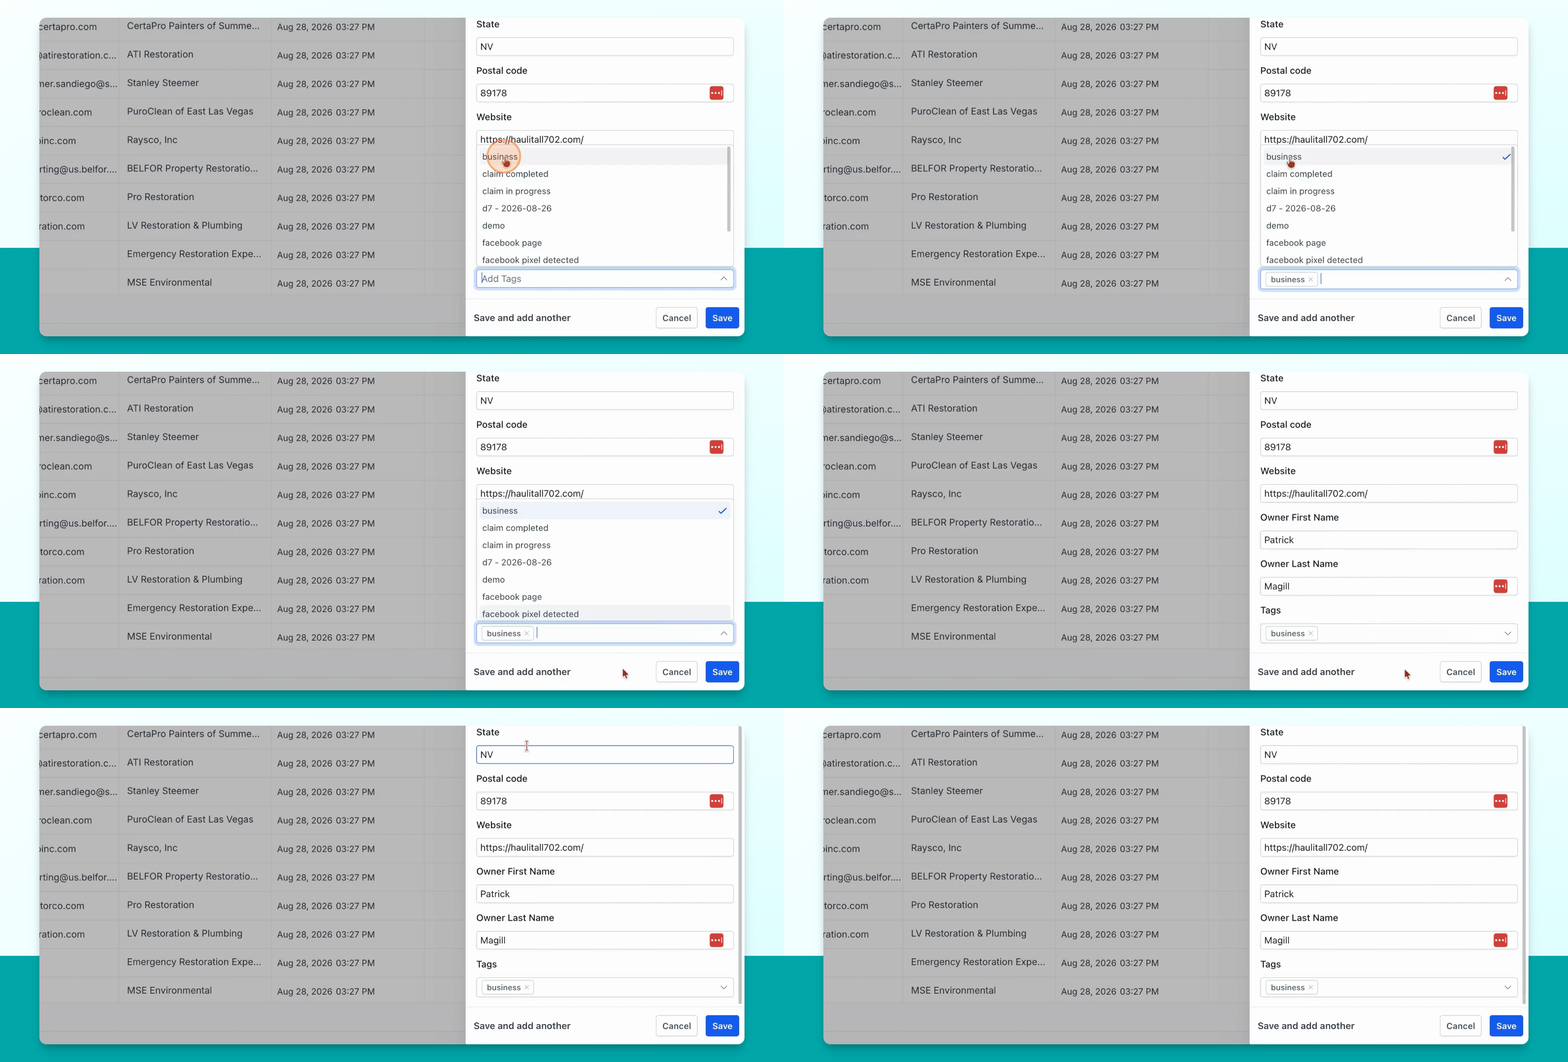
To make this contact a listing, add the business tag. Select business from the tag options.
Step 8: Save the Contact
Click Save to create the contact and apply the business tag. This action will make the contact a listing on your directory site.
Step 9: Verify the Listing
Return to Contacts, refresh the page, and search for the new listing. You should see the business name with the business tag applied, confirming it is now a listing on your directory site.
All listings begin as contacts. There are two types of contacts: listing contacts and consumer contacts, the latter created when a business owner claims their listing. One contact card manages the entire listing and its creation.