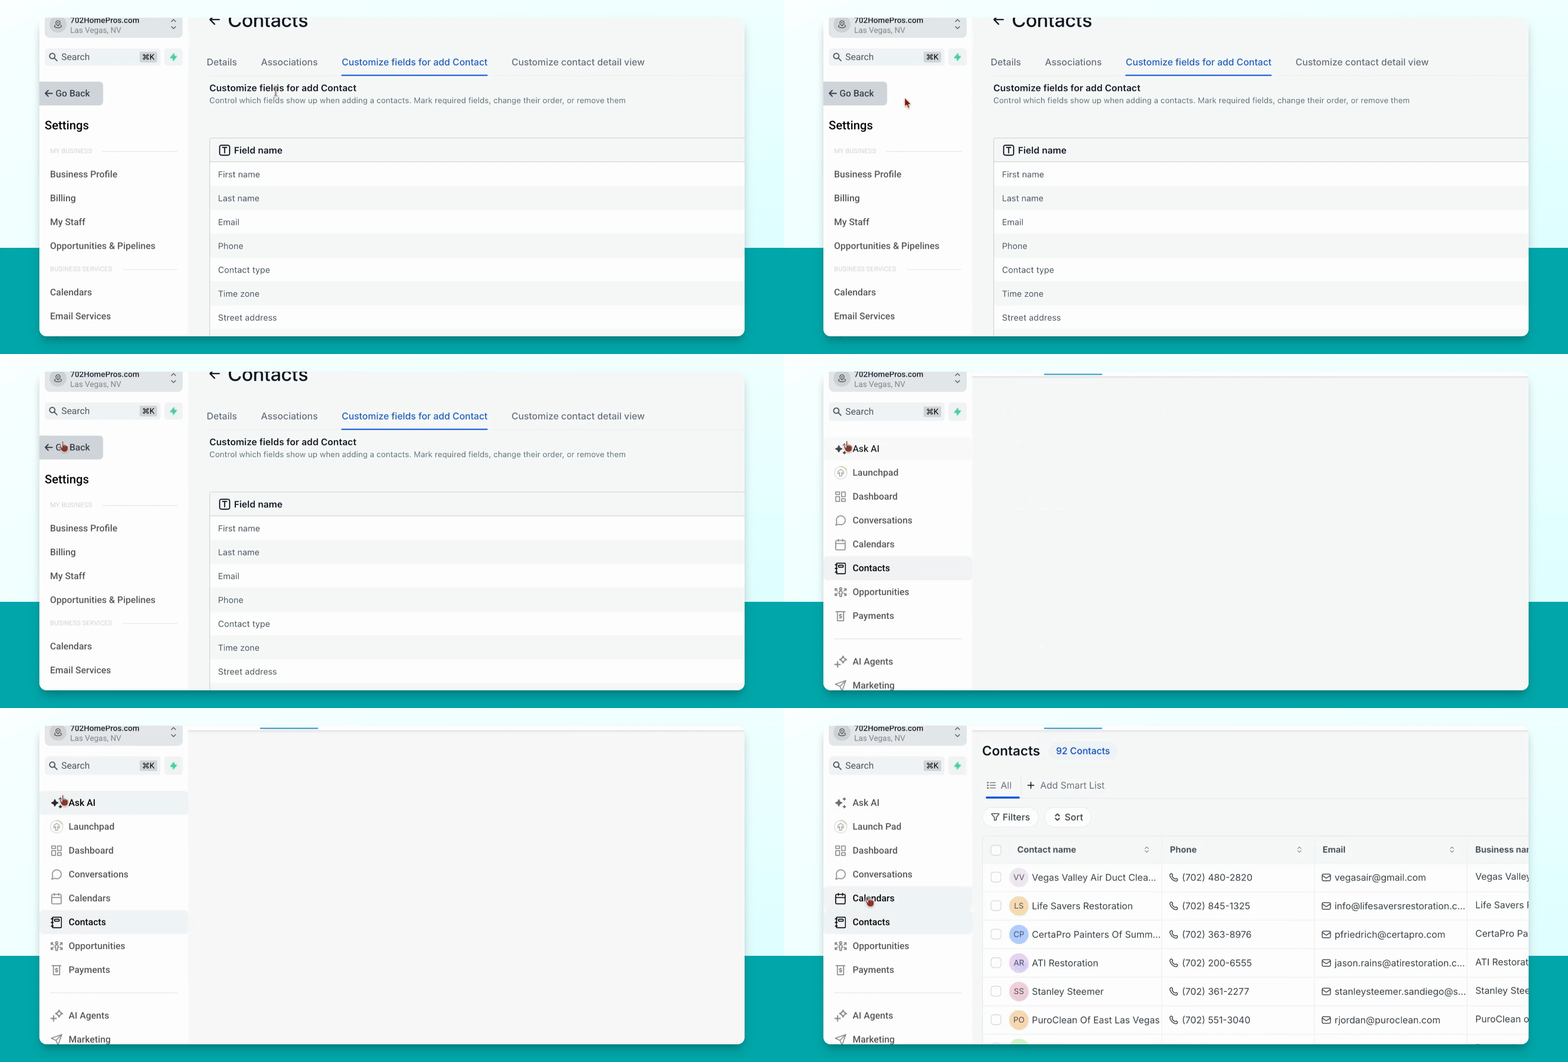

By default, the Add Contact form in Smart Directory AI includes basic fields. To better fit your directory's needs, you can customize this form to collect more information and make listings live instantly. Let's look at the steps:
Step 1: Open the Add Contact Form
Go to Contacts and click the blue Add Contact button to open the default form.
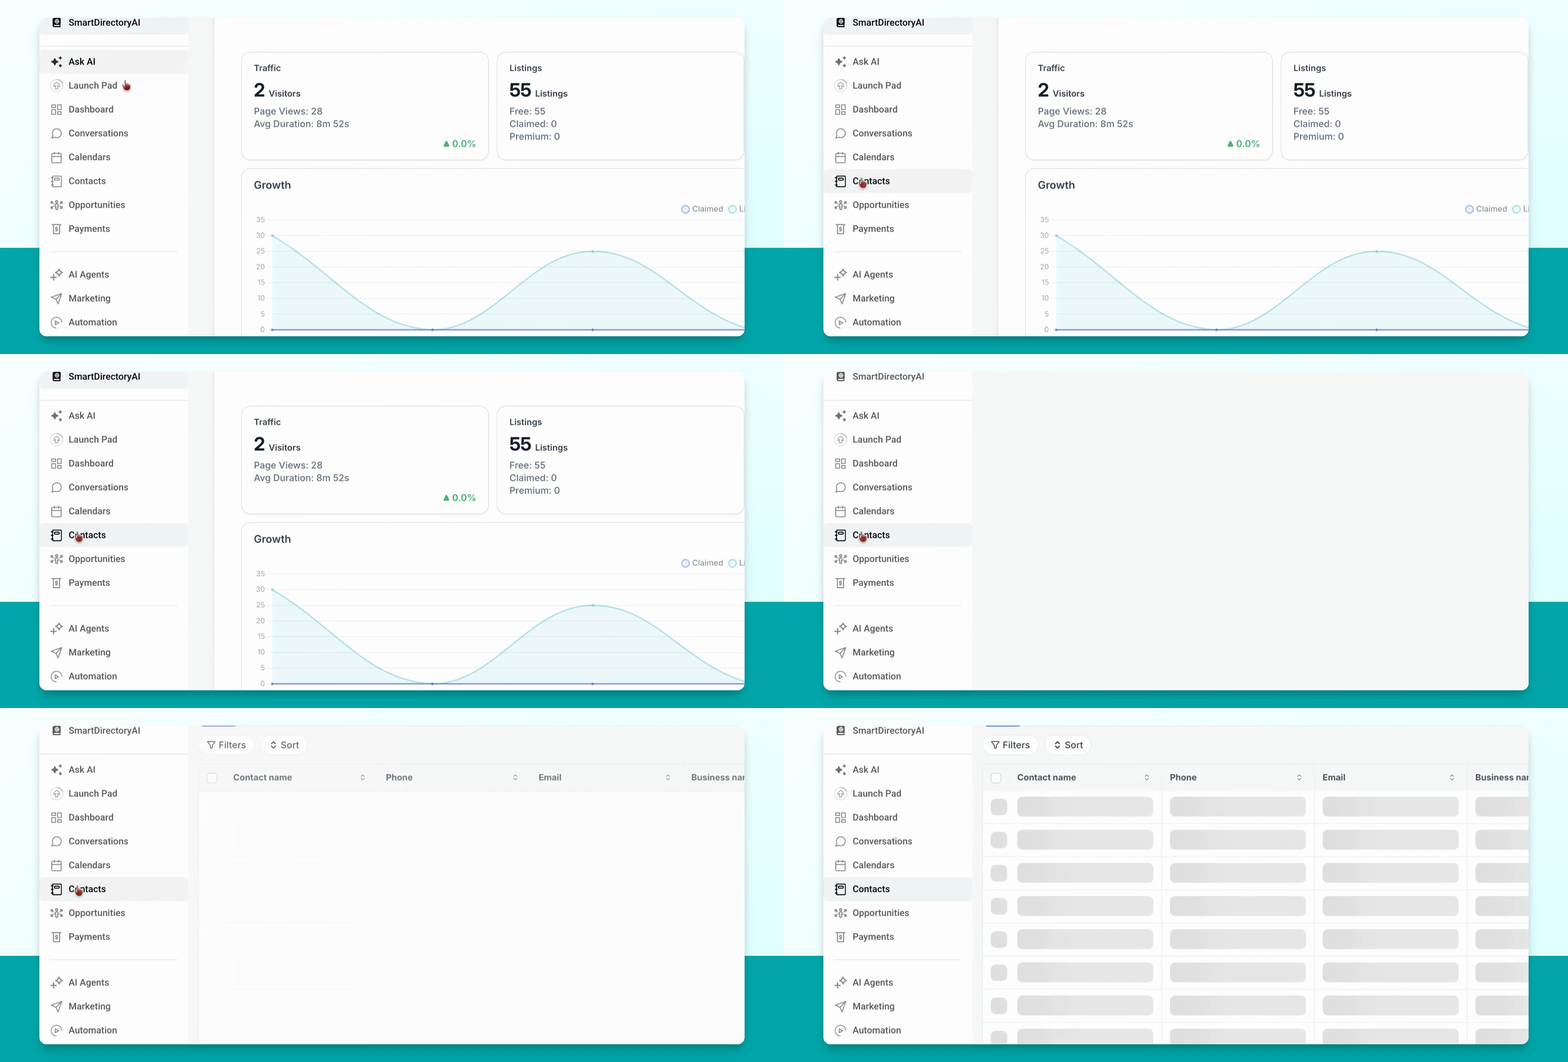
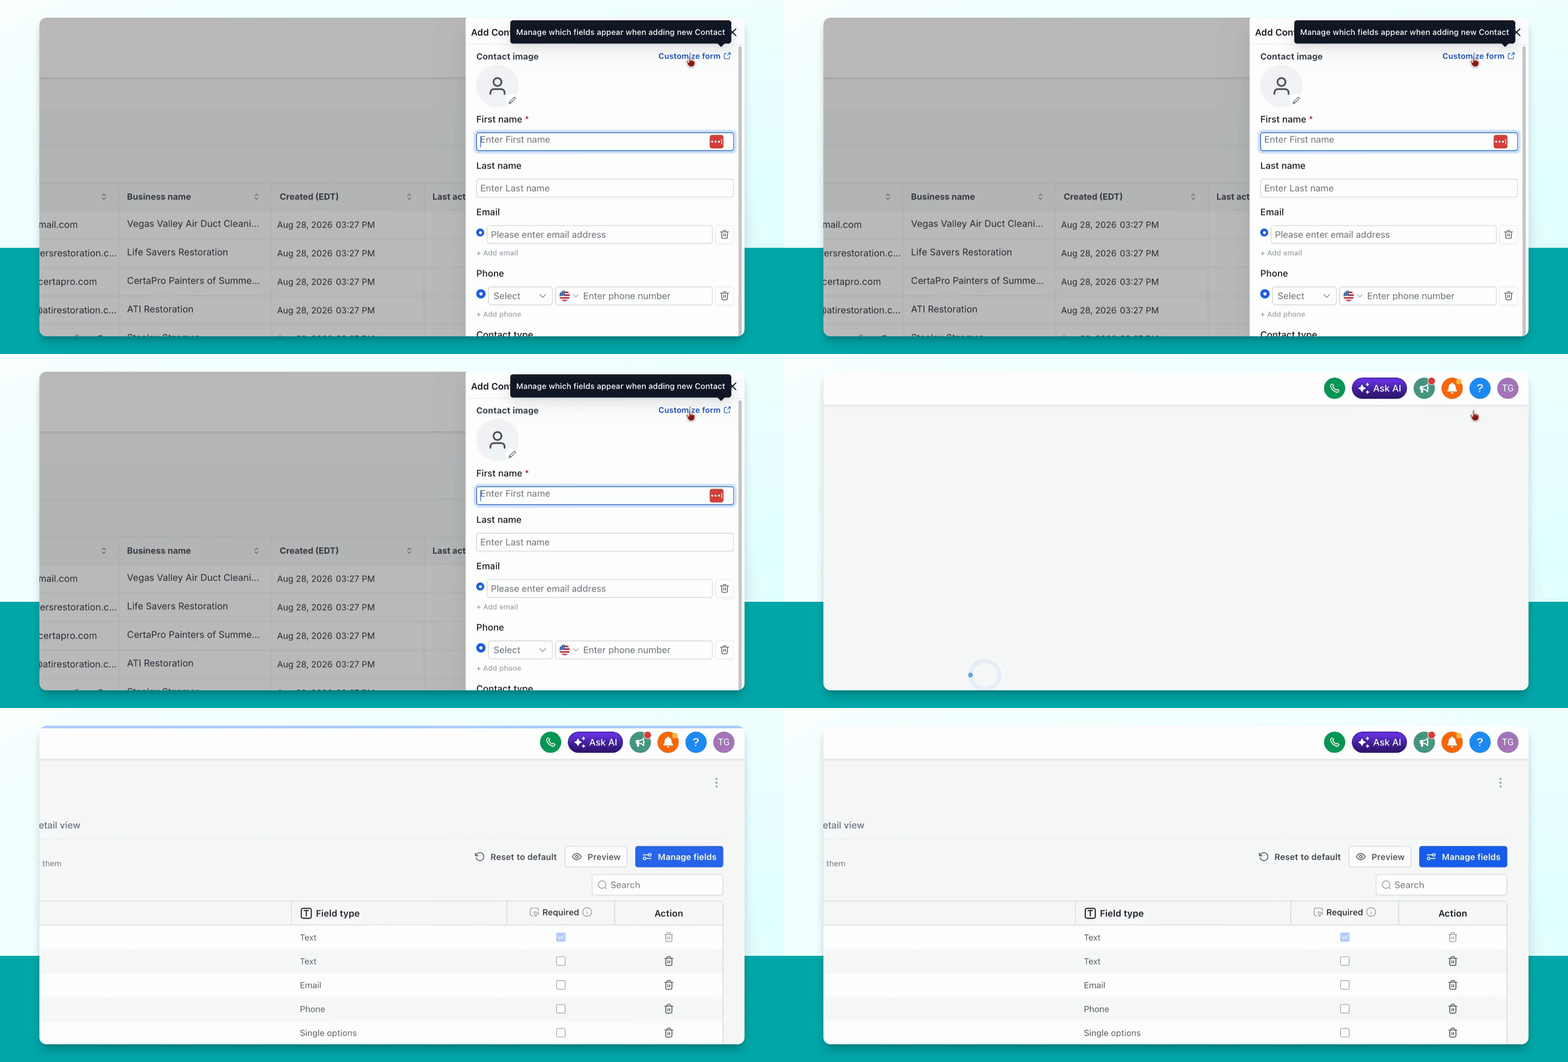
Step 2: Access Form Customization
Click Customize form in the upper right, then select Manage Fields.
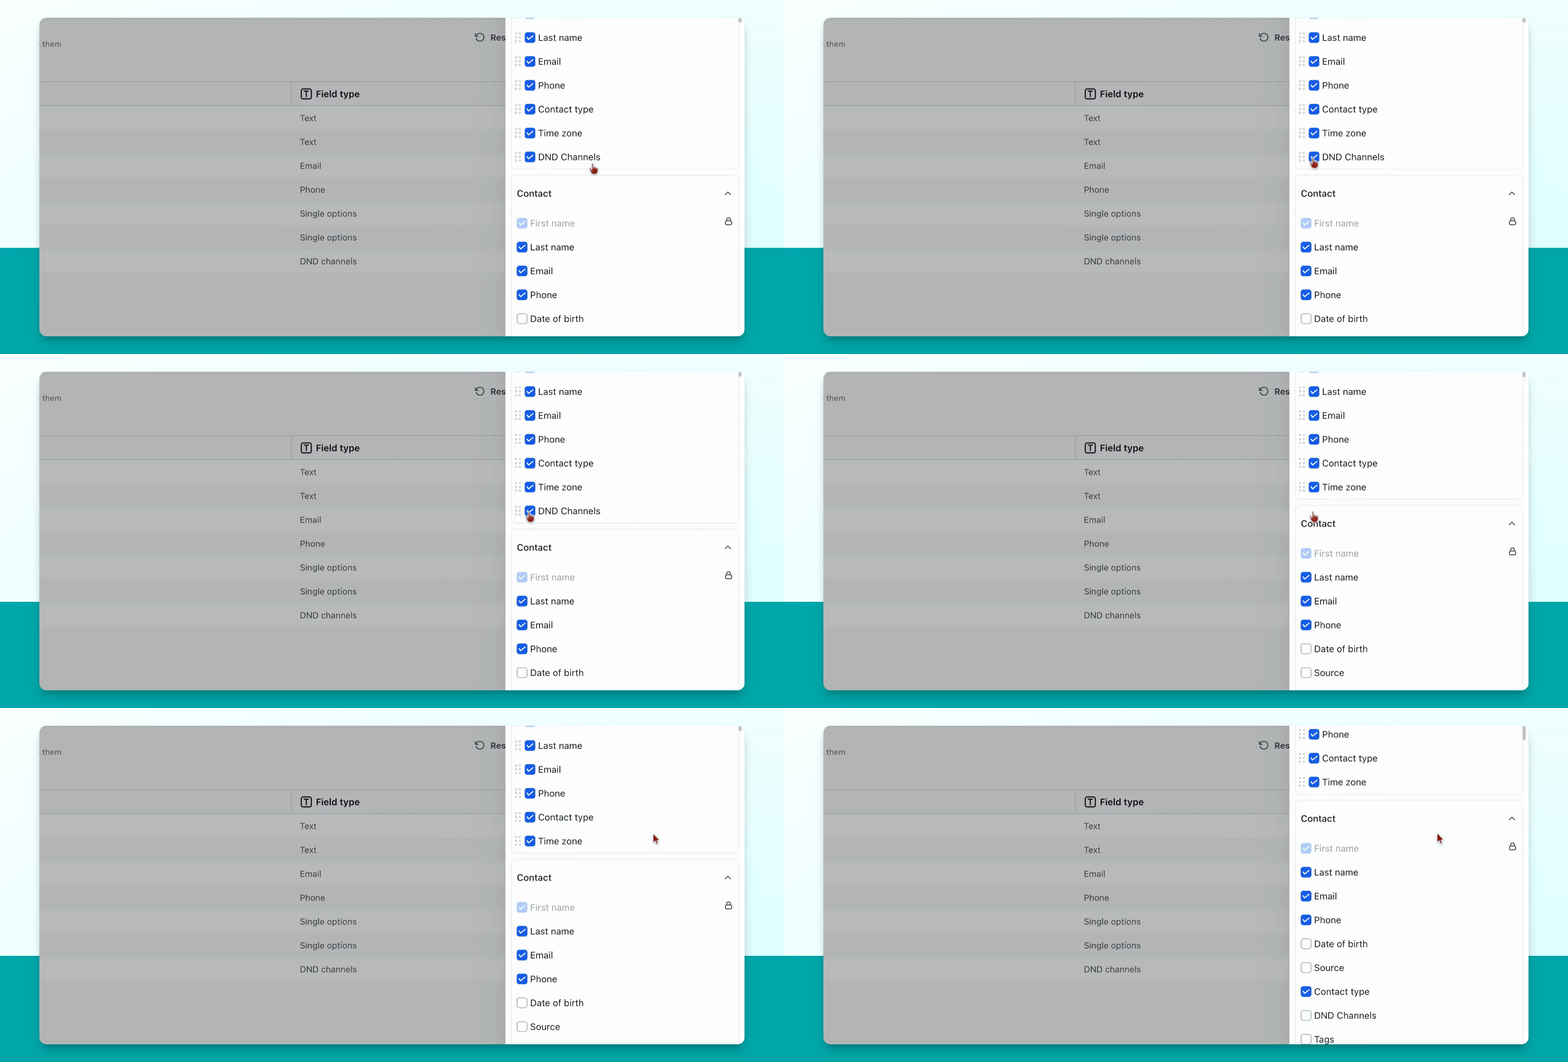
Step 3: Choose Fields to Show or Hide
Review the list of available fields. Turn on or off any fields to match your workflow. For example, turn off D and D, and add street address, city, state, postal code, and website.
Step 4: Add Custom Owner Fields
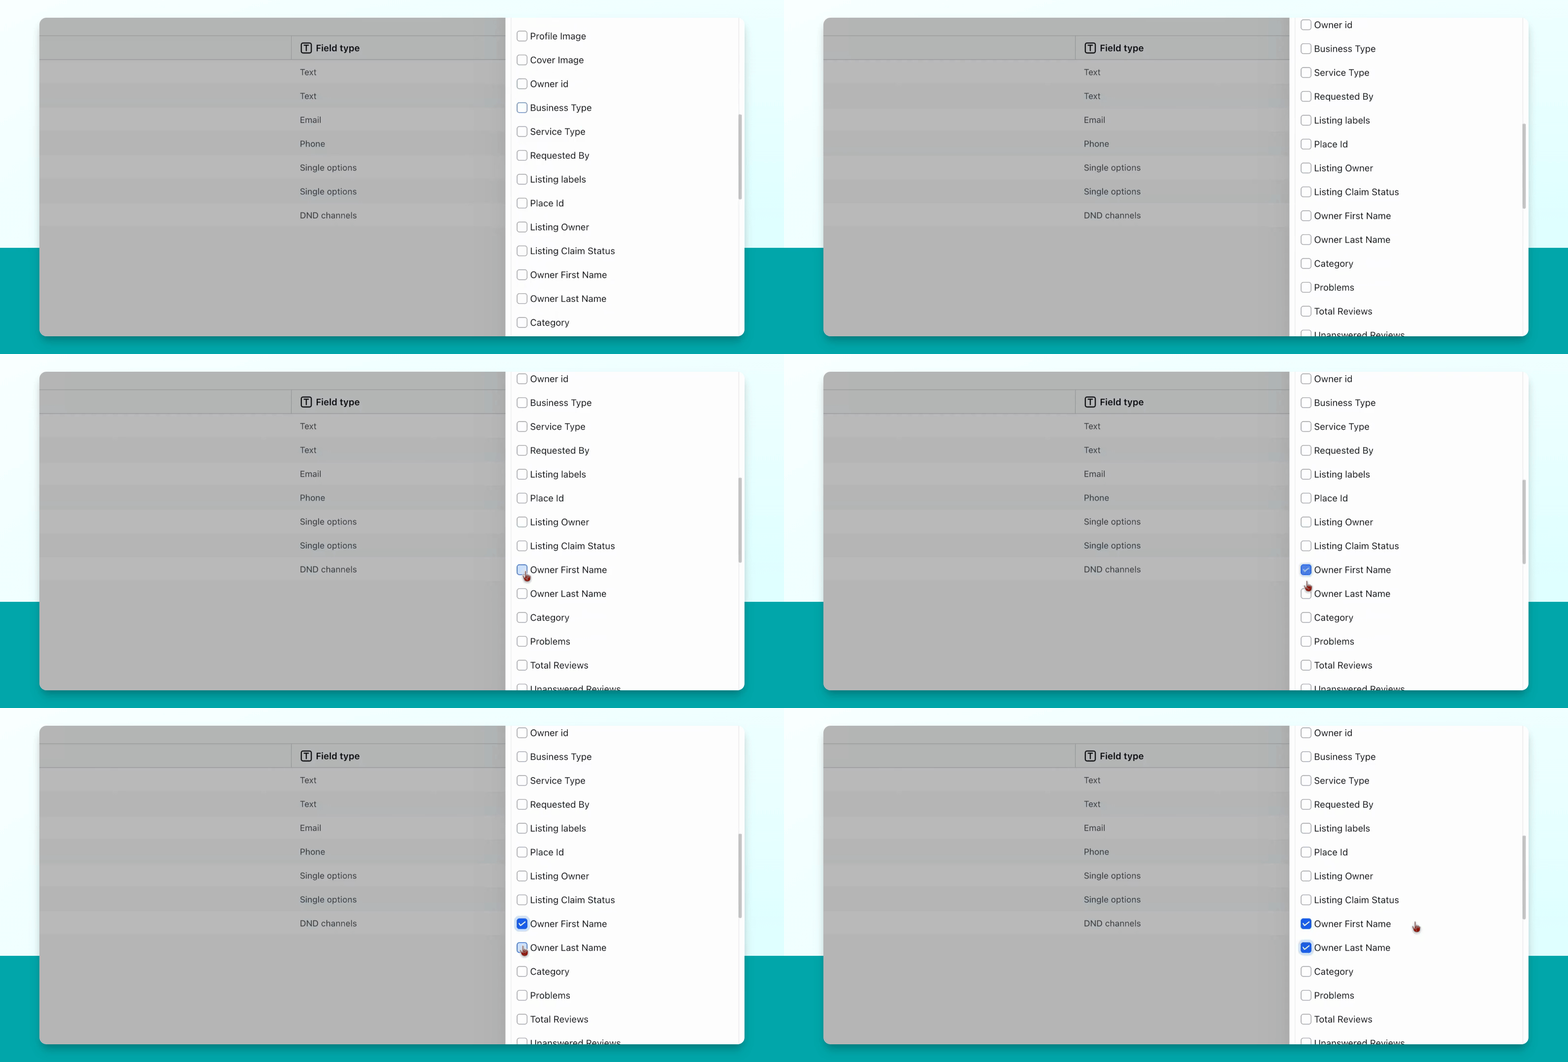
In the additional info section, add the custom fields Owner first name and Owner last name if you have the business owner's details.
Step 5: Enable Tags Field
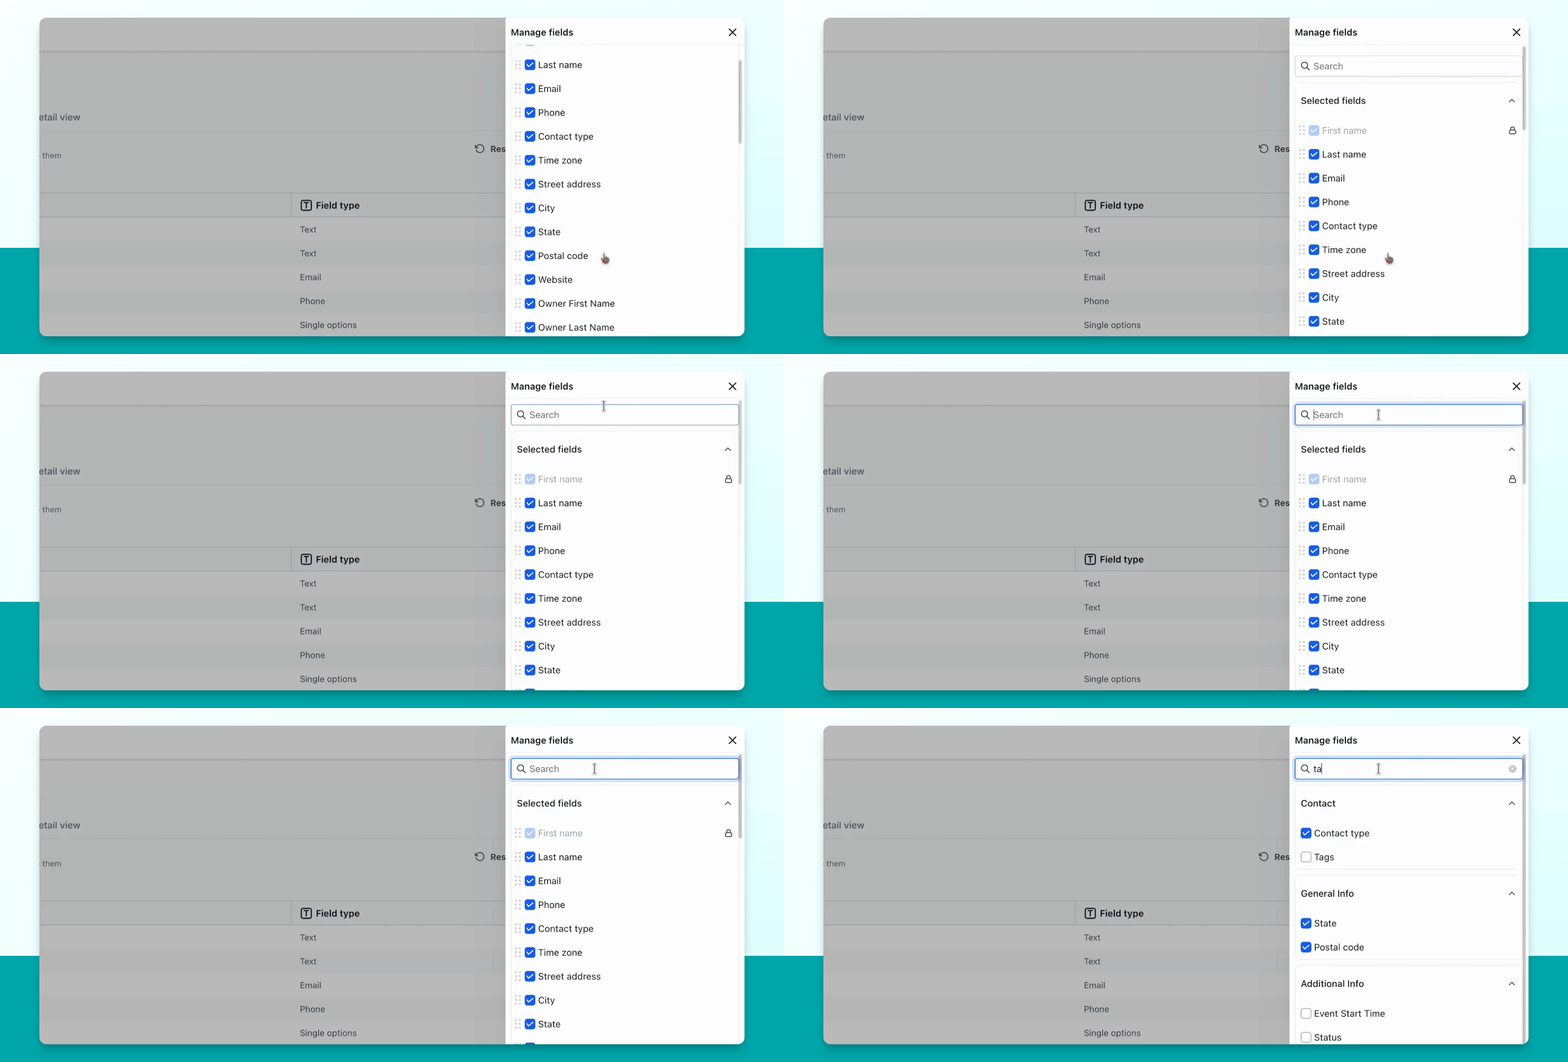
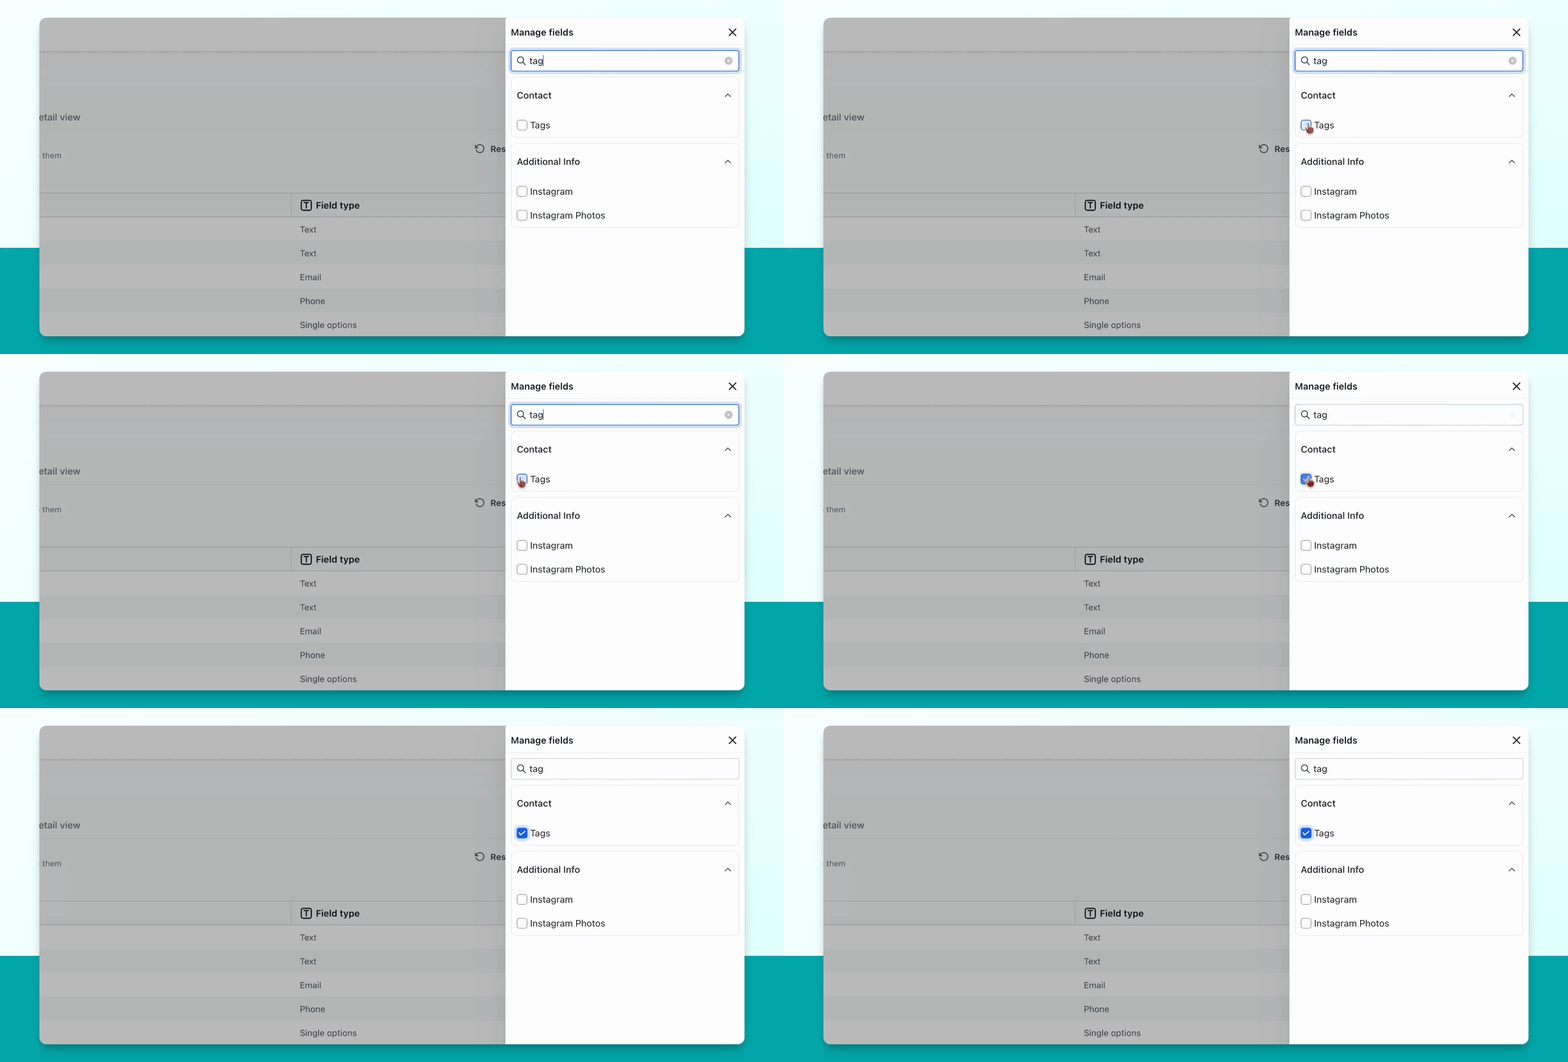
Find and enable the tags field. If you have trouble locating a field, use the search box to type its name and select it from the results.
Step 6: Save Your Changes
Select Save to apply your customized field settings.
Step 7: Preview the Customized Form
Preview your updated form to confirm all desired fields—such as business name, email, phone, address, website, owner names, and tags—are present.
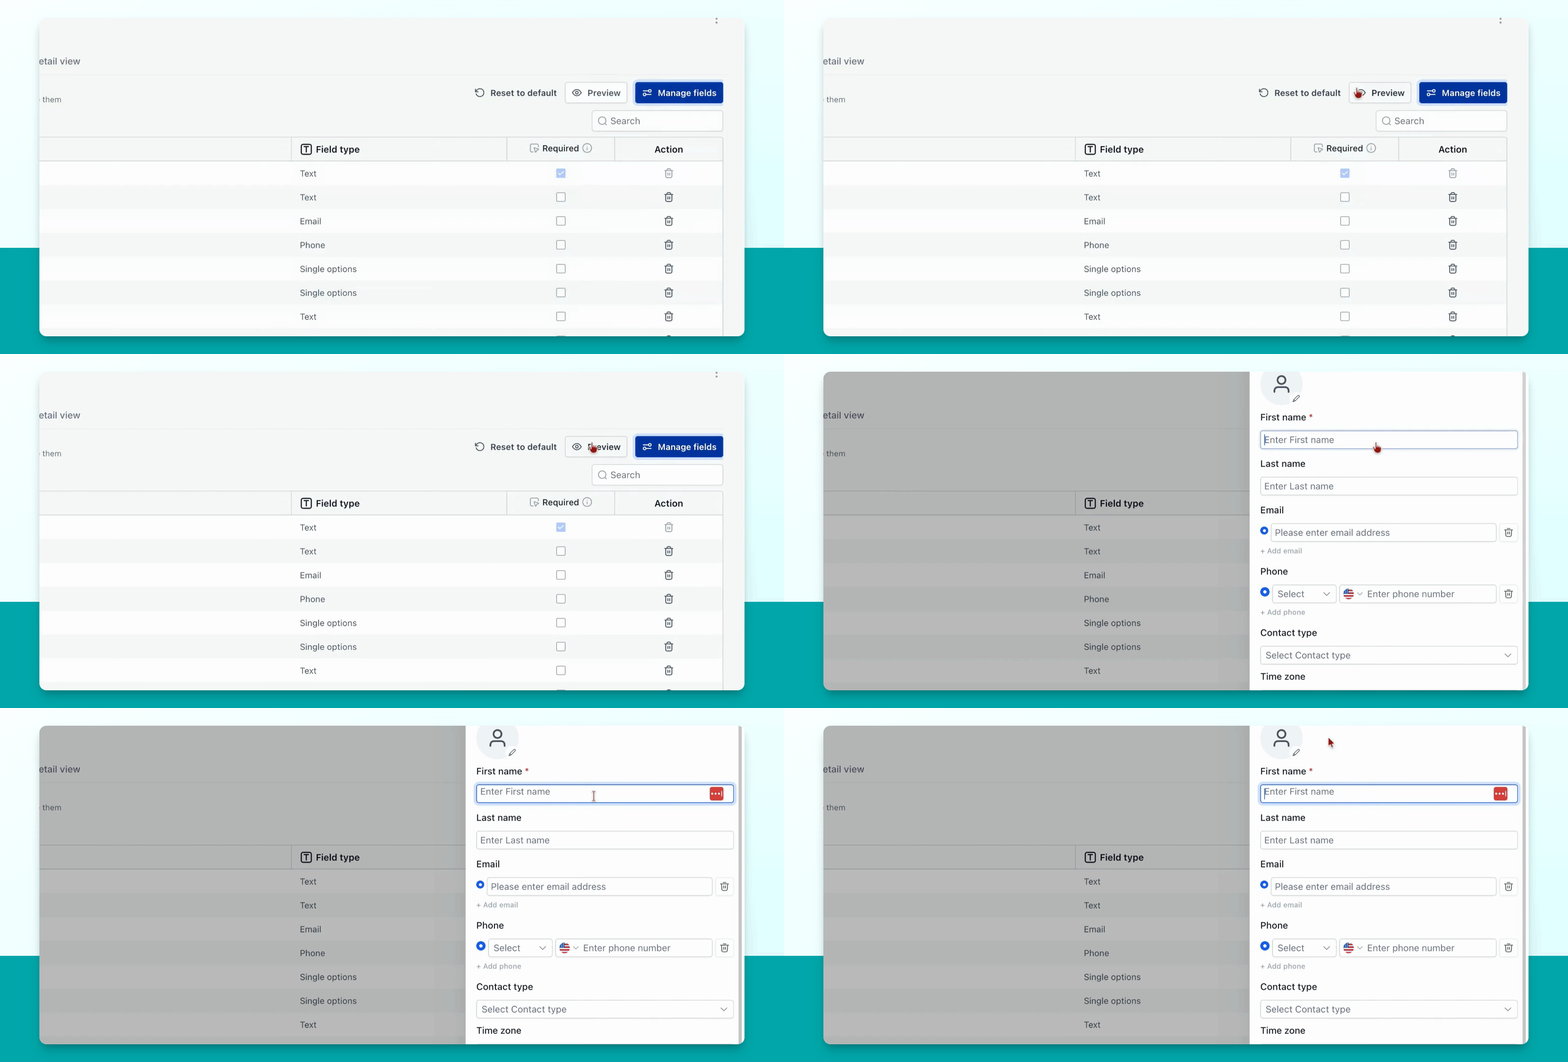
Now, when you add a new contact, the customized form will appear, allowing you to enter all the information needed for your directory listing.