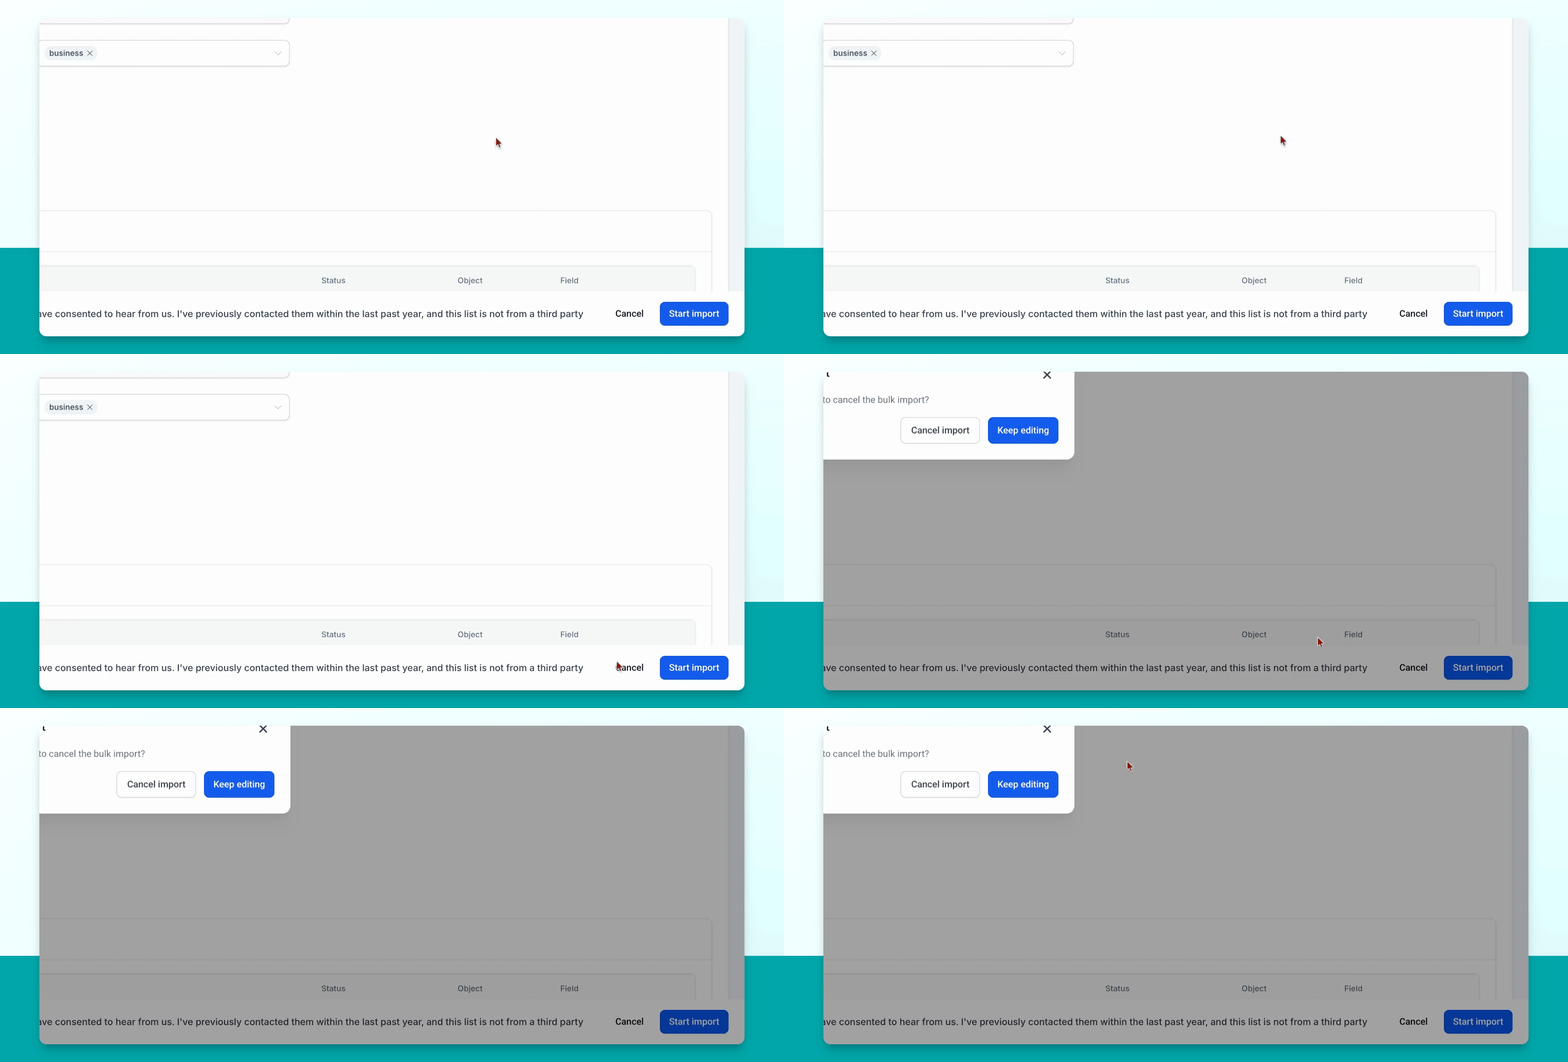

This guide explains how to import contacts and create listings in your Smart Directory AI dashboard using a CSV file. Let's look at the steps:
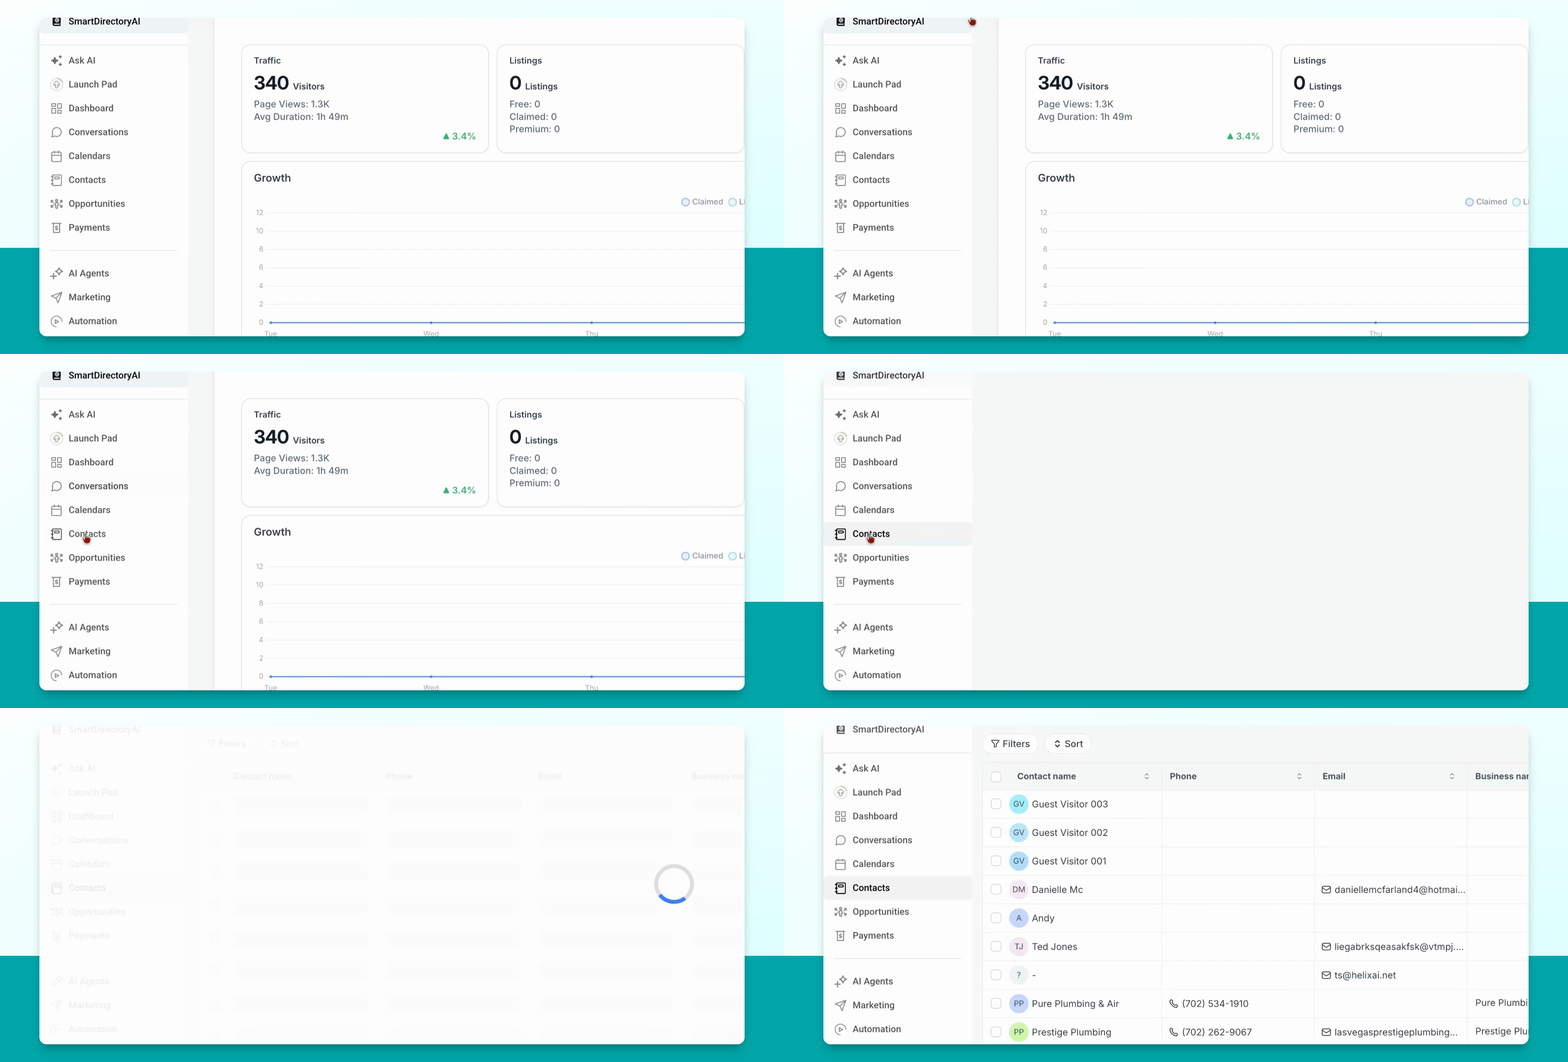
Step 1: Go to Contacts
In your dashboard, navigate to the Contacts section.
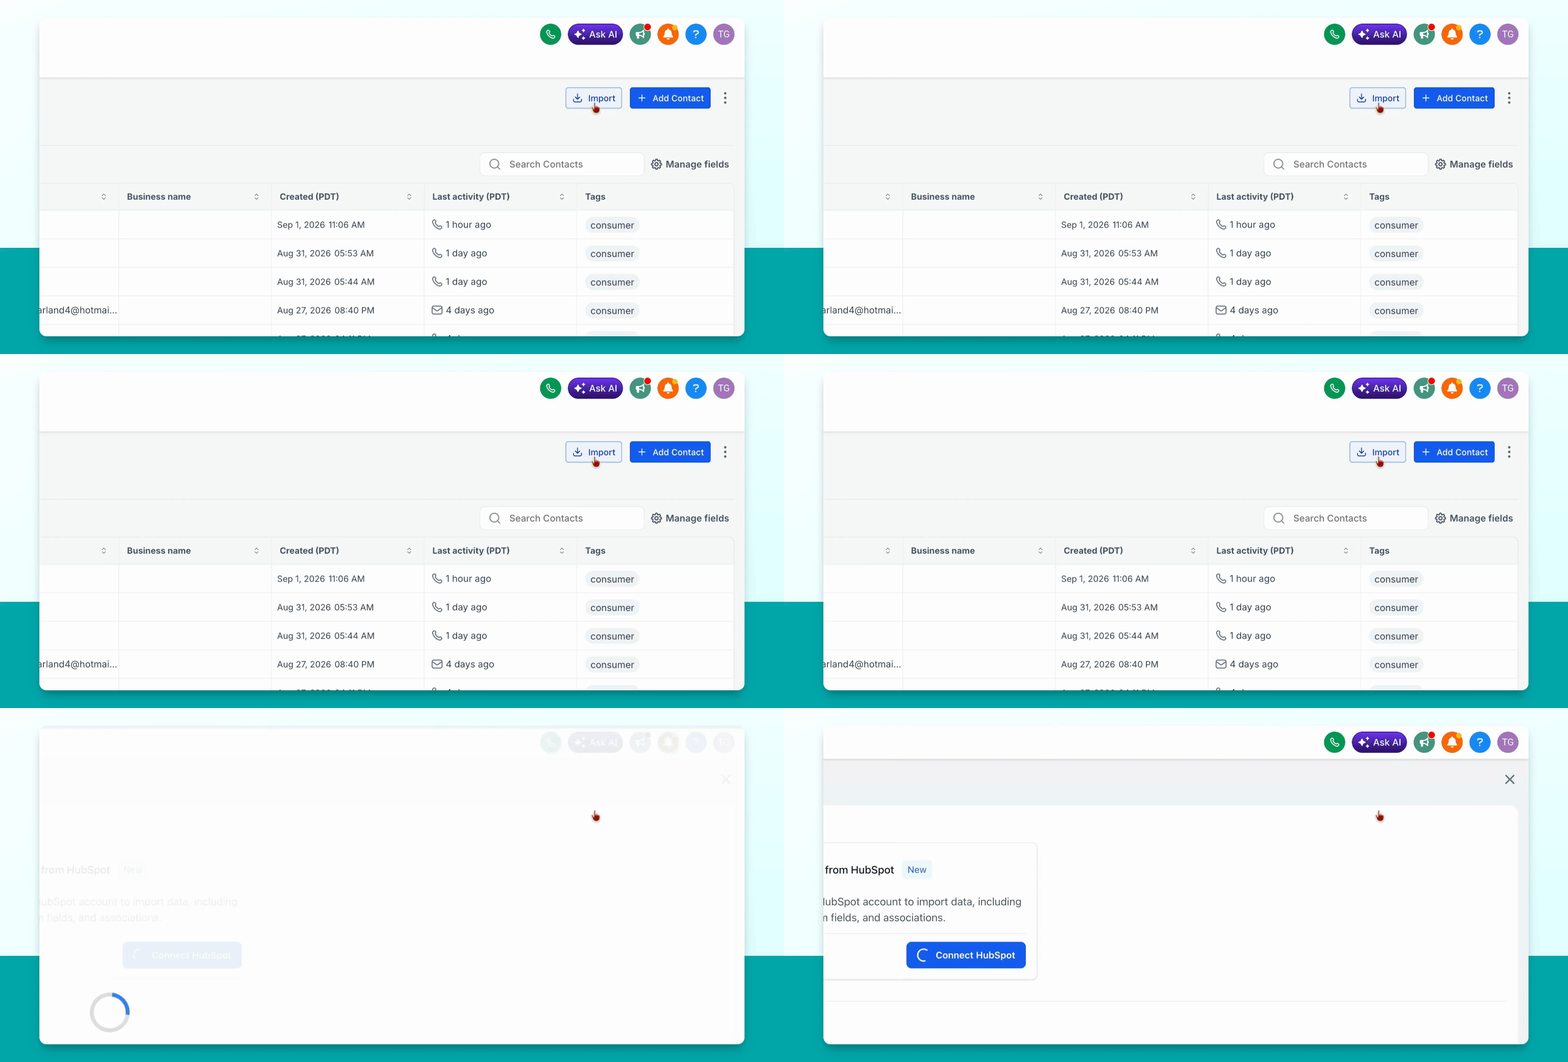
Step 2: Start Import Process
Next to the blue Add Contact button, select Import. Choose to import records from CSV.
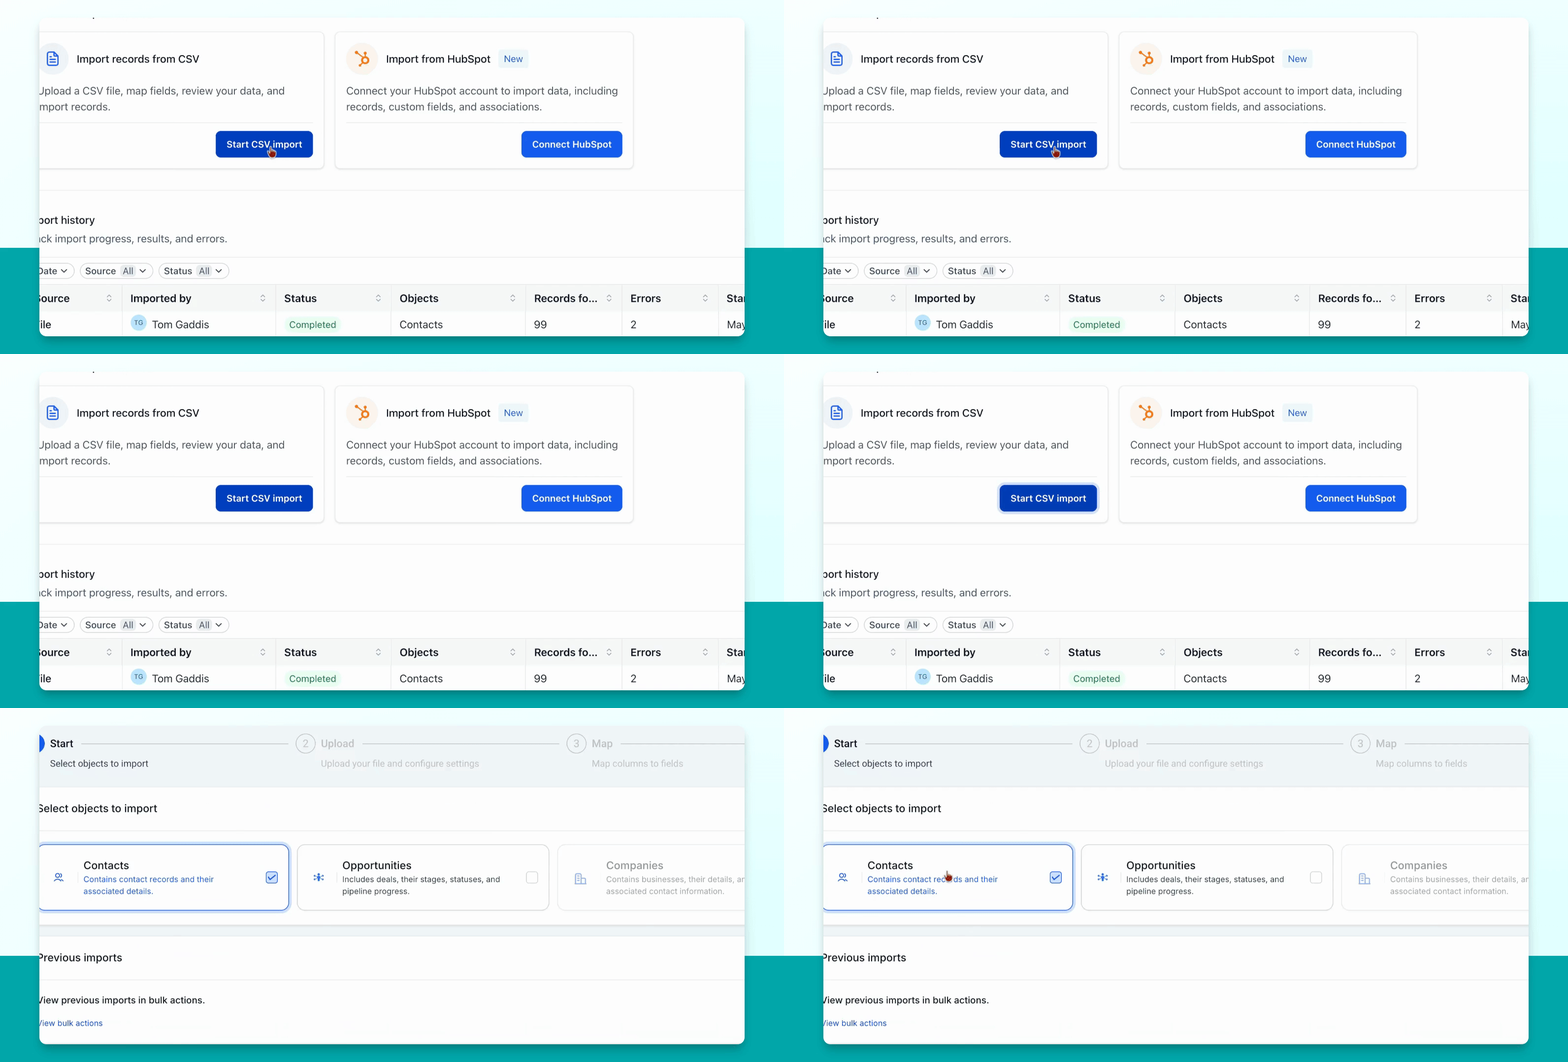
Step 3: Begin CSV Import
Click Start CSV import to continue.
Step 4: Select Contacts
Choose Contacts as the type of data to import, then click Next.
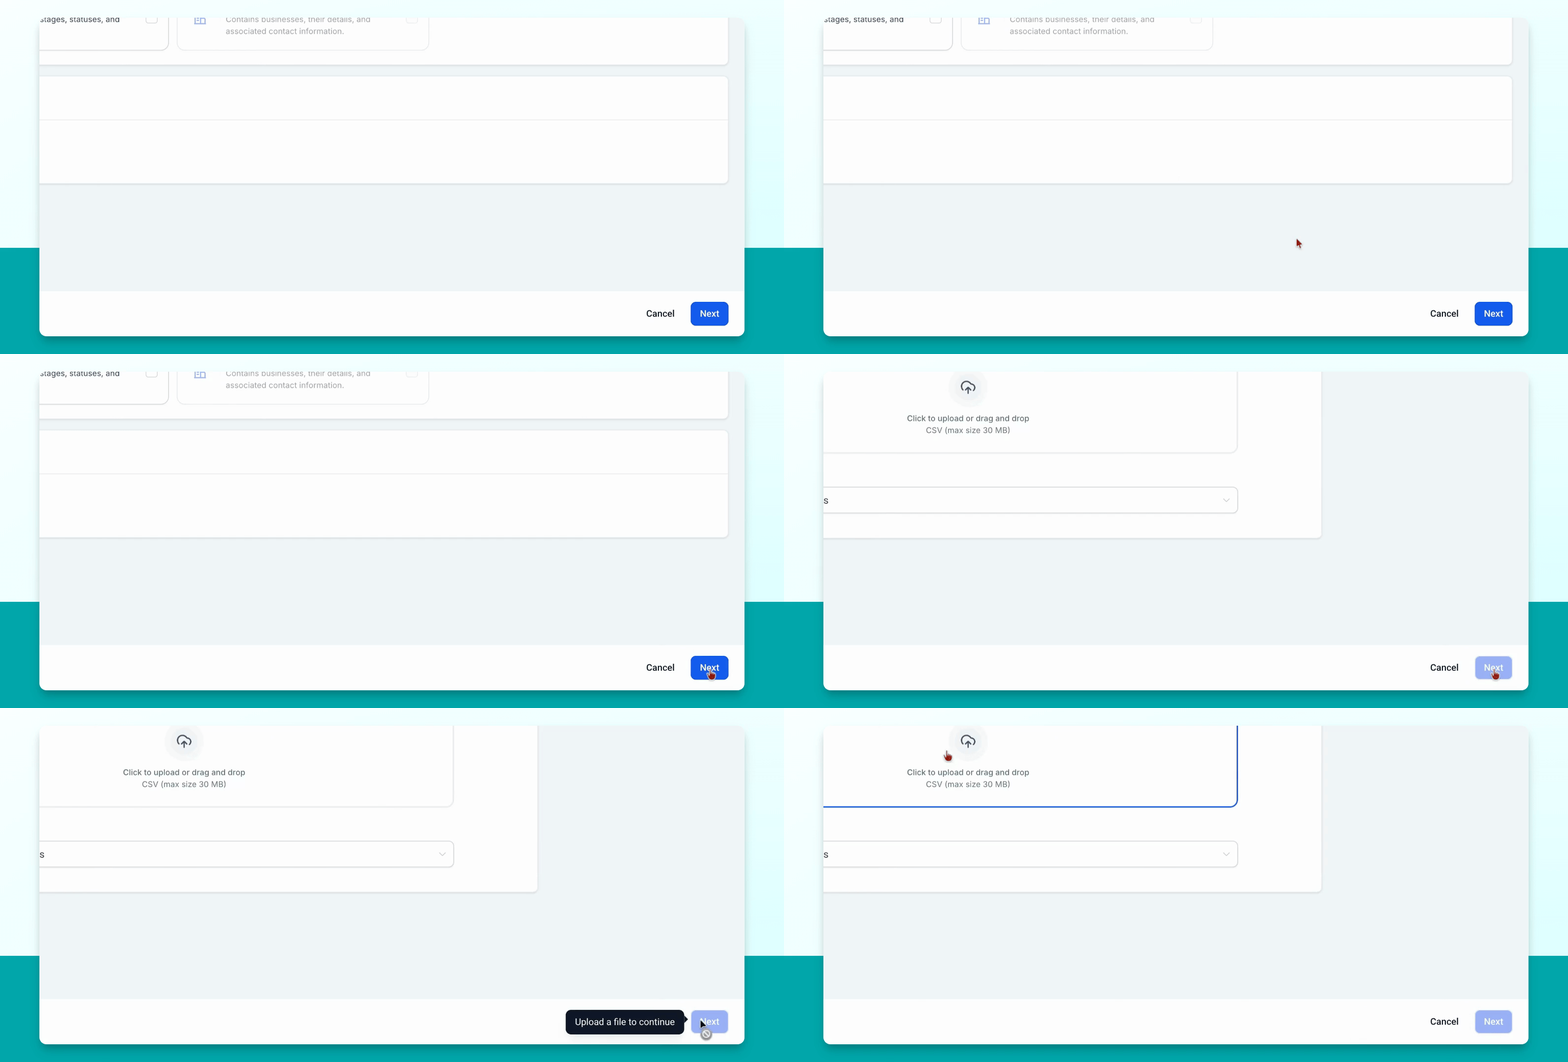
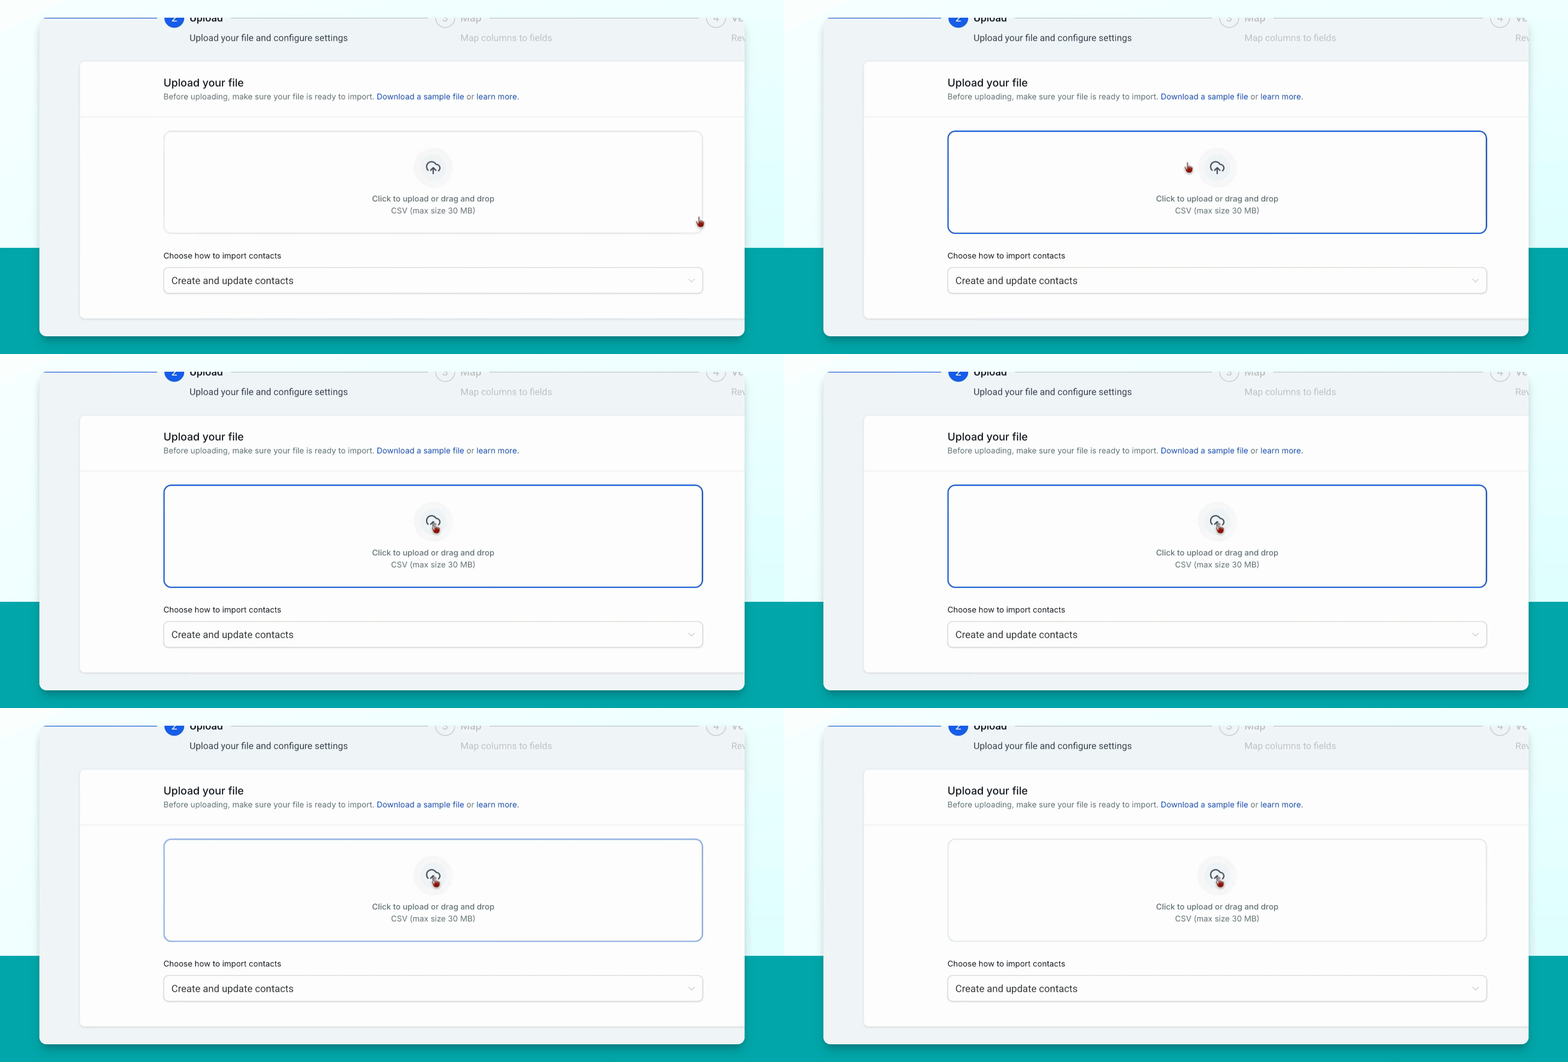
Step 5: Upload Your CSV File
Find and select your CSV file containing the contacts you want to import.
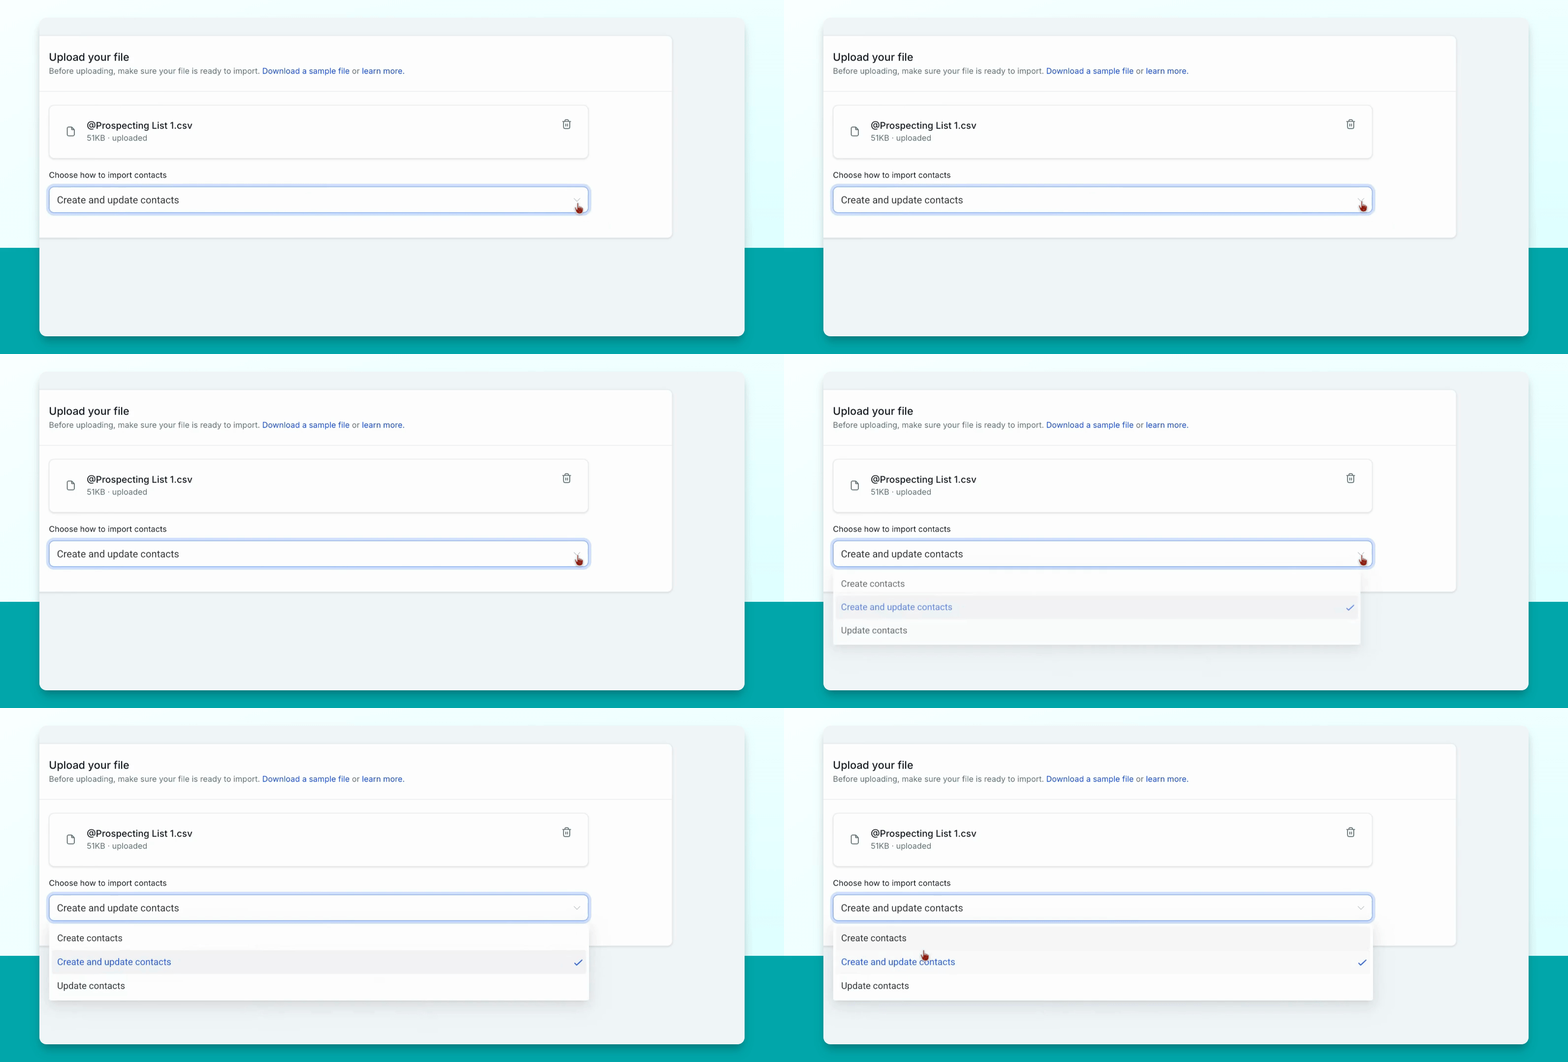
Step 6: Choose Import Method
Select how you want to import the contacts. Options include:
Create and update contacts – Adds new contacts and updates existing ones.
Create contacts – Only adds new contacts.
Update contacts – Only updates existing contacts.
Leave it at Create and update contacts for most cases. Click Next to proceed.
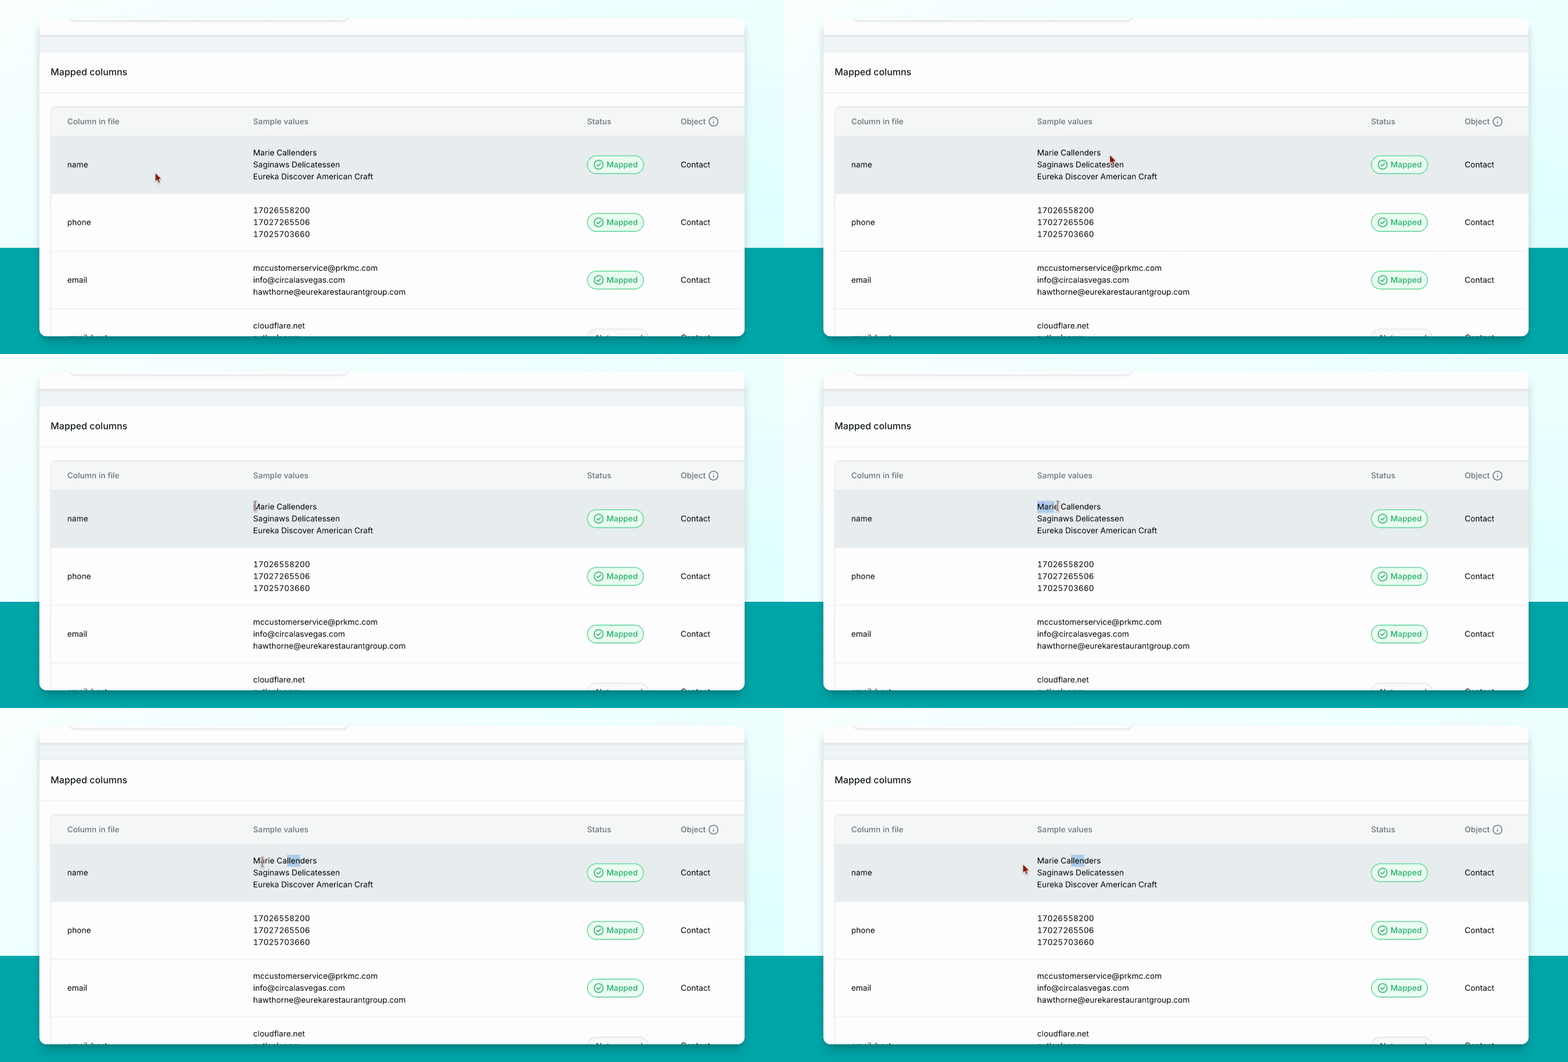
Step 7: Map CSV Columns
Map the columns from your CSV to the appropriate fields in the directory. For example:
Map your business name to the first name field. This is required for creating listings.
Map phone to phone, email to email, website to website, address to street address, city to city, region to state, zip to postal code, and country to country.
Leave unnecessary columns as not mapped.
You can also map custom fields like Owner first name and Owner last name if available.
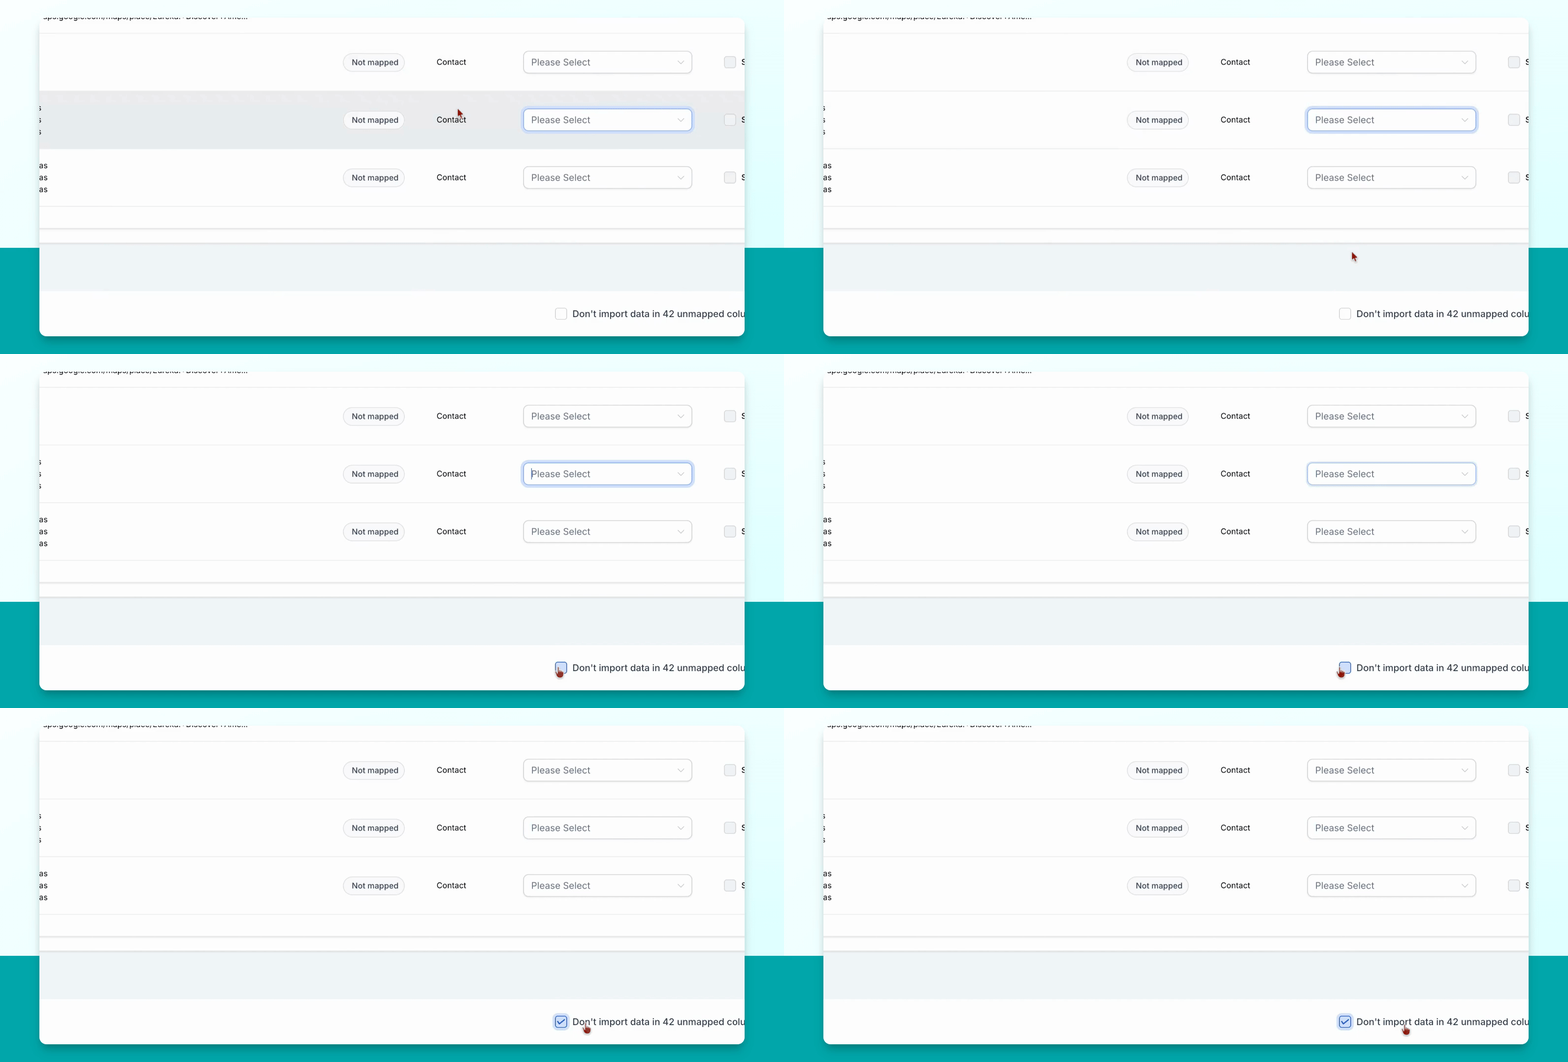
Step 8: Exclude Unneeded Data
Check the option to not import data from unmapped columns. Click Next to continue.
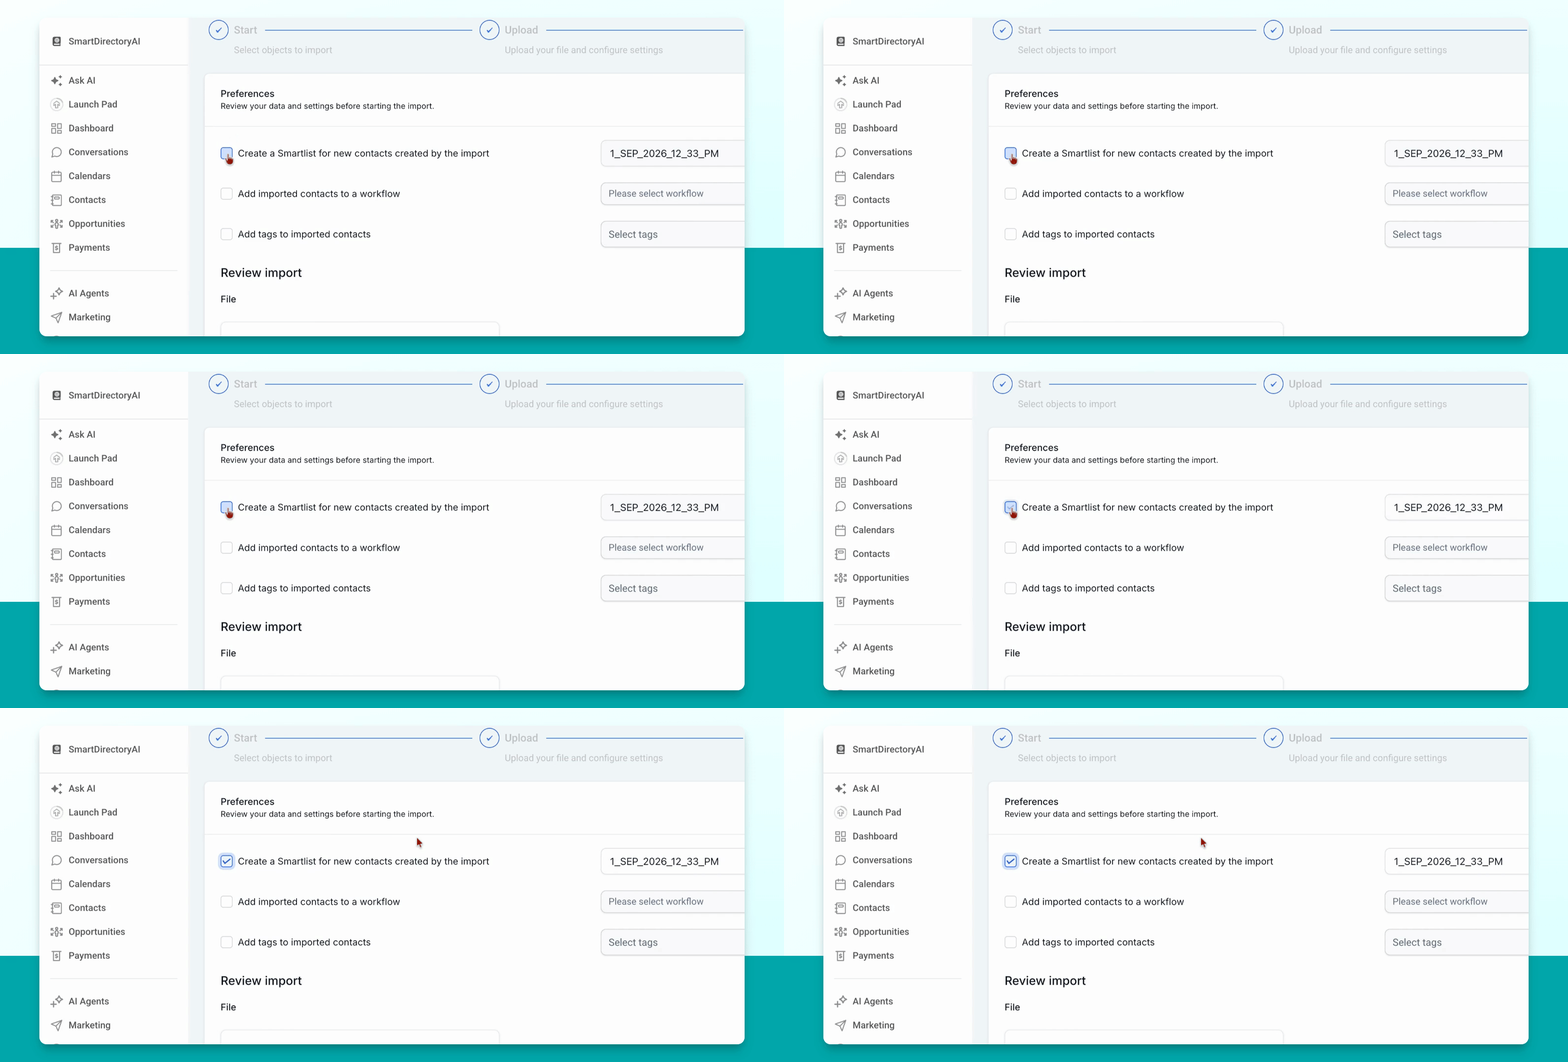
Step 9: Create a Smart List
Optionally, create a smart list to group all imported contacts for easier management. Name the smart list as desired.
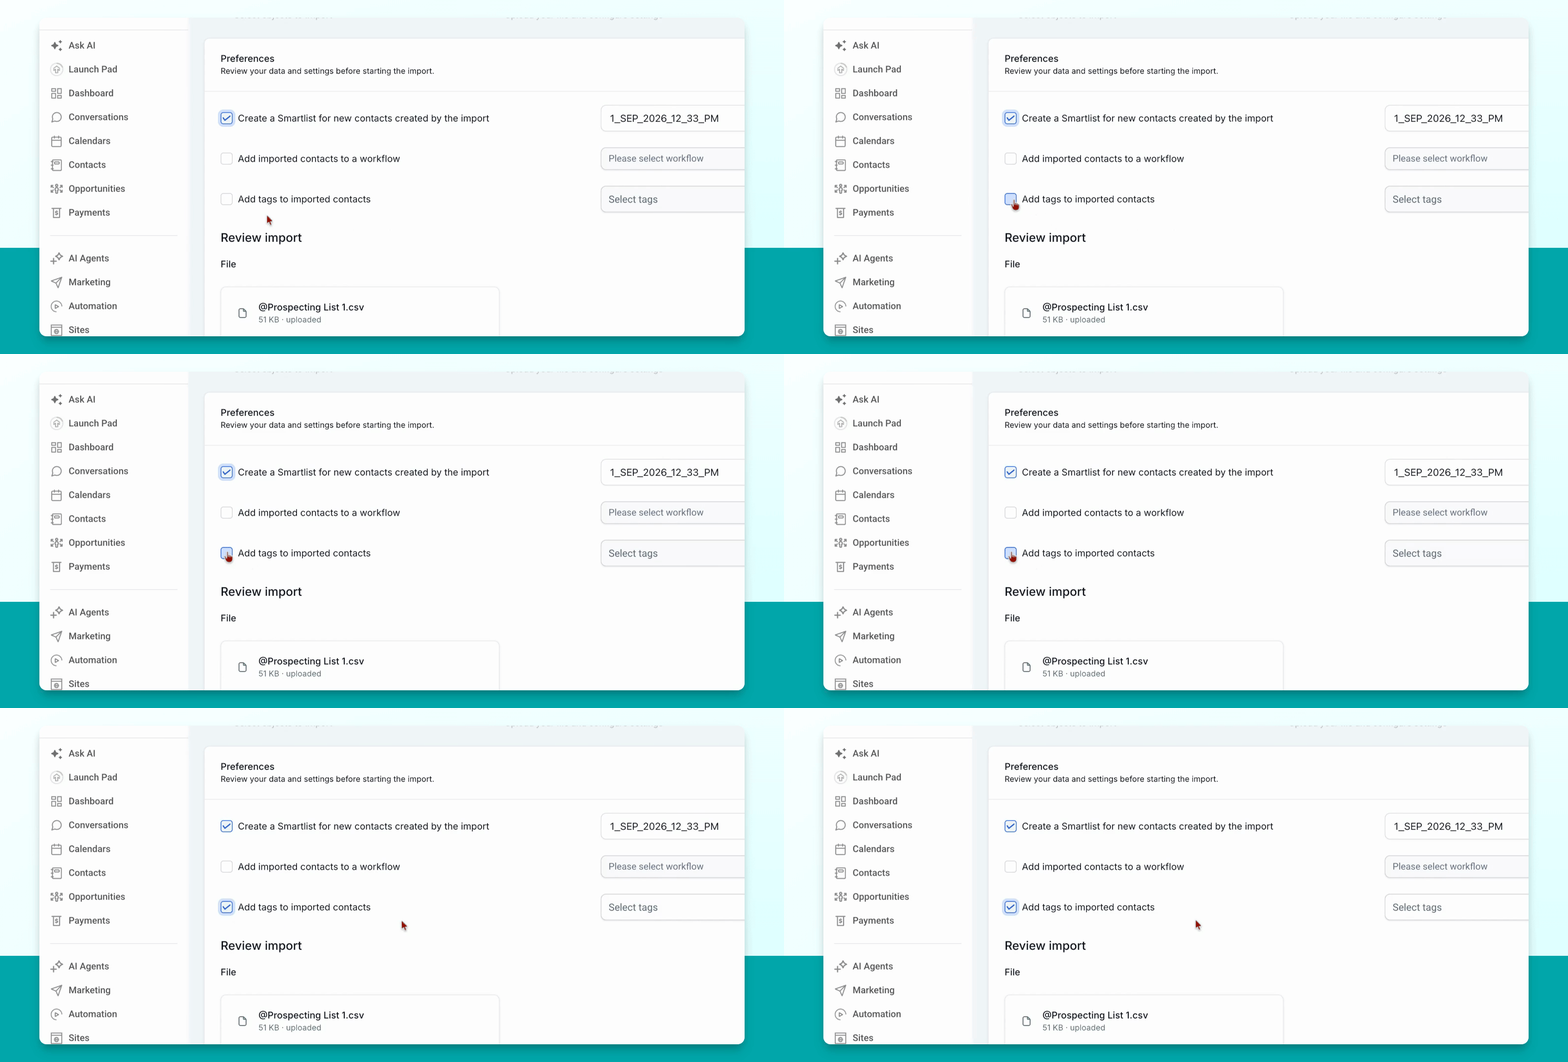
Step 10: Add Business Tag for Listings
If you want to instantly make all imported contacts into listings, check Add tags to imported contacts and select the business tag. Then click I confirm and Start Import.
Step 11: Review Imported Contacts
After import, a new list appears in your Contacts section. If you added the business tag, listings are created automatically. If not, select the smart list, choose all contacts, click Add tags, and add the business tag to convert them into listings.