

This guide will show you how to add a custom Voice AI agent to an individual business listing by enabling custom embeds, creating your agent, and inserting the embed code.
This only applies to Voice AI agents. Due to technical limitations, specifically the need to set a single primary agent, it is not possible to create Conversation AI agents for multiple businesses within one account.
Let's look at the steps:
Step 1: Enable Custom Embed in Plans
Go to Plans, select each plan, and click the pencil Edit button. In the Feature section, scroll down to find embed custom code. Make sure it is shown or included, depending on your needs. Enable this feature in any plan where you want to allow adding a custom agent to listings.
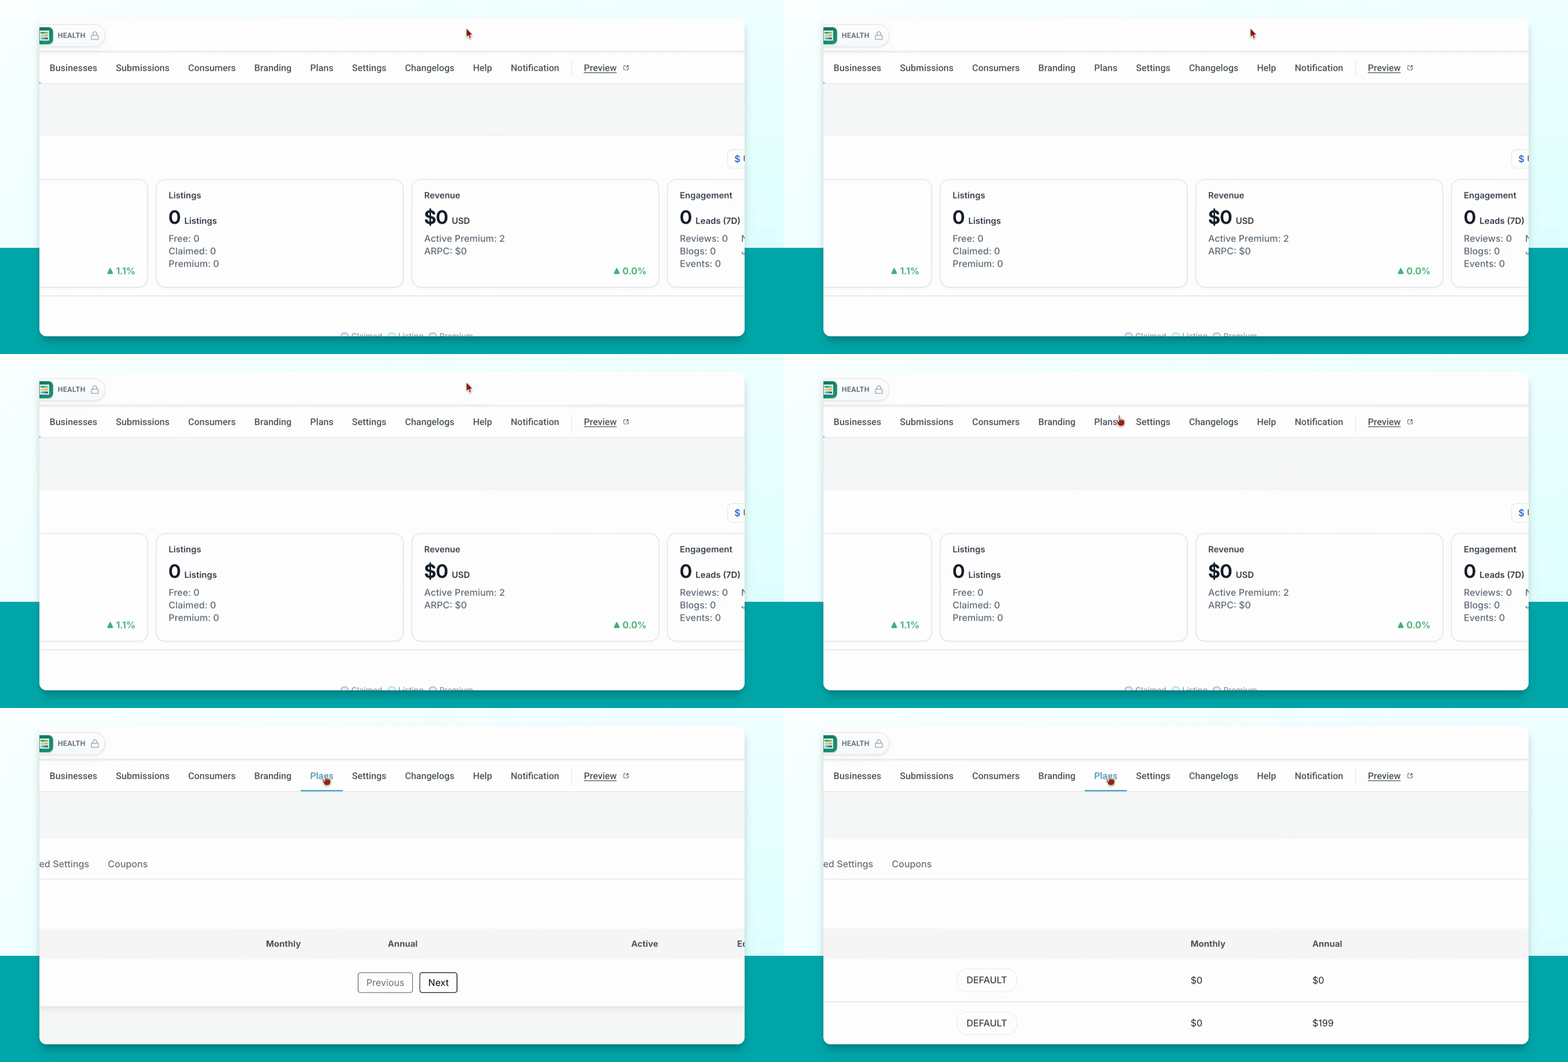
Step 2: Create or Edit Your AI Agent
Navigate to AI agents in the left-hand menu. Click Voice AI, go to Agent list, and either create a new agent or select and edit an existing one.
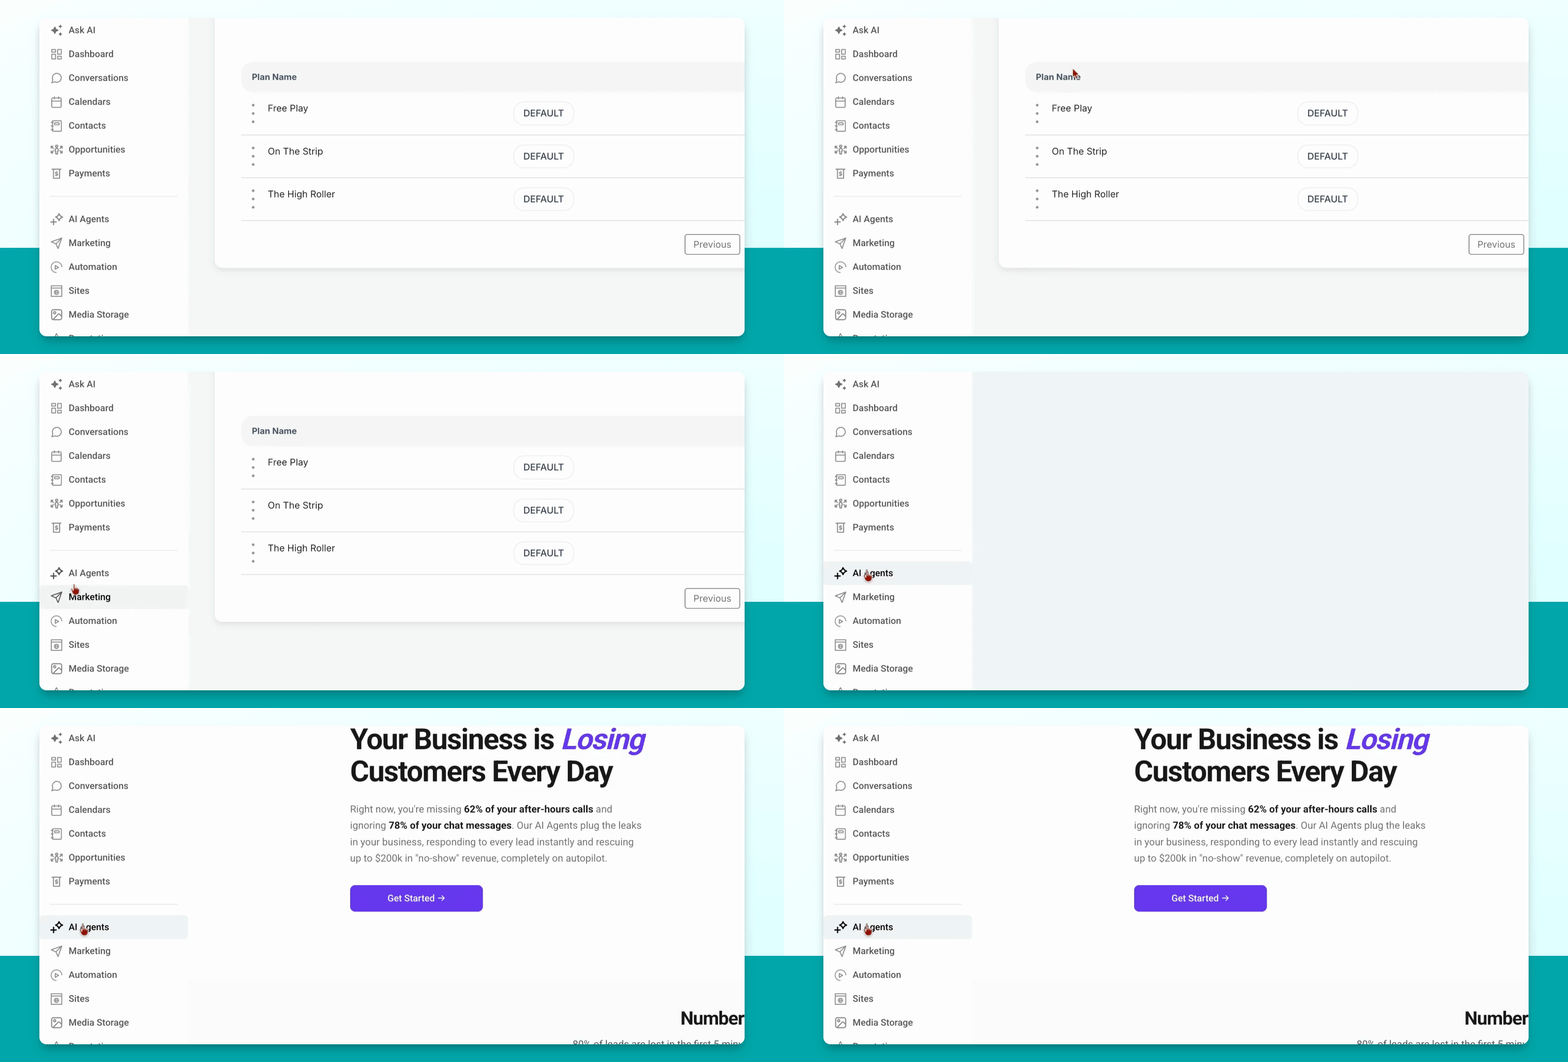
For more information, please see this article: How to Create Voice AI Agents
Step 3: Create or Select Chat Widget
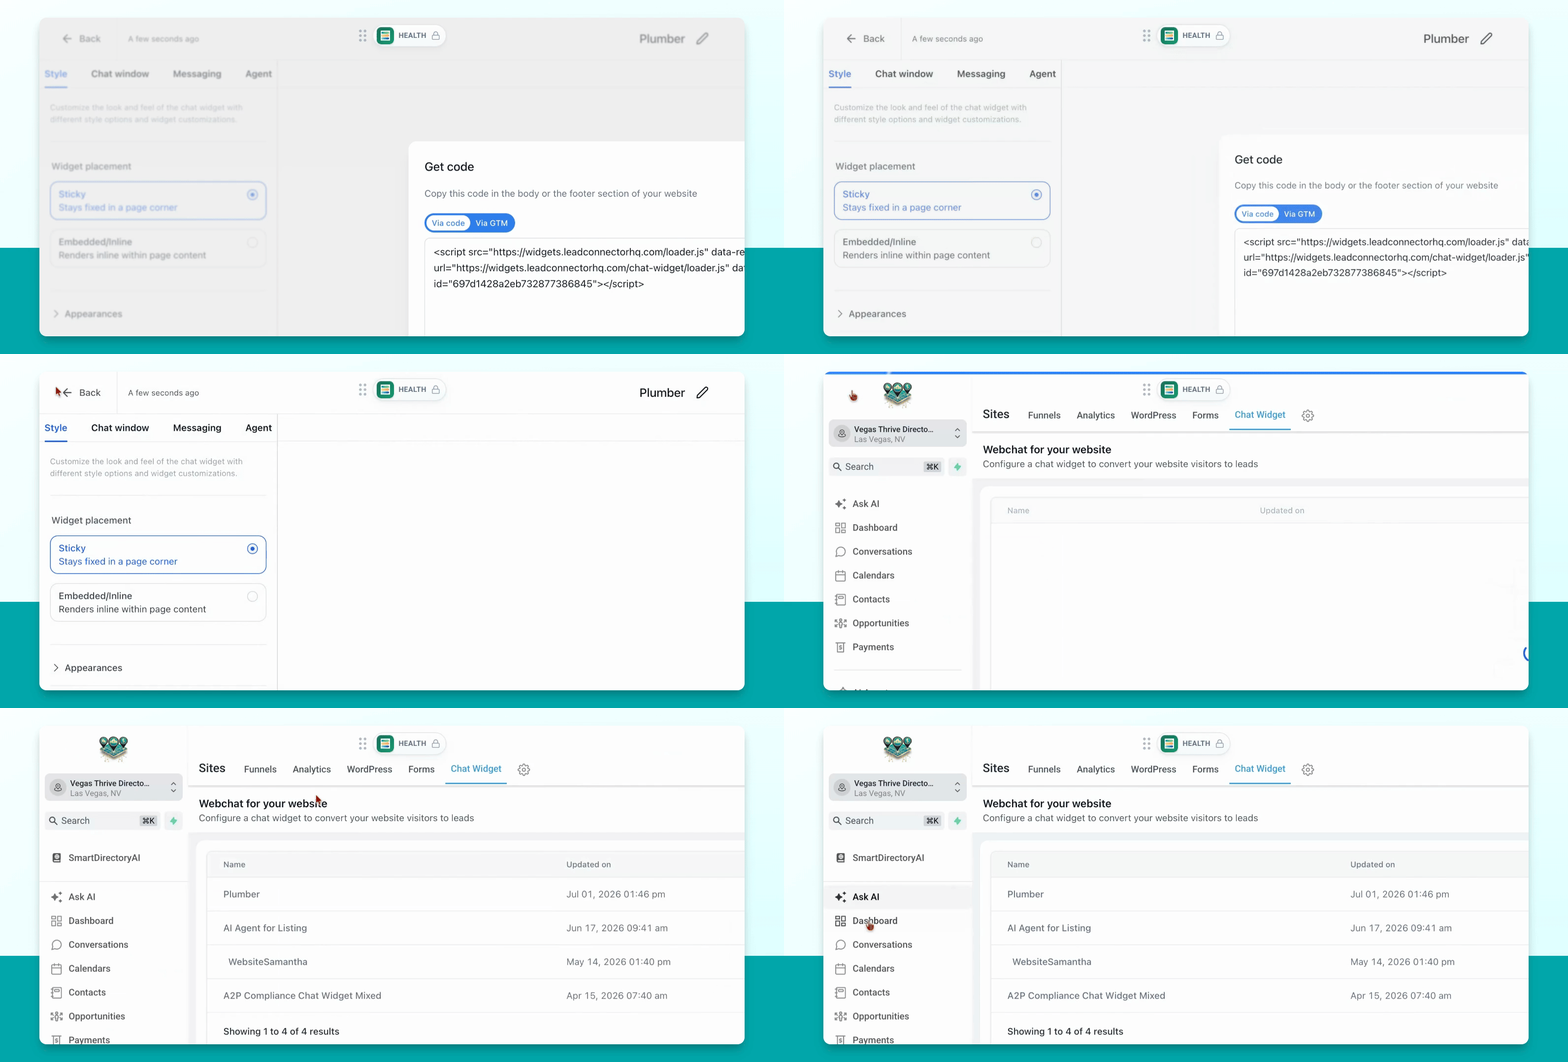
Go to Sites, then Chat Widget. Create a new widget for your agent or select the agent you want to use from the list.
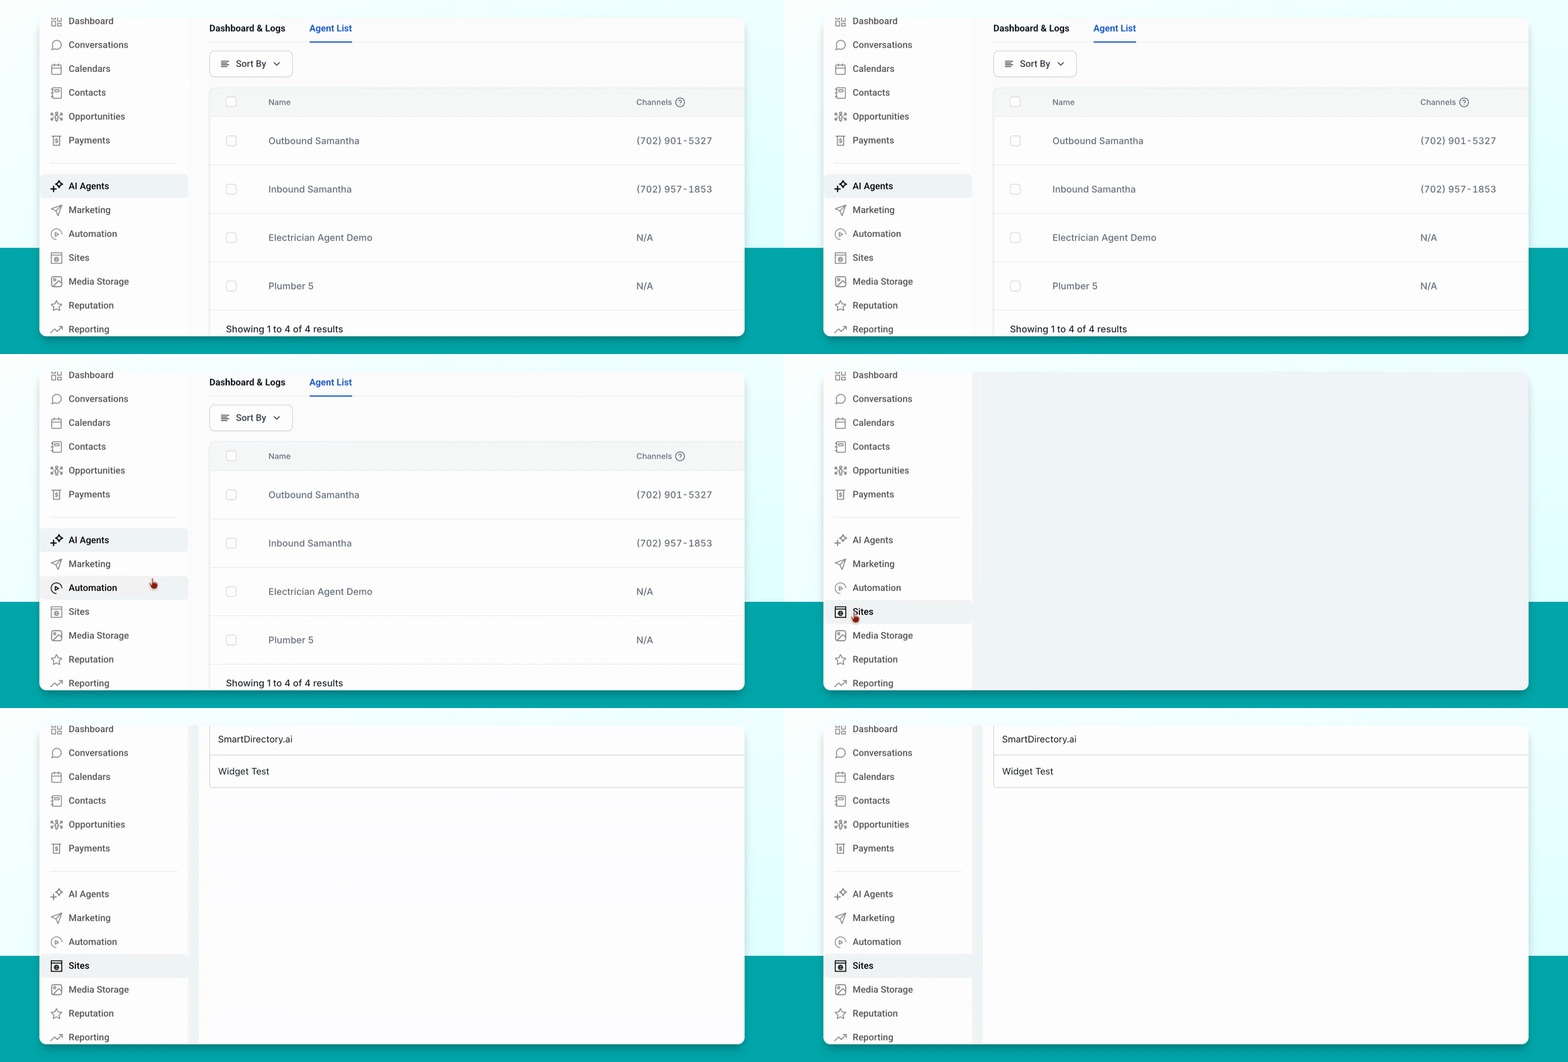
For more information, please see this article: Getting Started with Chat Widget
Step 4: Copy Widget Embed Code
Click Get Code in the upper right of the chat widget screen and copy the provided code. This code will be used in your custom embed section.
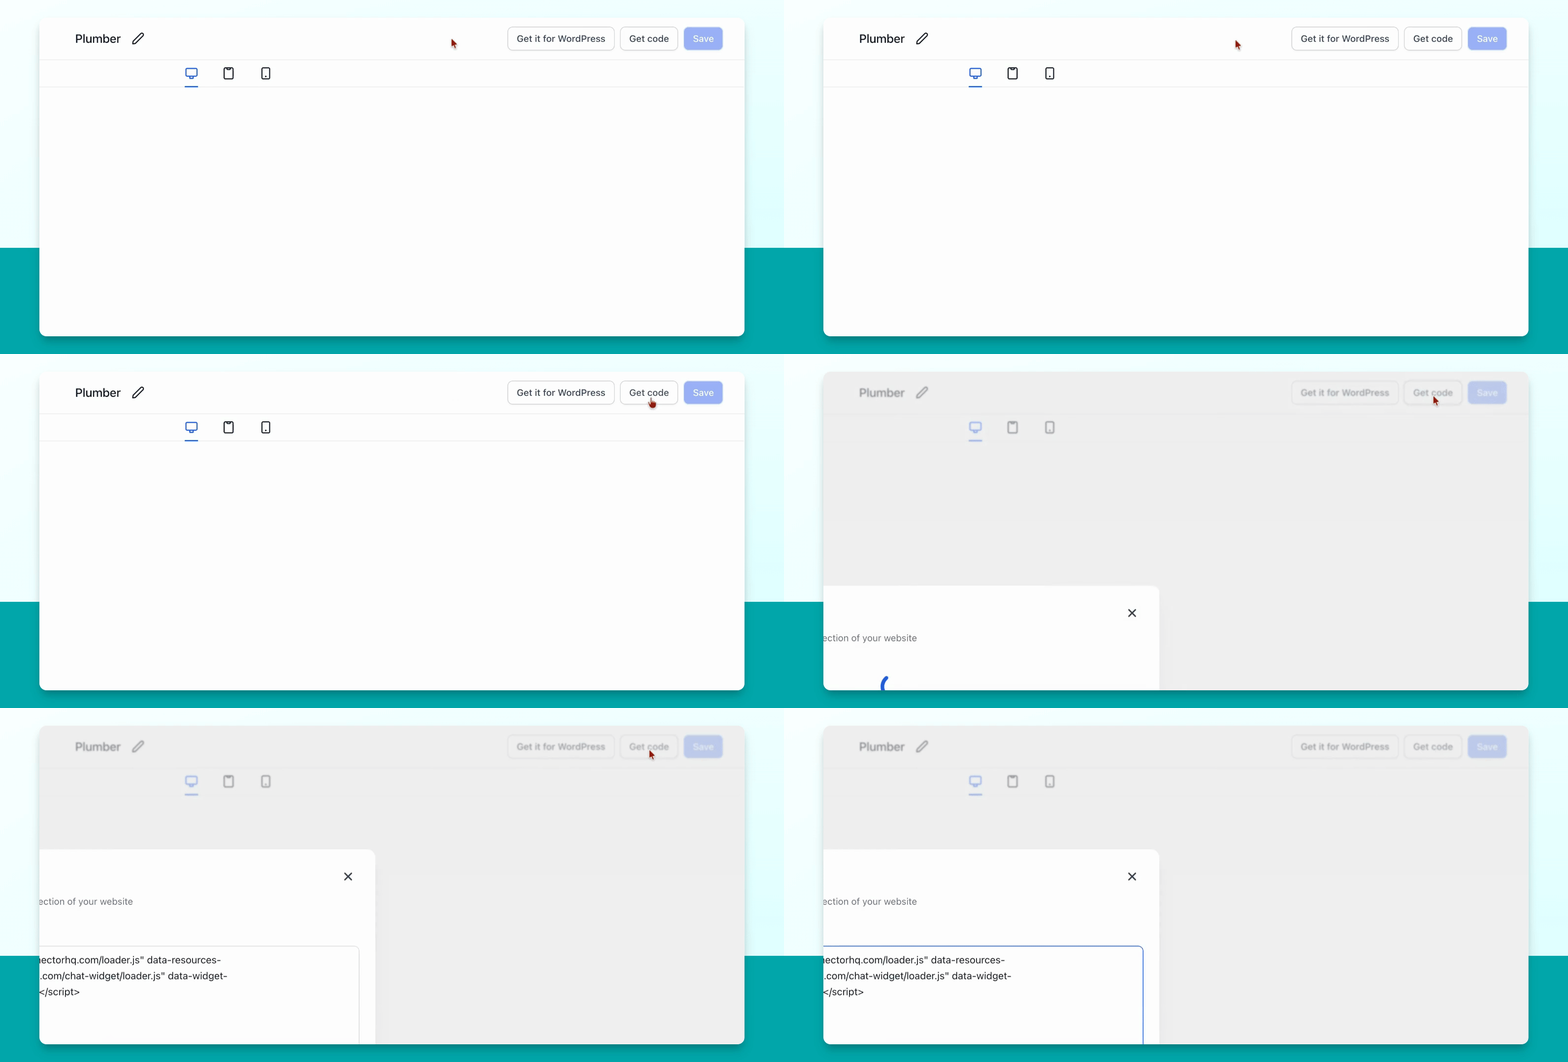
Step 5: Add Embed Code to Listing
Go to your SmartDirectoryAI Dashboard. Click on Businesses, then select the business with a plan that allows custom embed and where you want to add the agent. Click the pencil icon on the right. In the upper menu, select Custom Code, then paste the code you copied from your widget into the header code section. Click Save Code to apply the changes.
You have now installed a custom AI agent on an individual listing.