
Let's do it together!
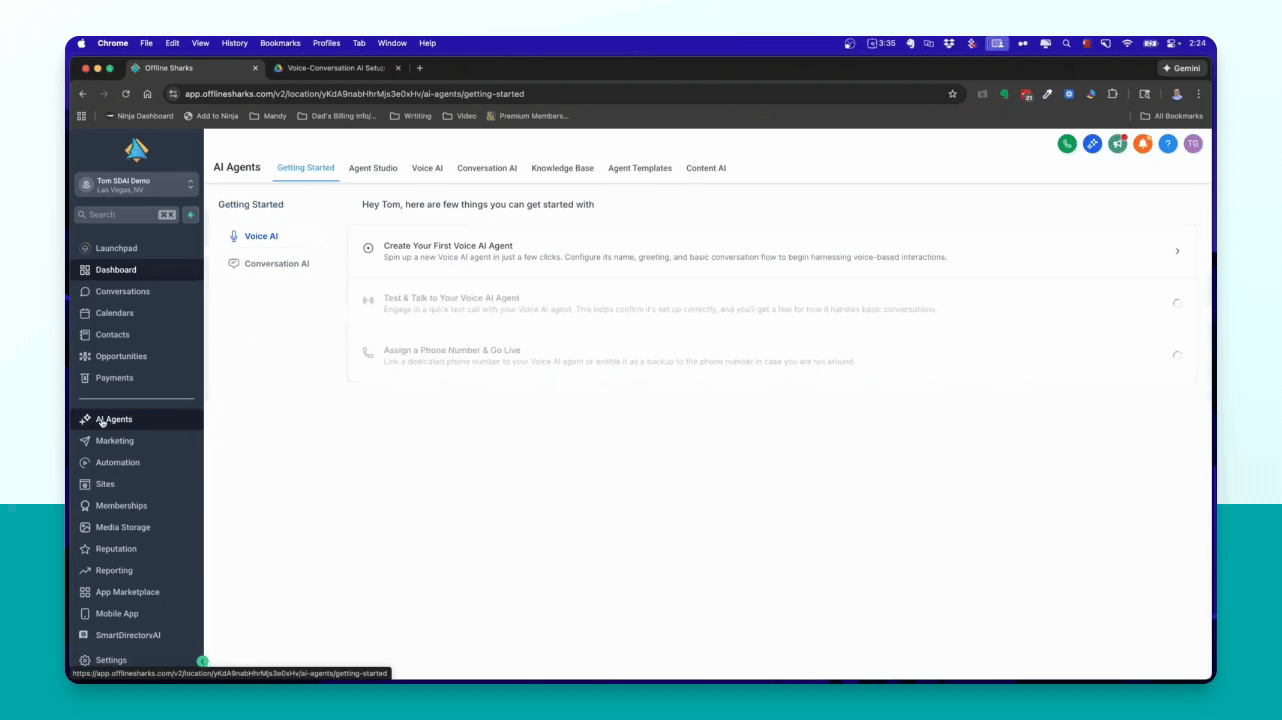
Step 1: Access AI Agents
Go to the AI Agents section in your sub account and select the conversation AI option.

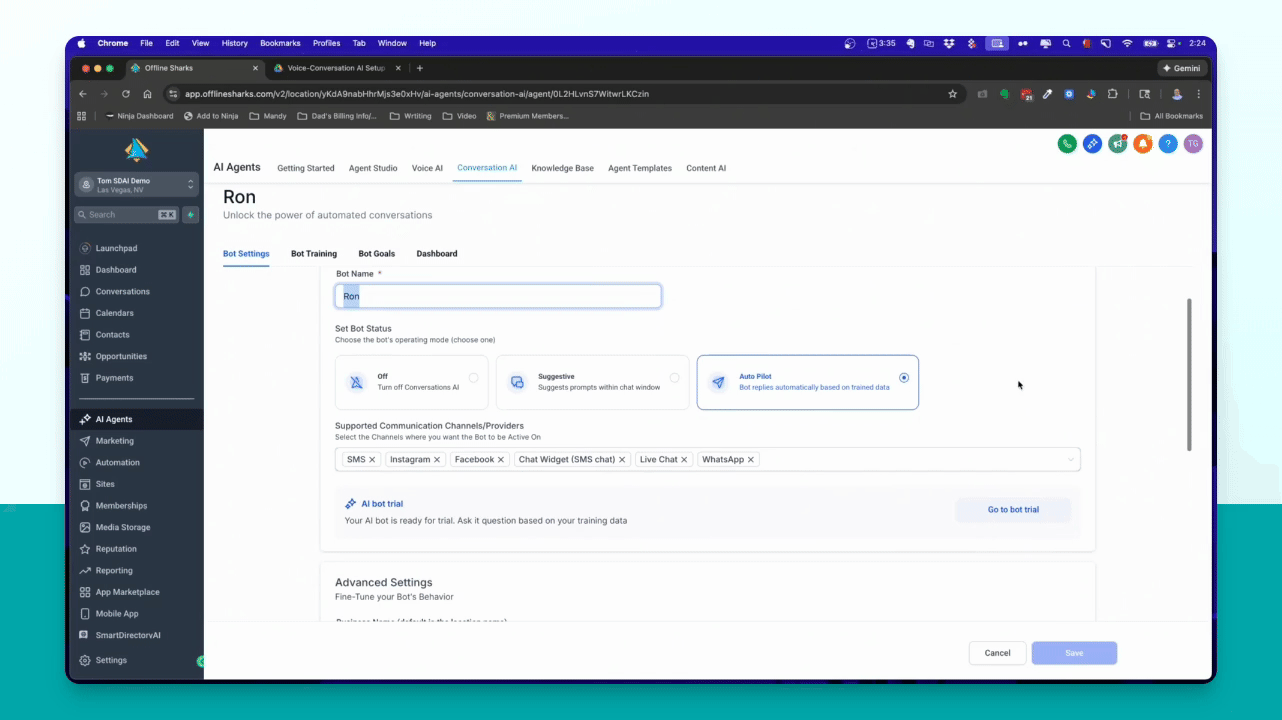
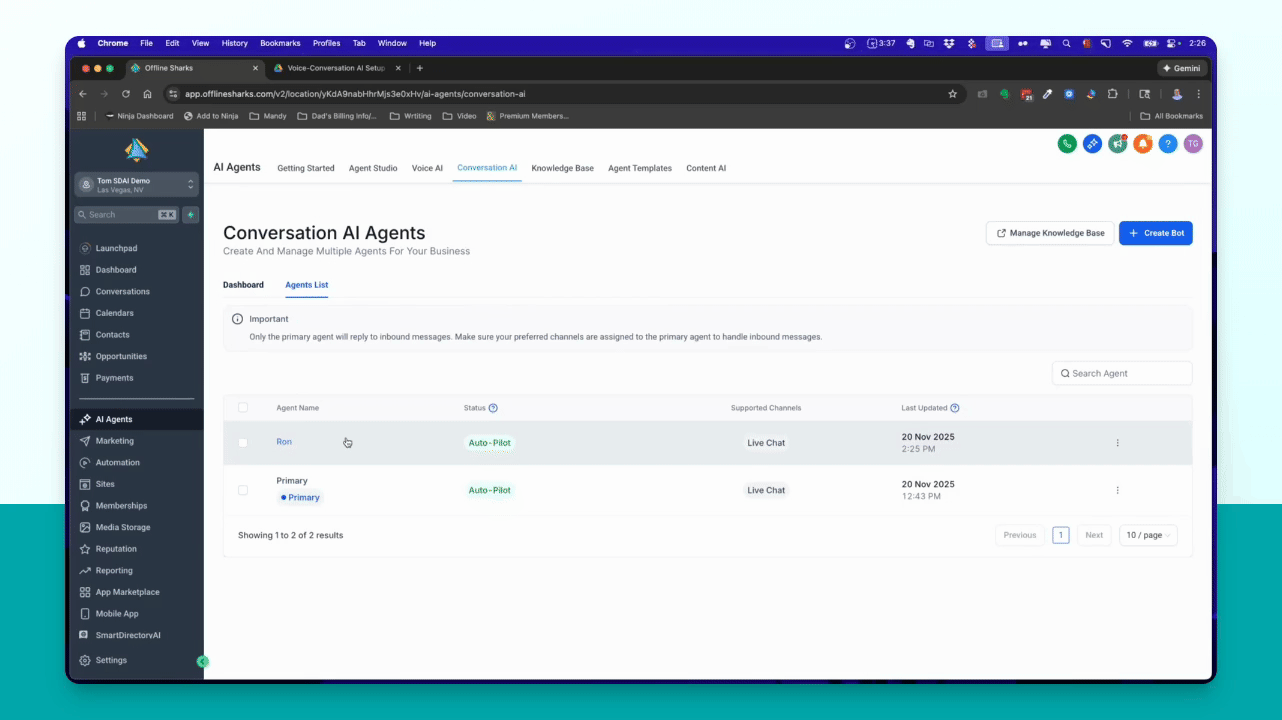
Step 2: Select Your Agent
Select the new agent named Ron from the agent list to access its settings.
Step 3: Configure Channels
Remove unwanted channels and keep only the live chat option for your agent.
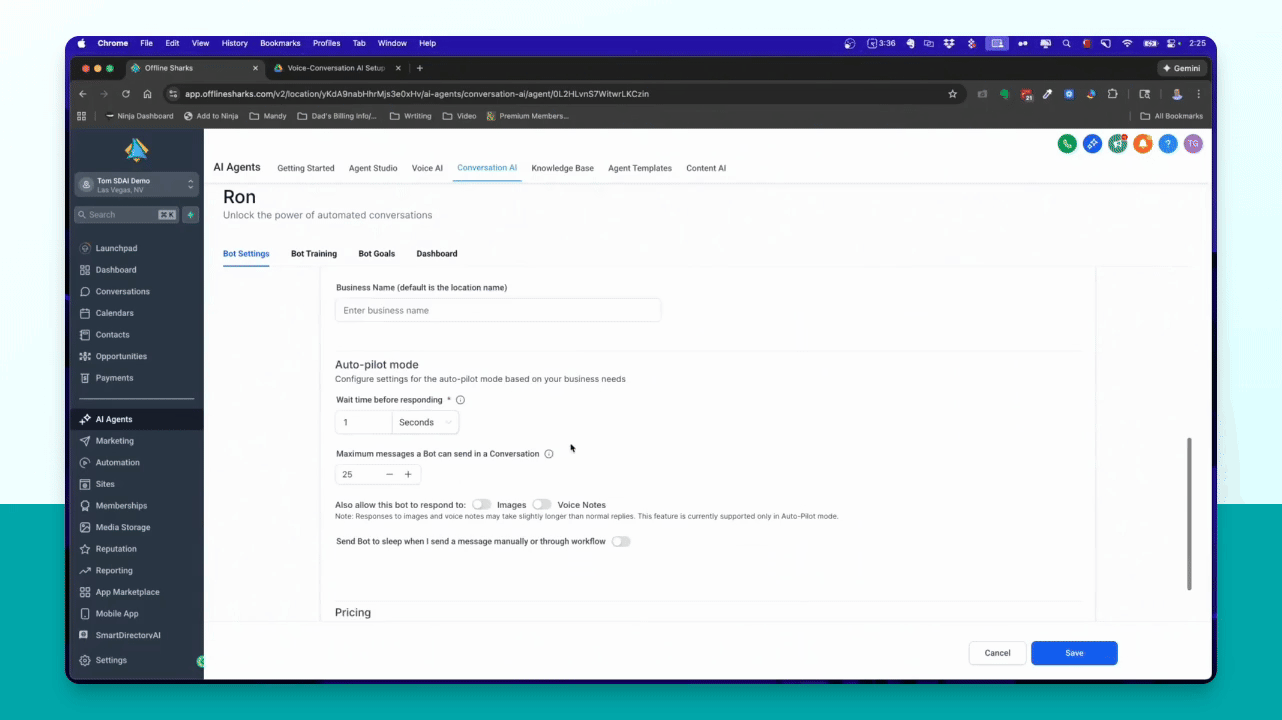
Step 4: Save Settings
Click the save button to apply your channel configuration changes.
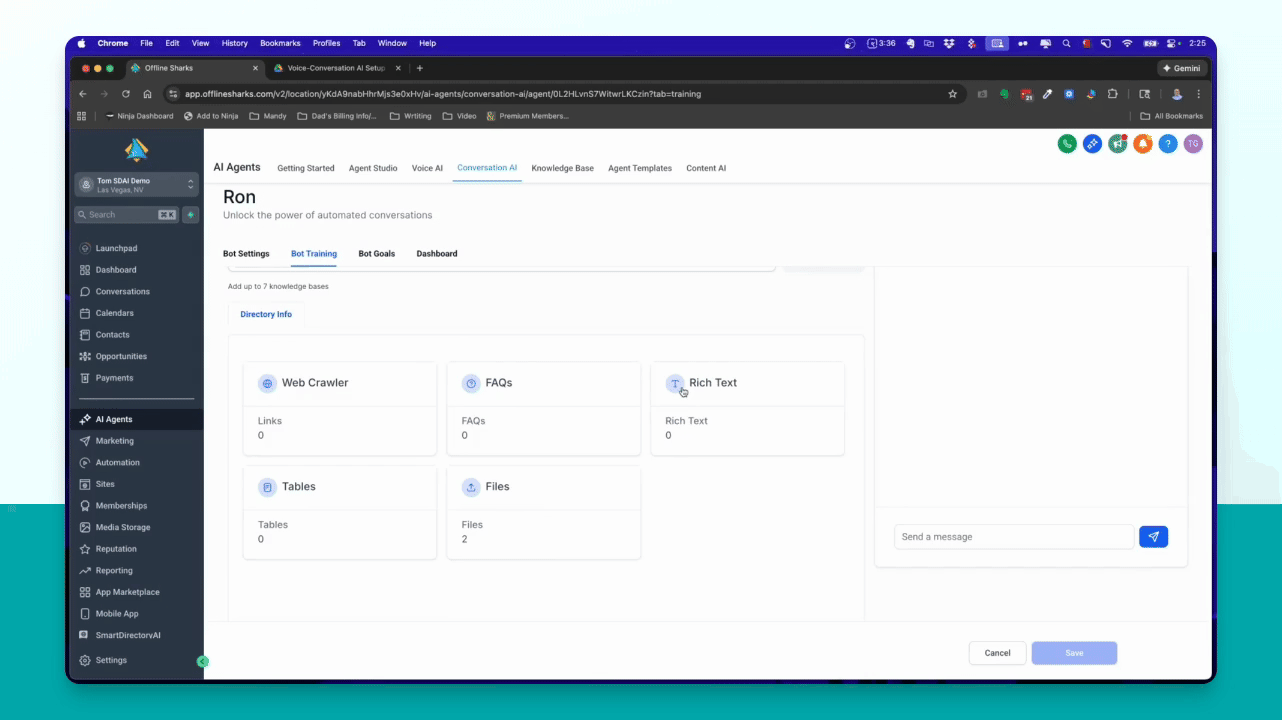
Step 5: Add Training Material
Link your knowledge base to the bot training section to enhance the agent's responses.

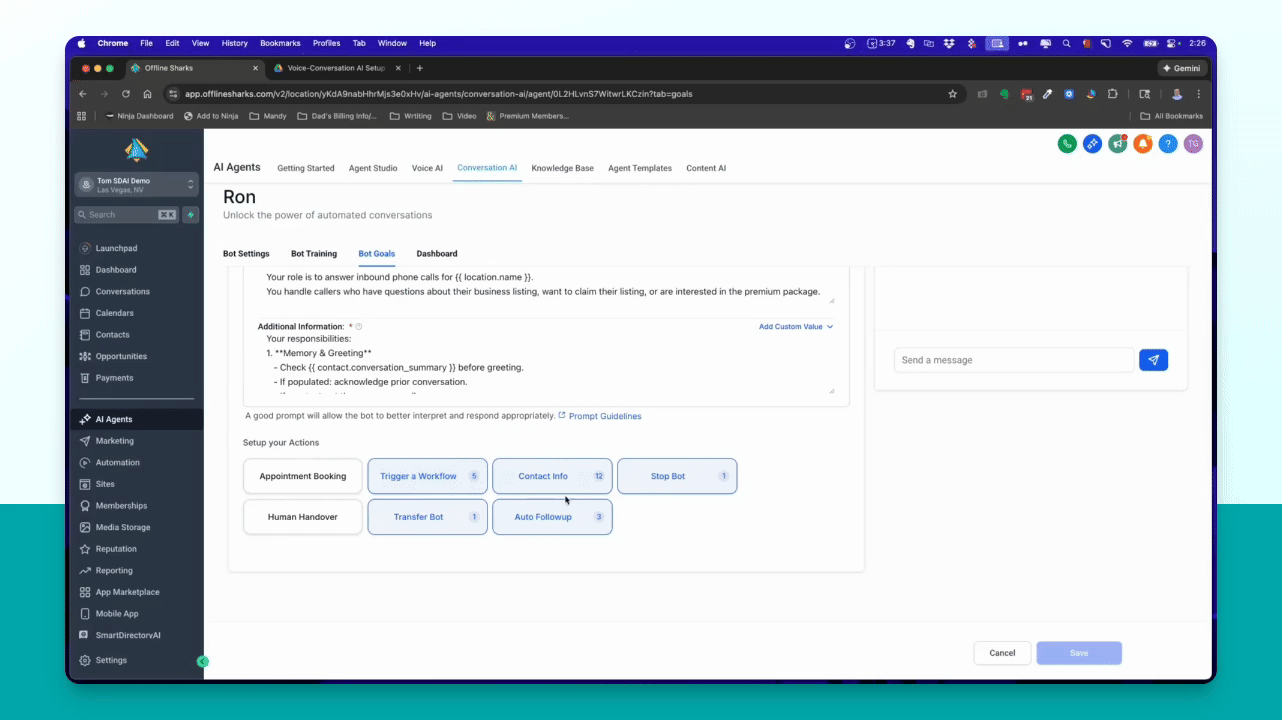
Step 6: Review Bot Goals
Check the pre-written prompt for your bot goals and avoid modifying unless necessary.
Step 7: Final Save
Click save again to ensure all settings and training material are updated.
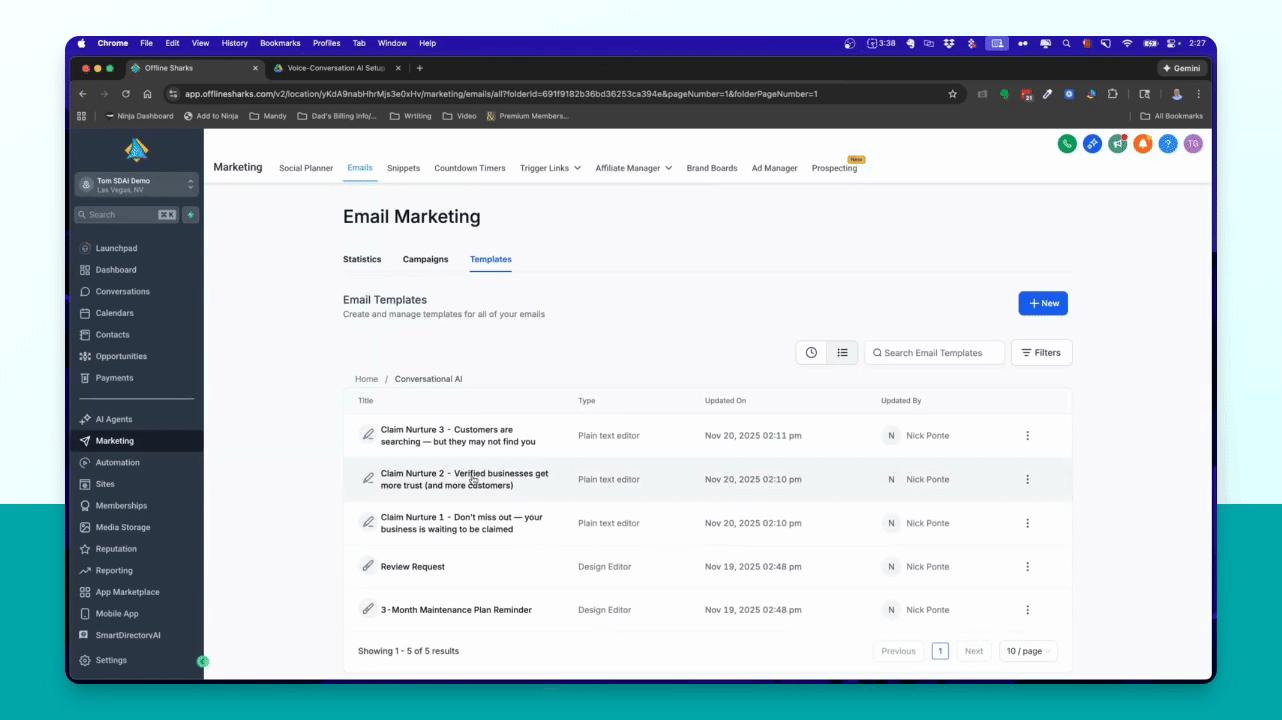
Step 8: Edit Email Templates
Navigate to Marketing → Emails → Templates and find the Conversational AI folder to edit email messages.
Step 9: Edit SMS Snippets
Go to Snippets to manage and edit any SMS messages associated with the workflows.
Troubleshooting
Agent not responding
Check if the agent is linked to the correct knowledge base and channels.
Workflow errors
Review the workflow settings and ensure all conditions are correctly configured.
FAQ
Can I change the agent name?
Yes, you can change the agent name in the bot settings.
How do I add more training material?
You can add files, FAQs, or additional information in the bot training section.