Let's do it together!
Step 1: Access Sub Account
Log into High Level and access the sub account containing your Smart Directory AI site.
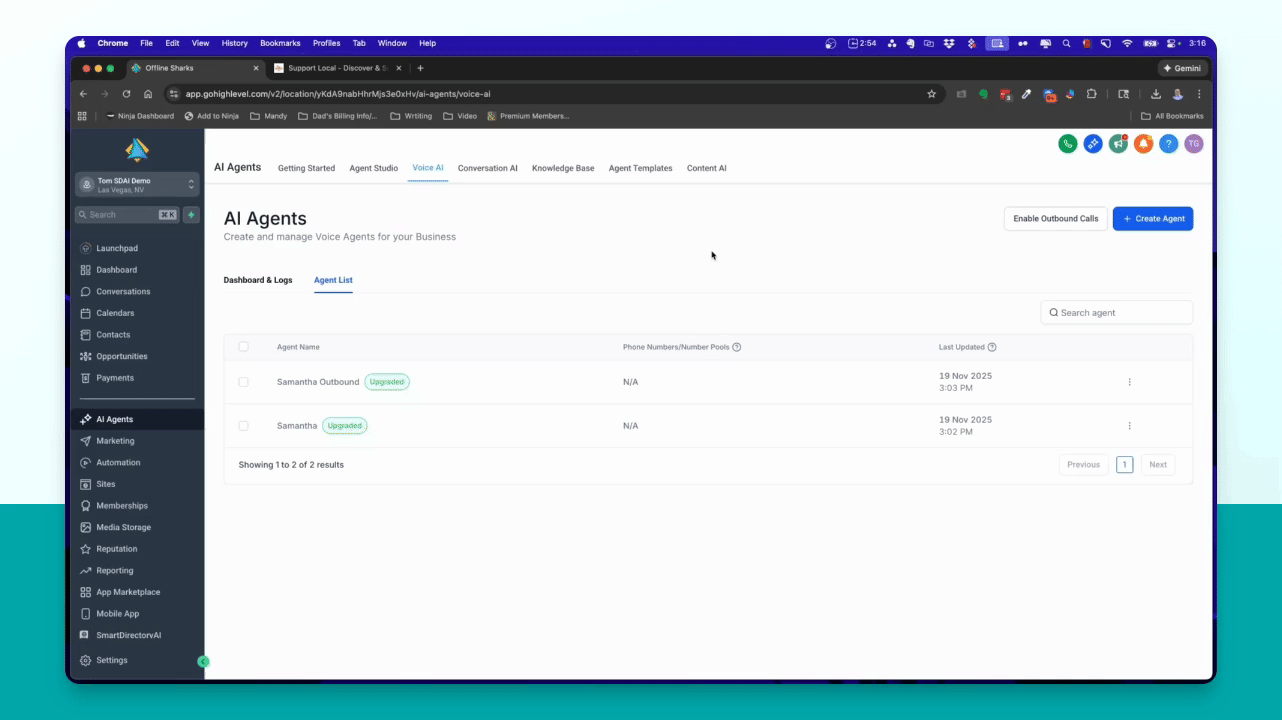
Step 2: Prepare AI Agent
Ensure that the AI agent snapshot is imported, APIs are added, and custom values are set up.

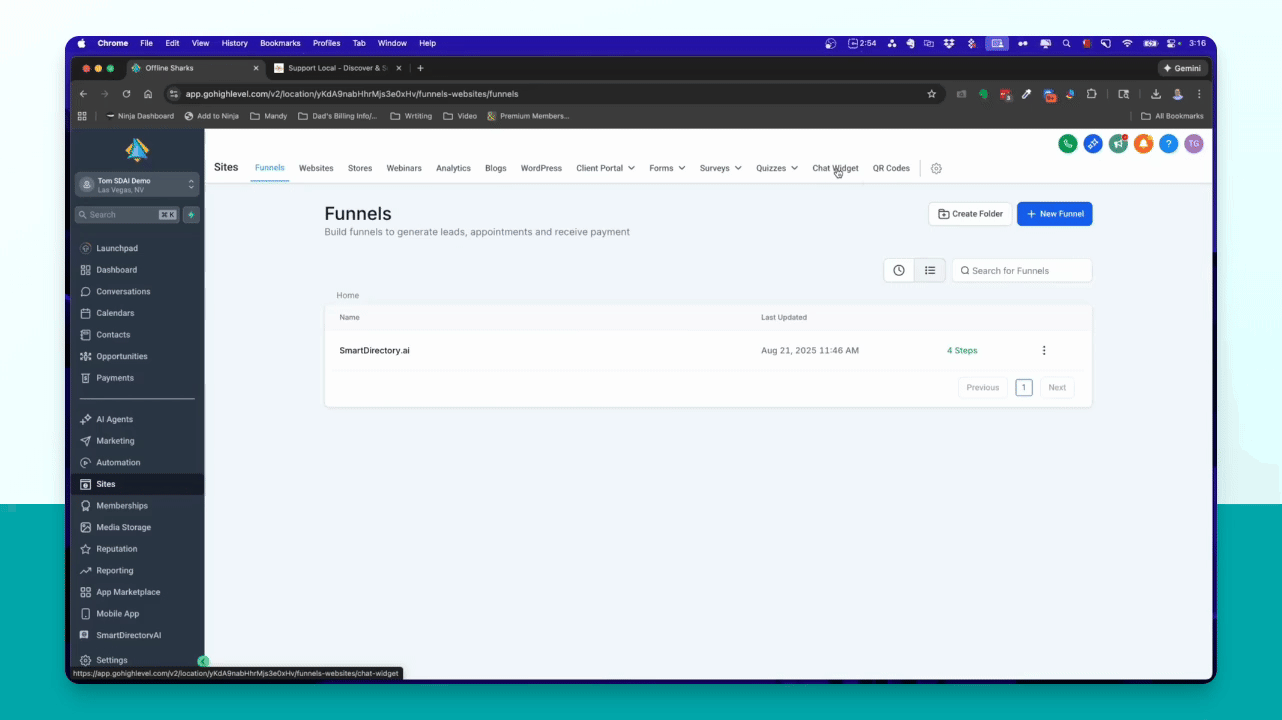
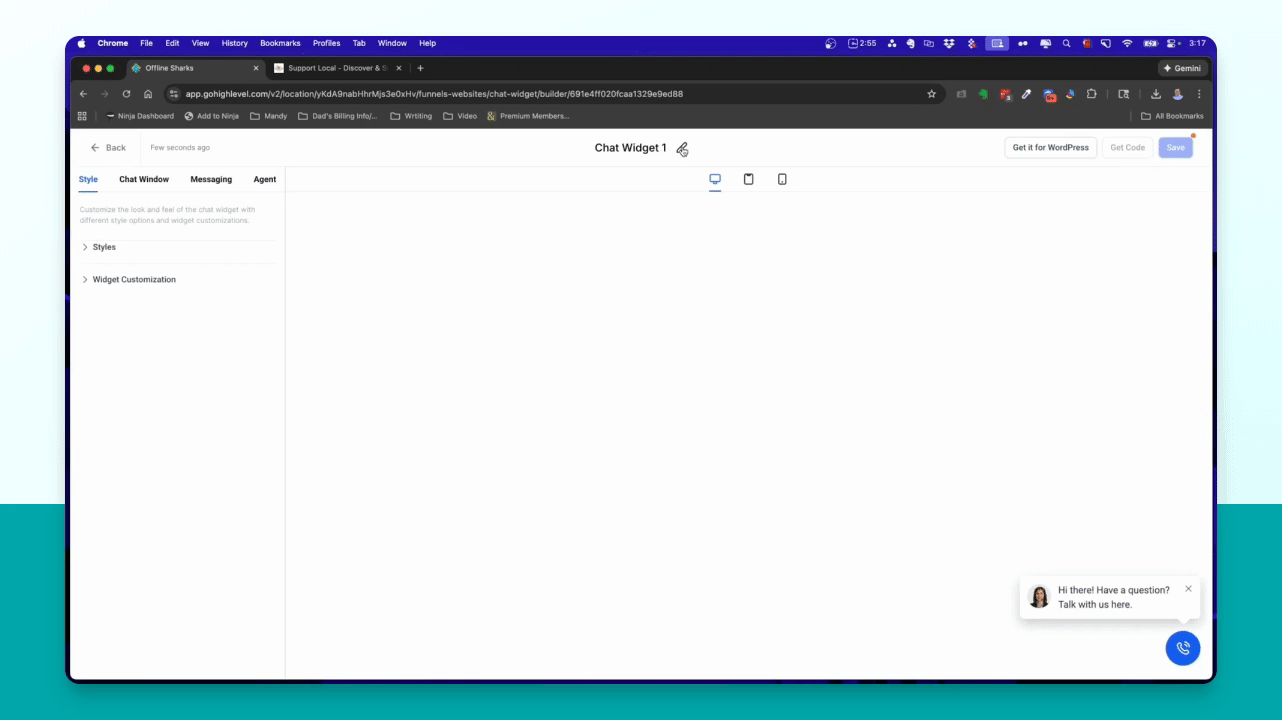
Step 3: Create Chat Widget
Navigate to the left menu, select Sites, then click Chat Widget in the top menu.
Step 4: Add New Widget
Click on the New button and select Voice AI for the widget type.
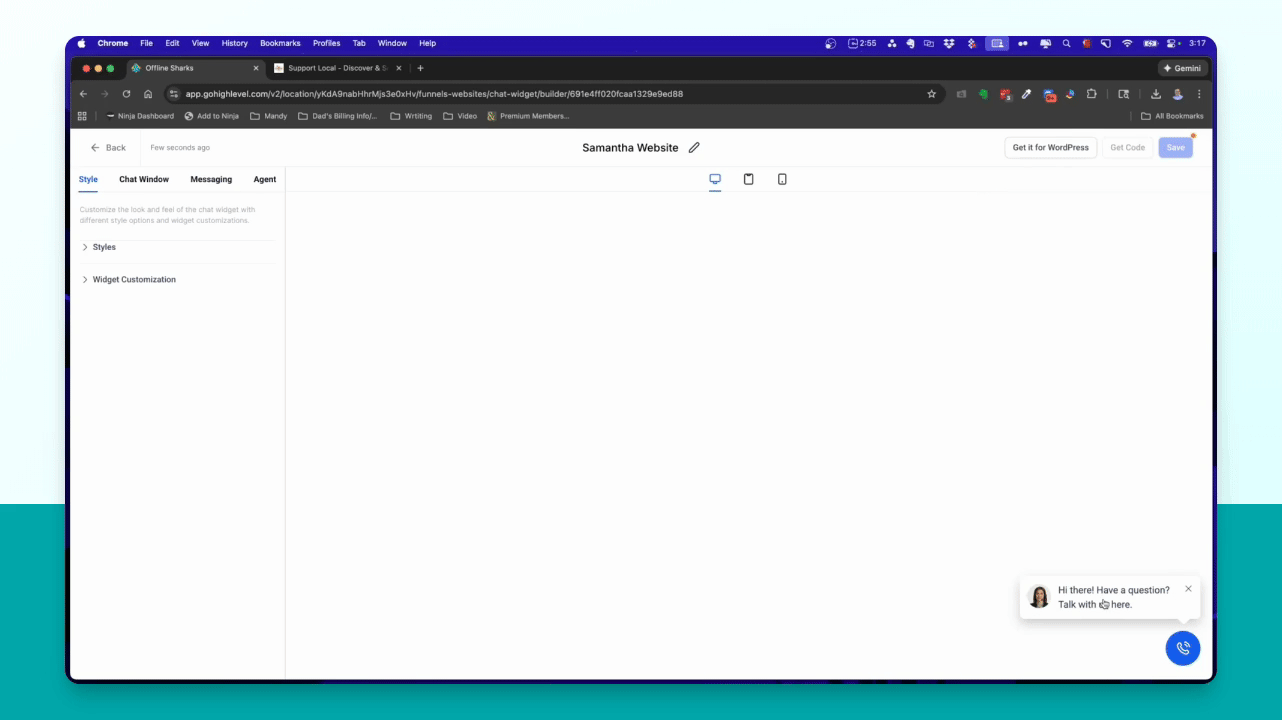
Step 5: Rename Widget
Rename the widget to Samantha Website for identification.
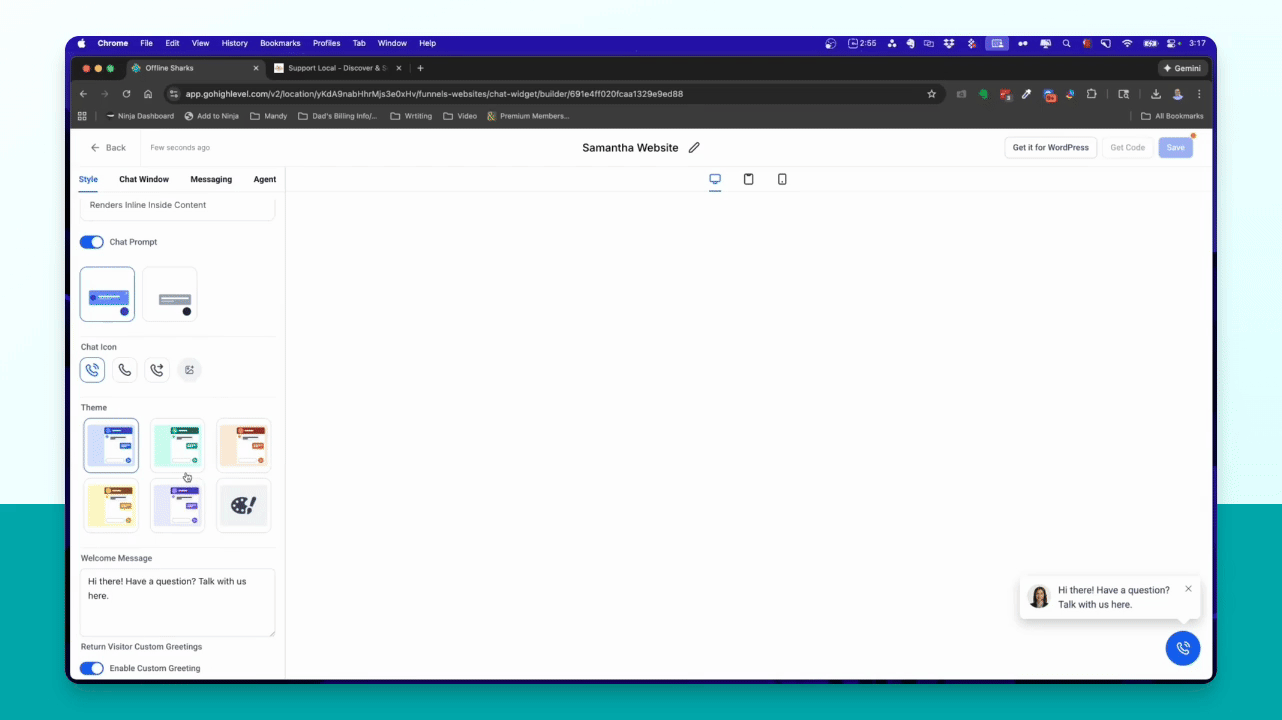
Step 6: Configure Widget Style
Select the widget style, such as floating or inline, and customize the appearance options.
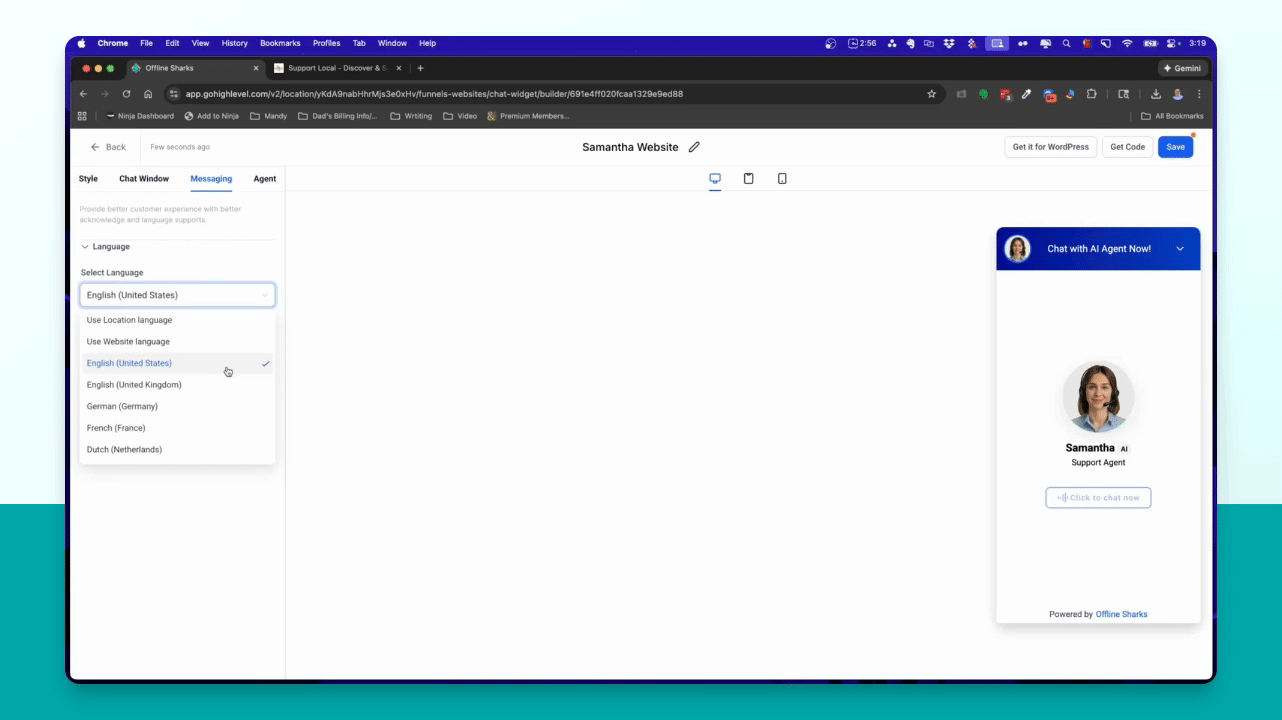
Step 7: Edit Welcome Messages
Change the welcome message and custom greeting for returning users in the widget settings.
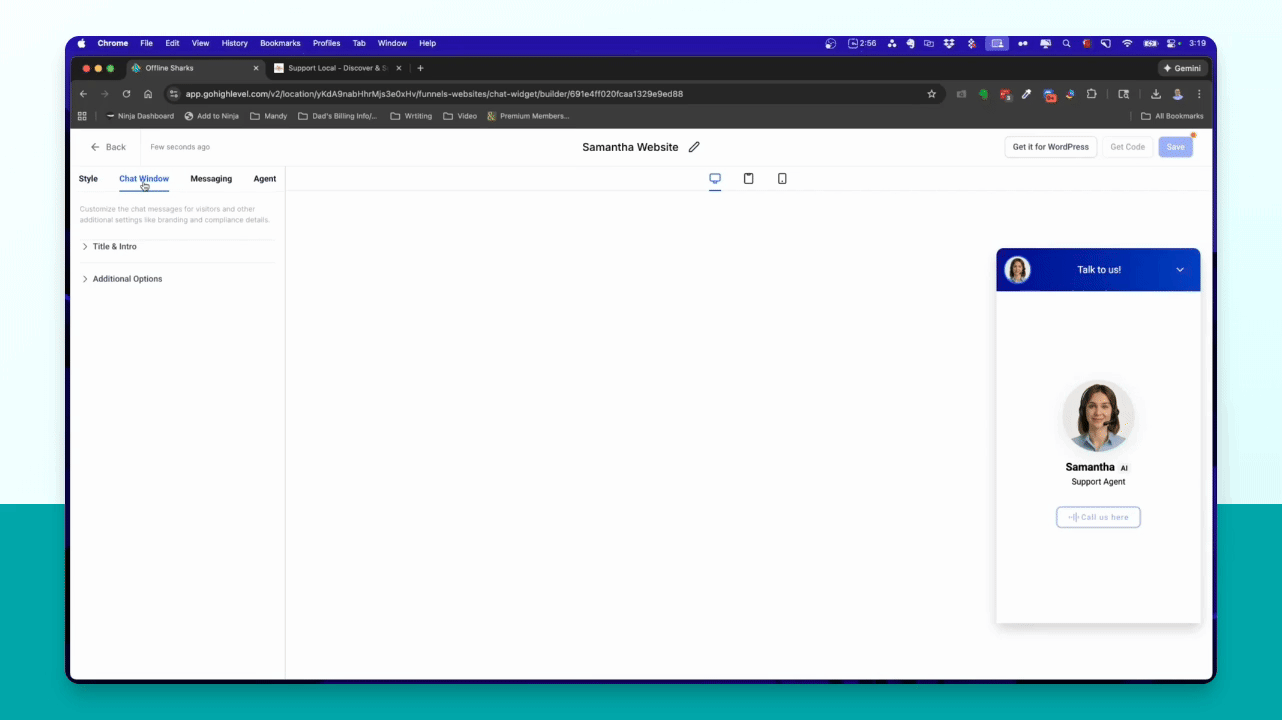
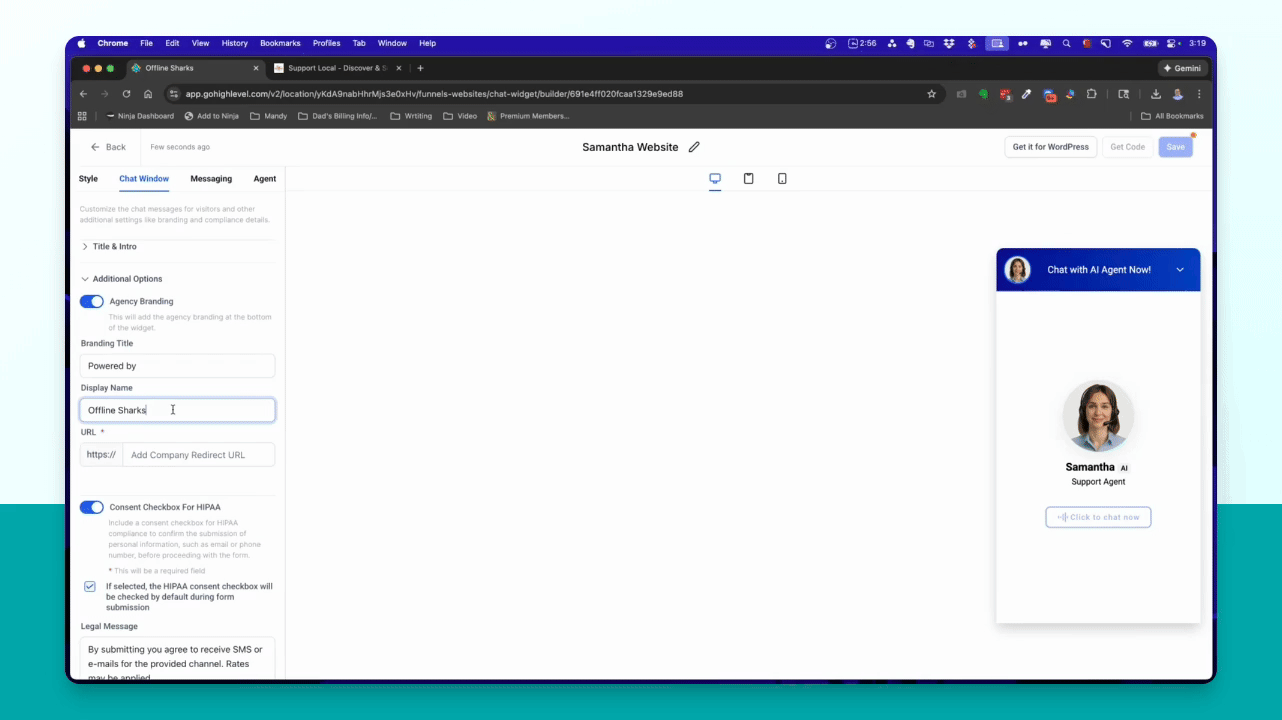
Step 8: Change Title and Button Text
Modify the widget title and button text in the Chat Window settings.
Step 9: Input Site URL
Enter your site URL in the additional options to save the widget configuration.
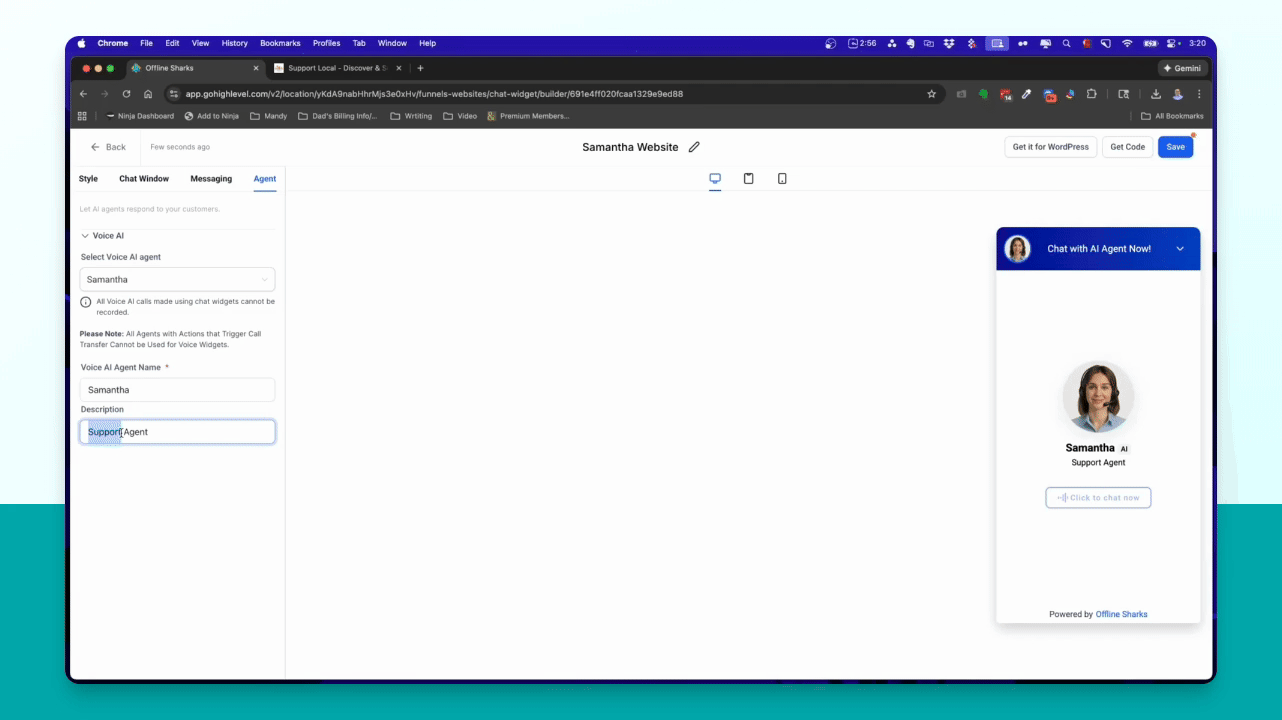
Step 10: Select Agent
Choose the AI agent Samantha and rename it if desired.
Step 11: Save Widget
Click the Save button to create your chat widget.
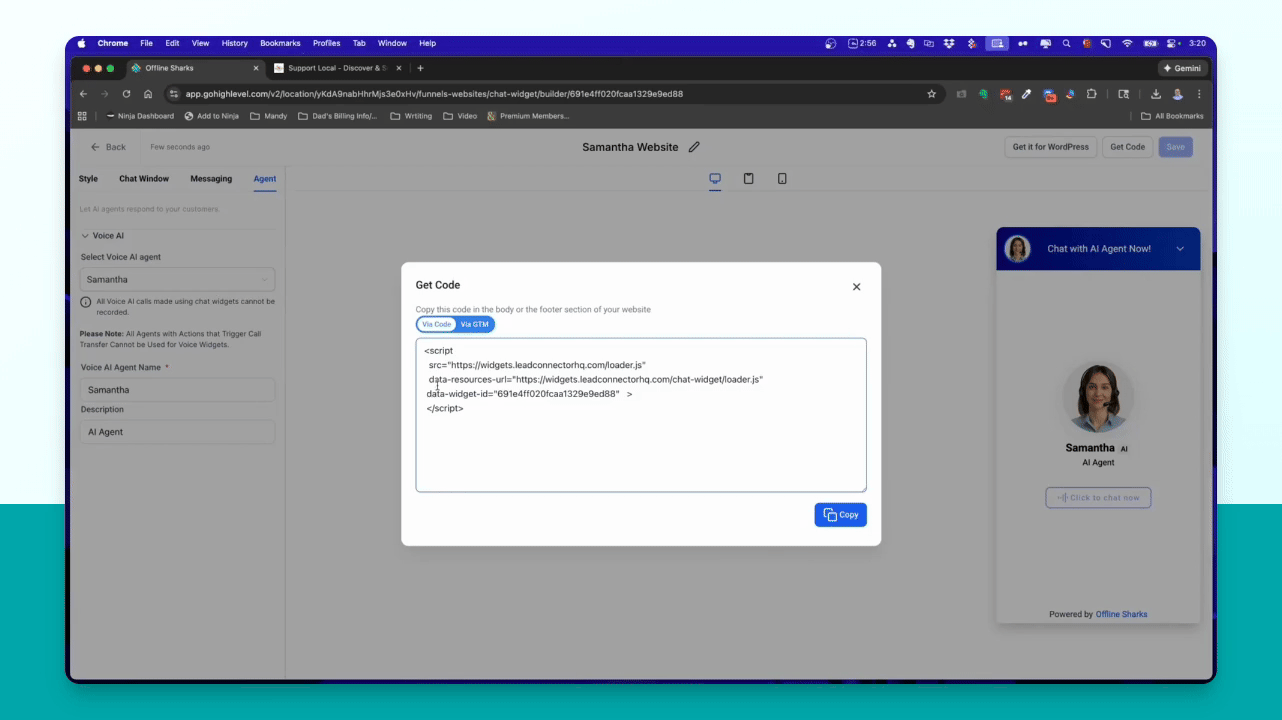
Step 12: Obtain Widget Code
Click the Get Code button to copy the widget code for your site.

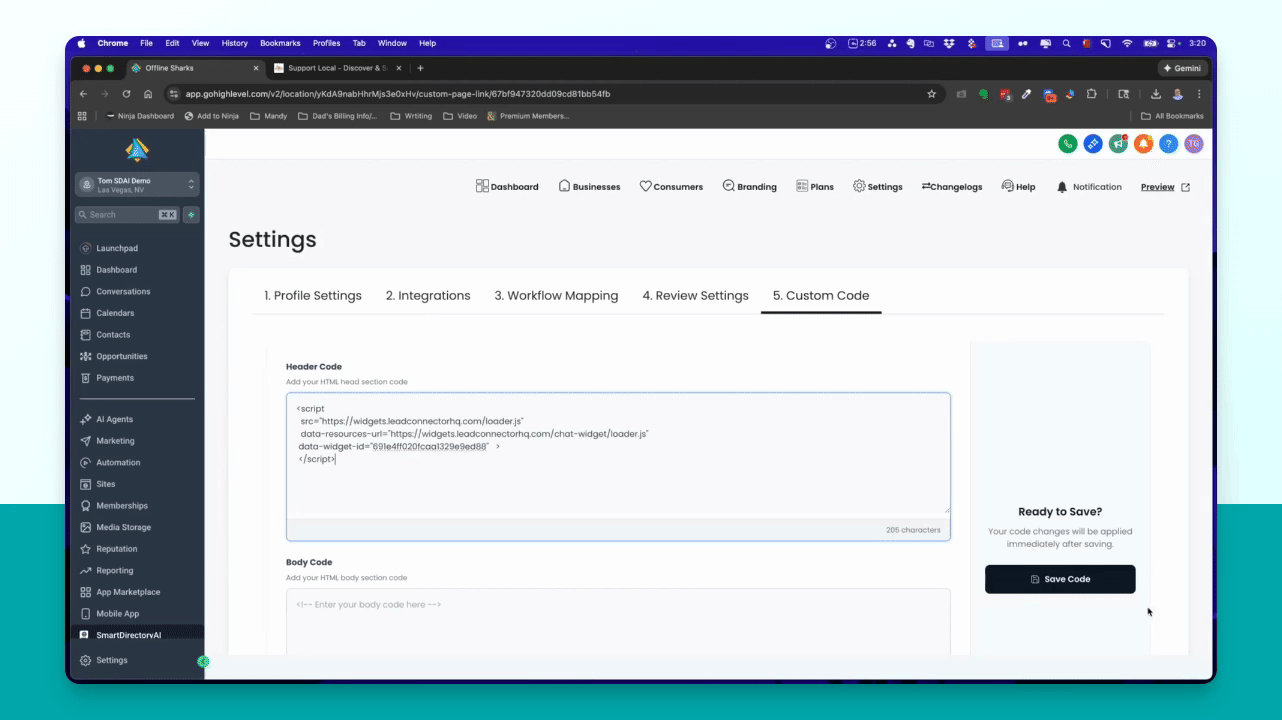
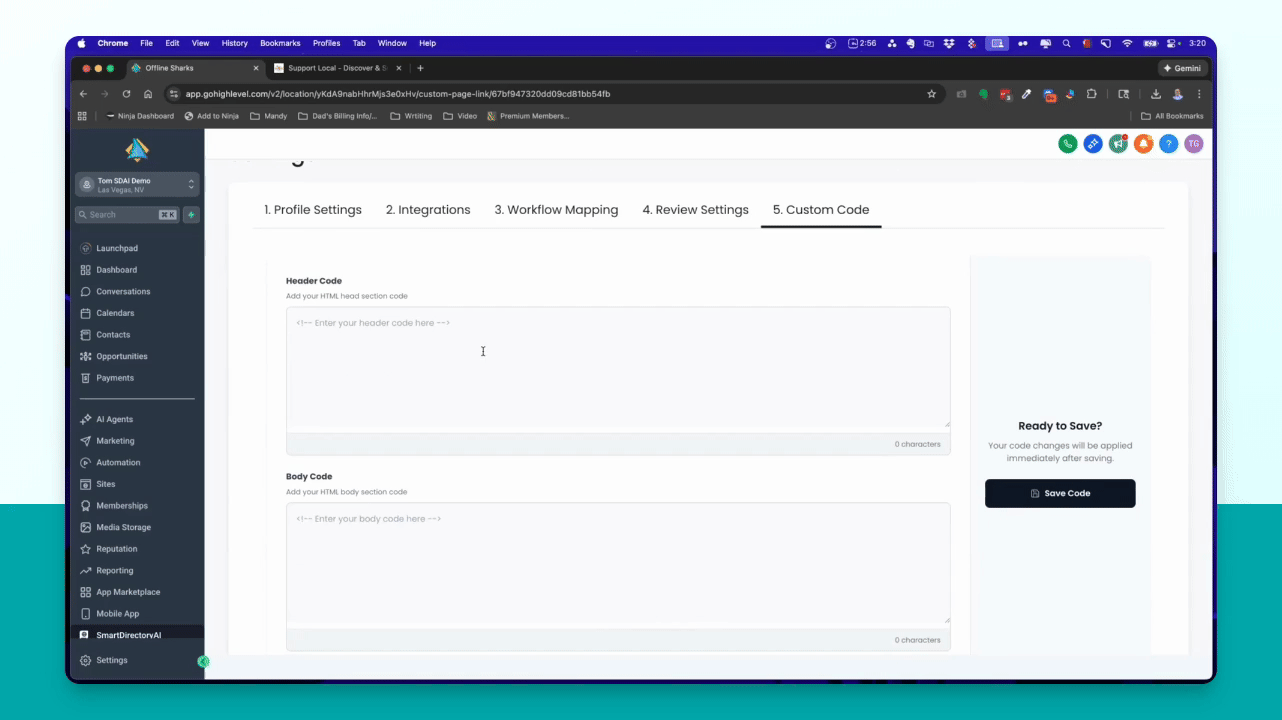
Step 13: Add Code to Site
Navigate to Settings in your Smart Directory AI Dashboard, then select Custom Code.
Step 14: Paste Widget Code
Paste the copied widget code into the header code section and click Save.
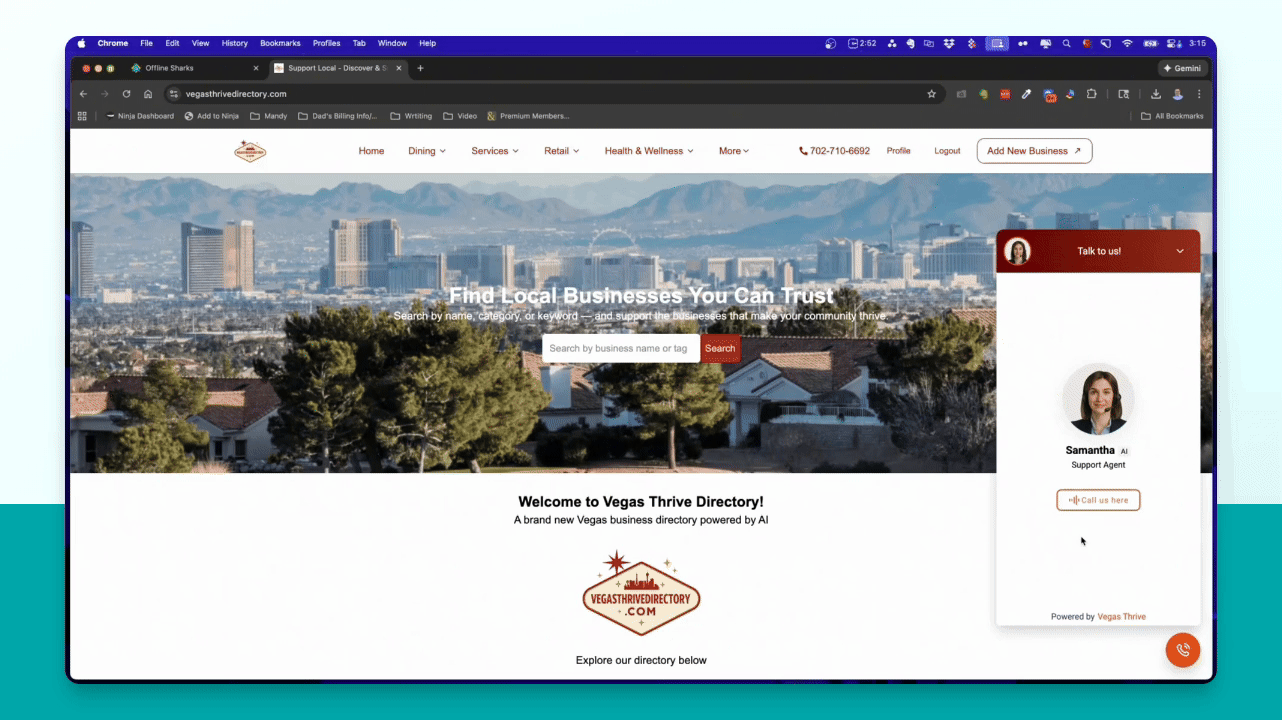
Step 15: Preview Site
Preview your site to confirm the widget appears in the lower right corner and functions correctly.