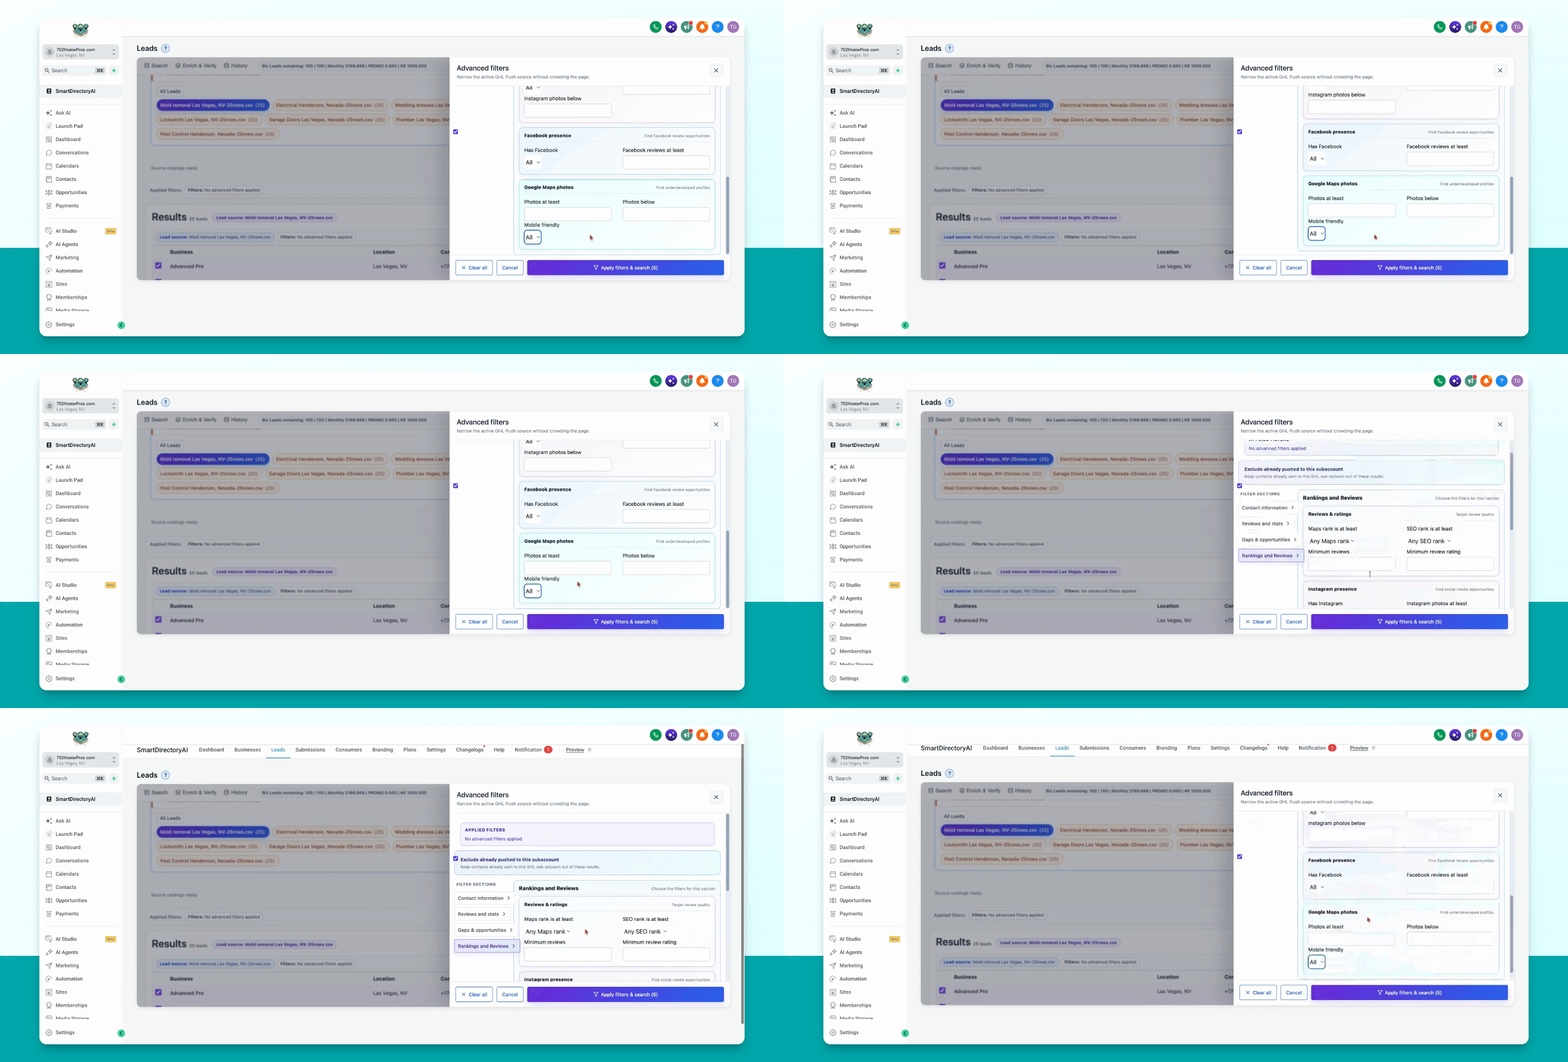

This guide explains how to use the Advanced filter features in the Lead tool to refine your lead selection before adding them to your directory. Let's look at the steps:
Step 1: Open Advanced Filters
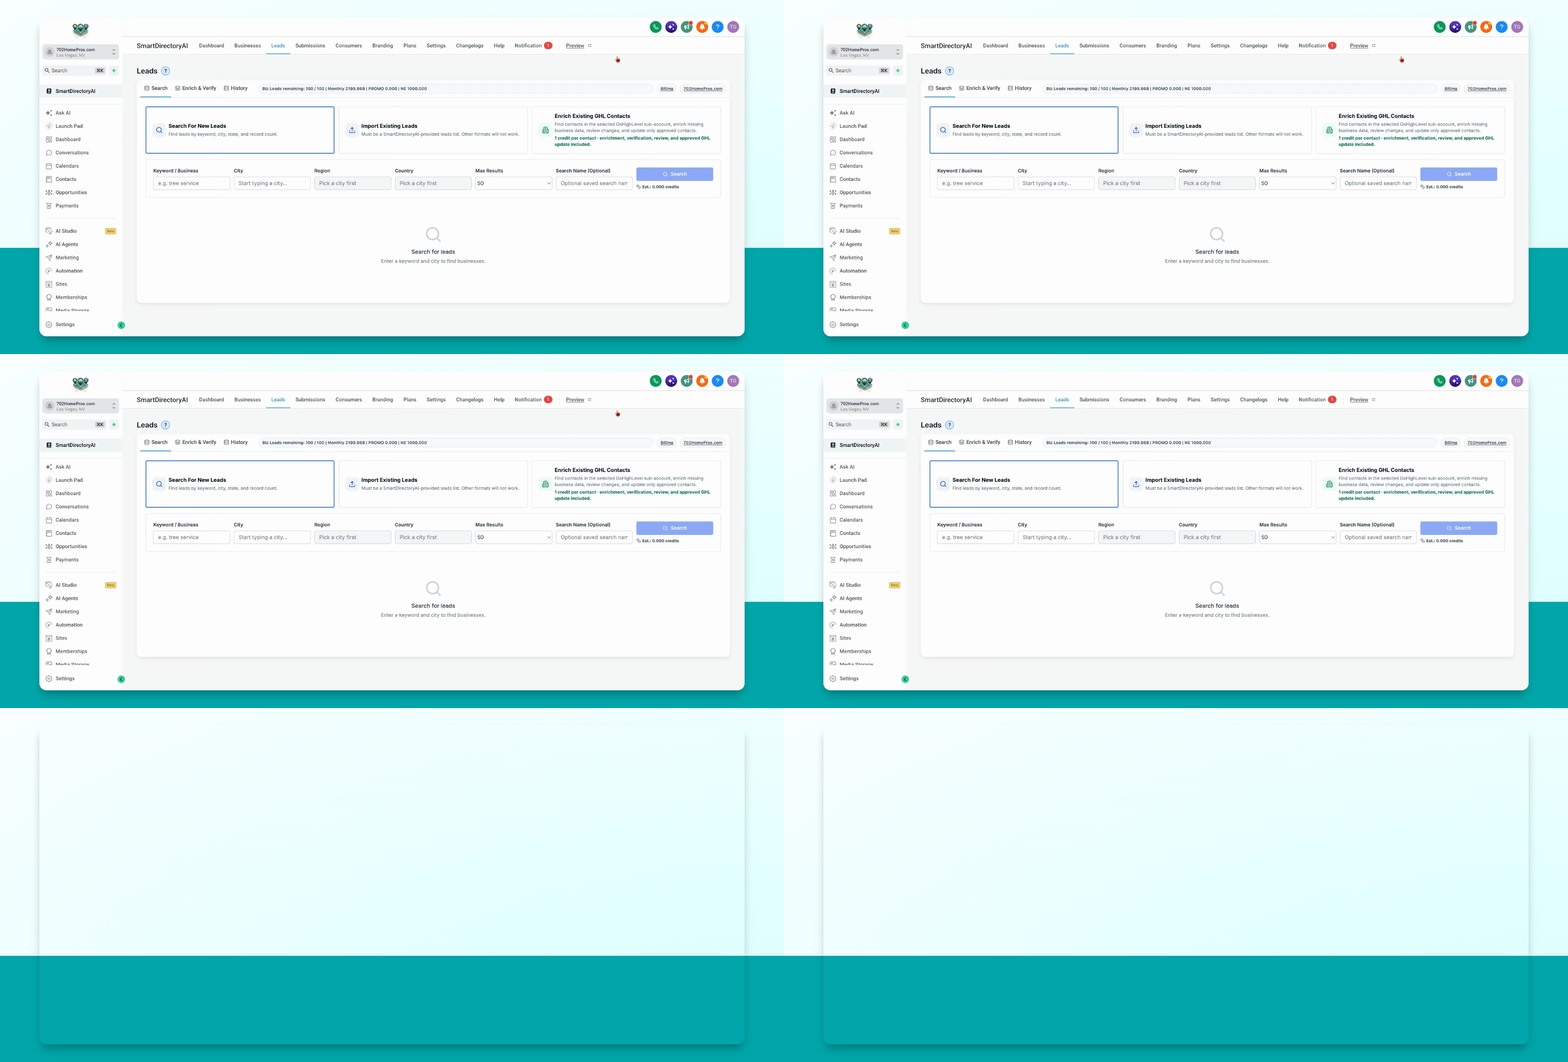
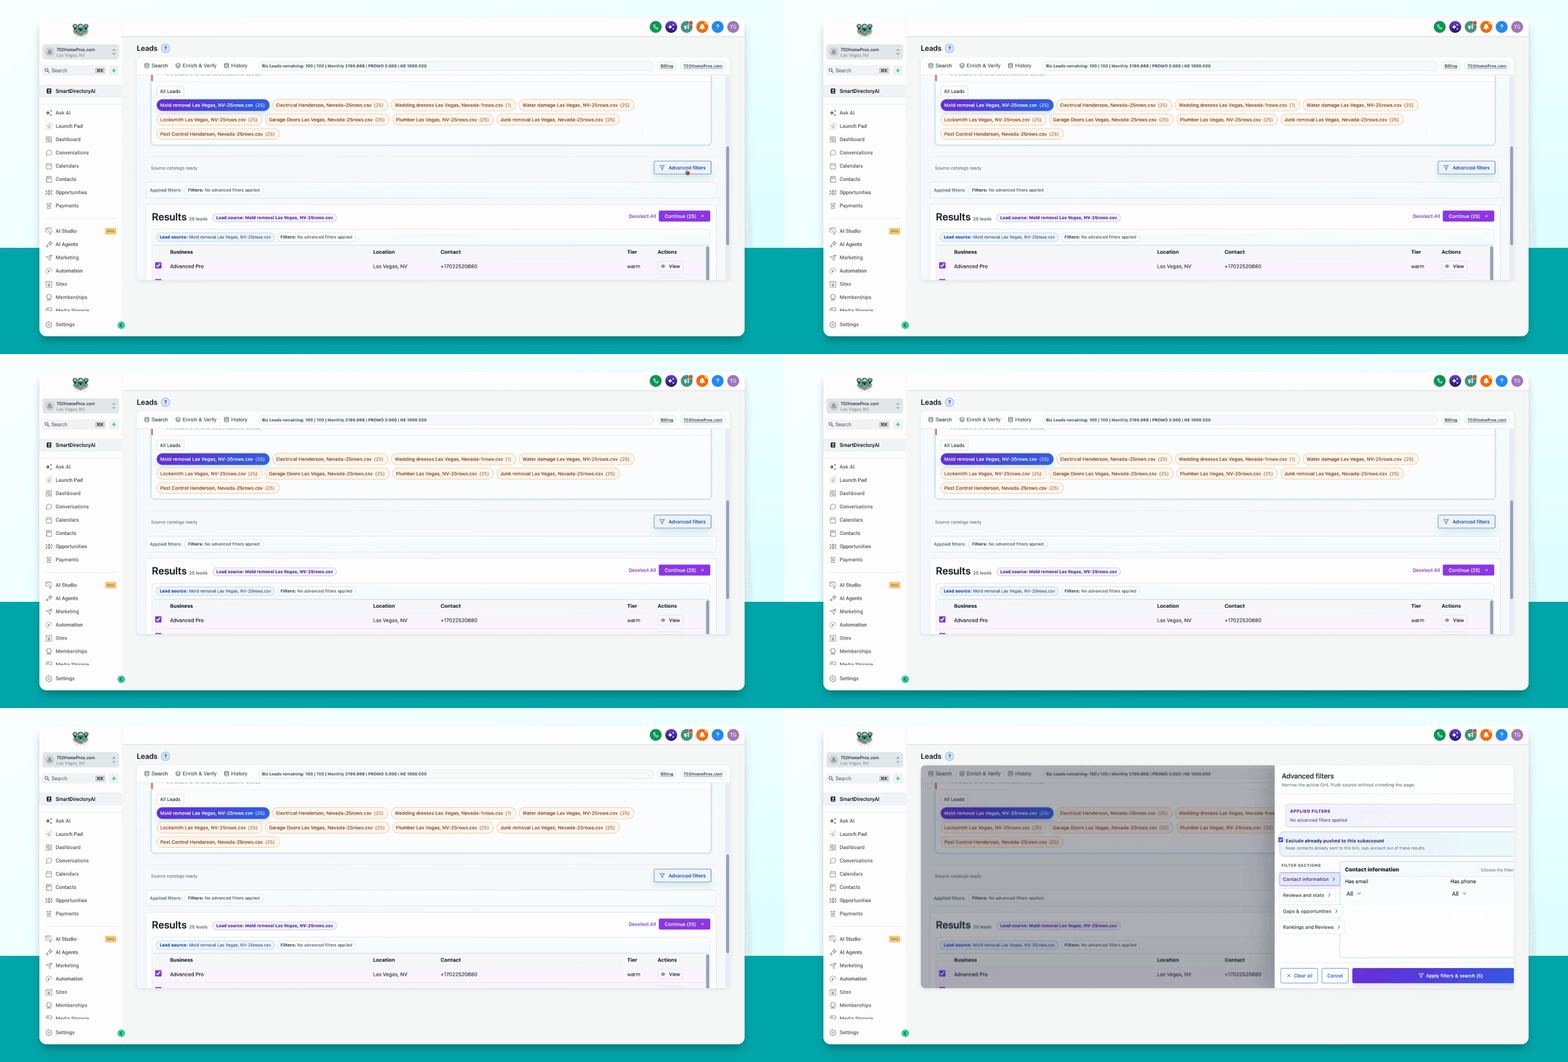
Inside the Leads tab, go to your search history and select the list you want to filter. Click Open Tools, then Create Listings. Locate and click the Advanced Filters button.
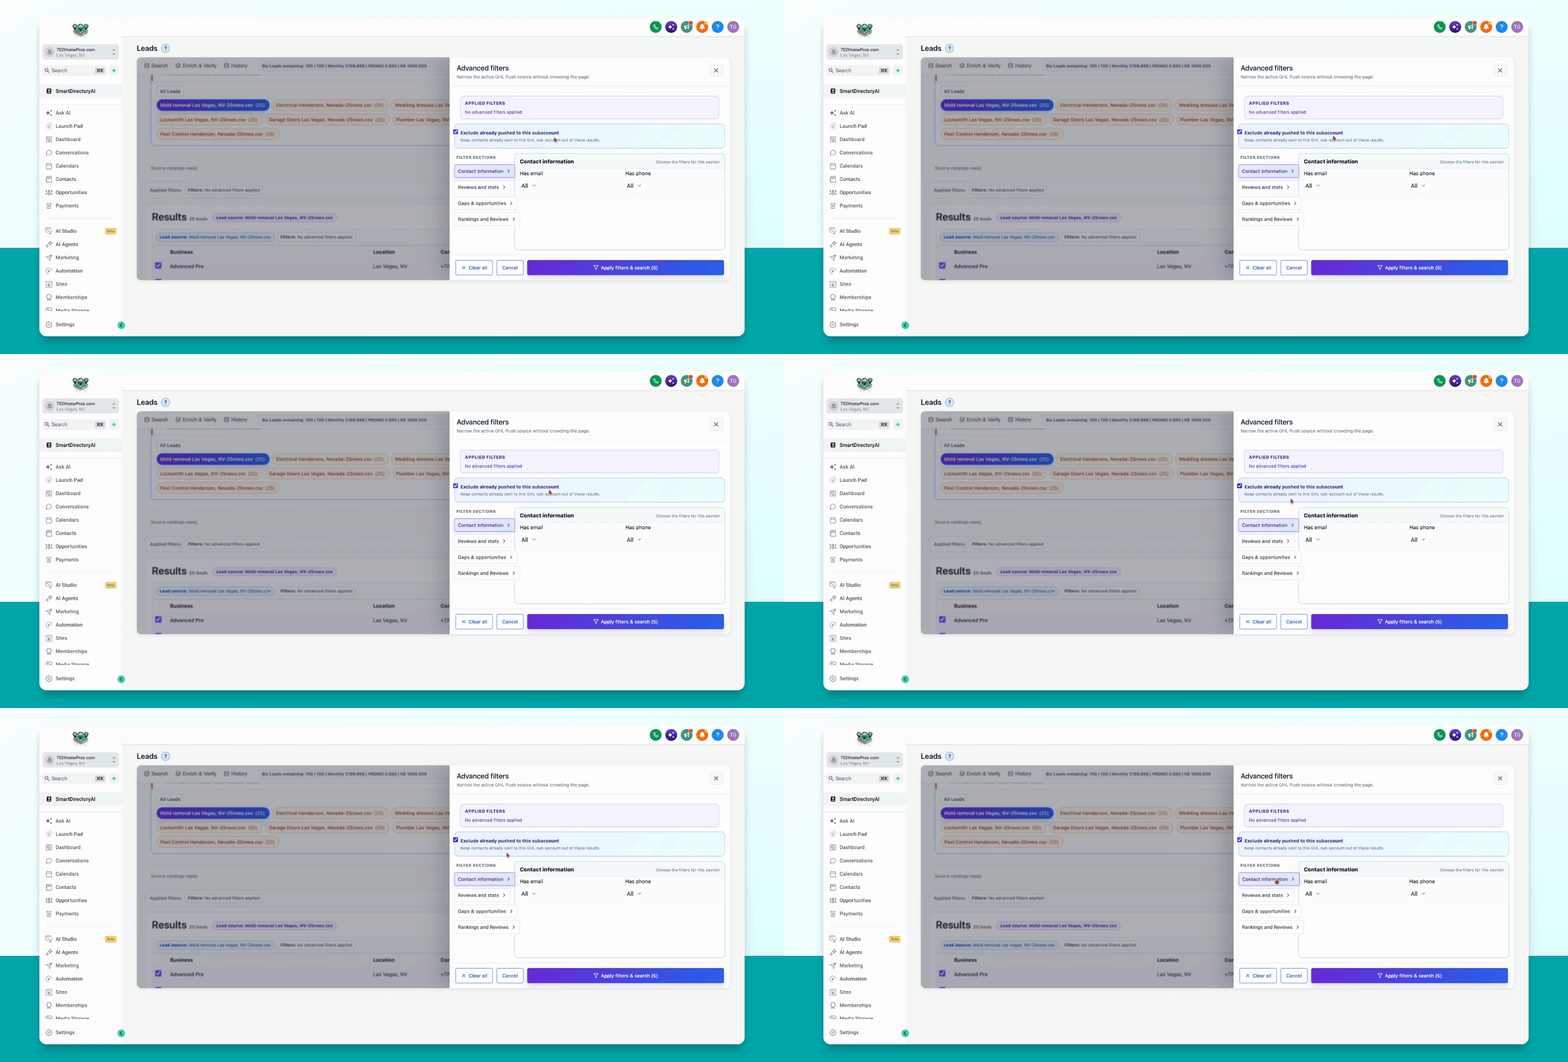
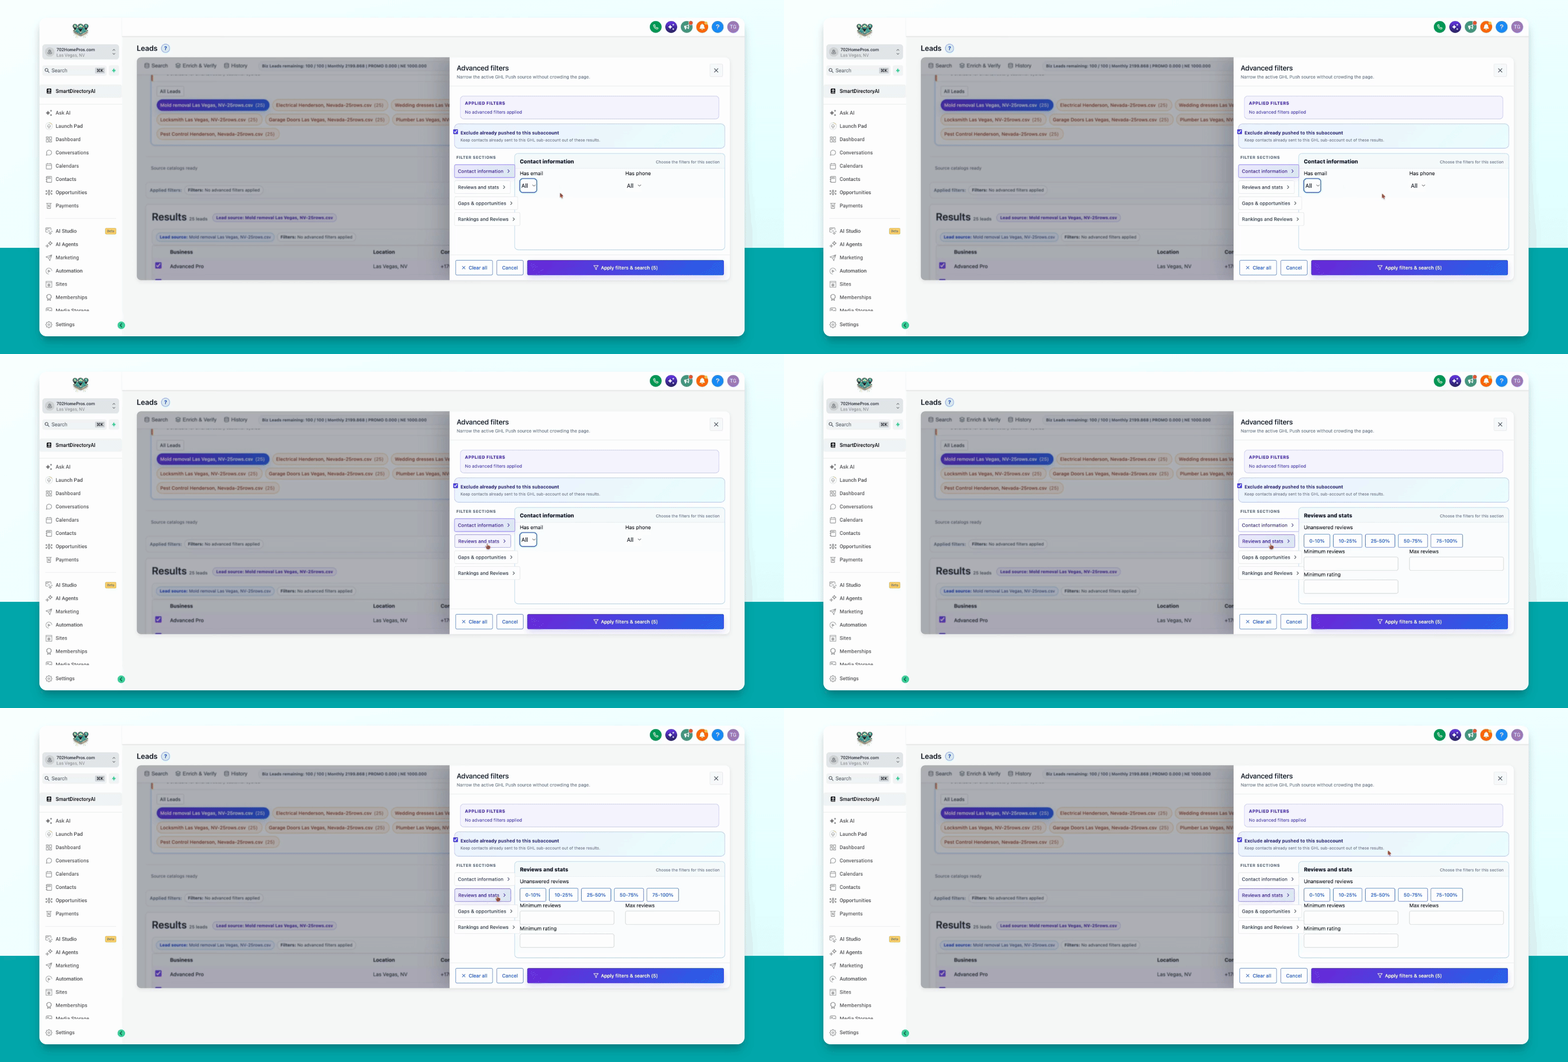
Step 2: Exclude Already Pushed Leads
Enable the option to exclude leads that have already been pushed to this directory site. This prevents duplicate leads from being added. The system will automatically recognize and skip leads that have already been pushed. You can toggle this option on or off; it is checked by default.
Step 3: Filter by Contact Information
Use the Contact information section to filter leads by email and phone availability. You can choose to include all contacts, only those with an email, or only those with a phone number. This is useful if you plan to use email automations in Smart Directory AI. The default is to include all.
Step 4: Filter by Reviews and Stats
In the Reviews and stats section, select a percentage of unresponded reviews or set minimum and maximum review counts and ratings. For example, filter for leads with 50% or more unresponded reviews, or set your own thresholds for review count and minimum rating.
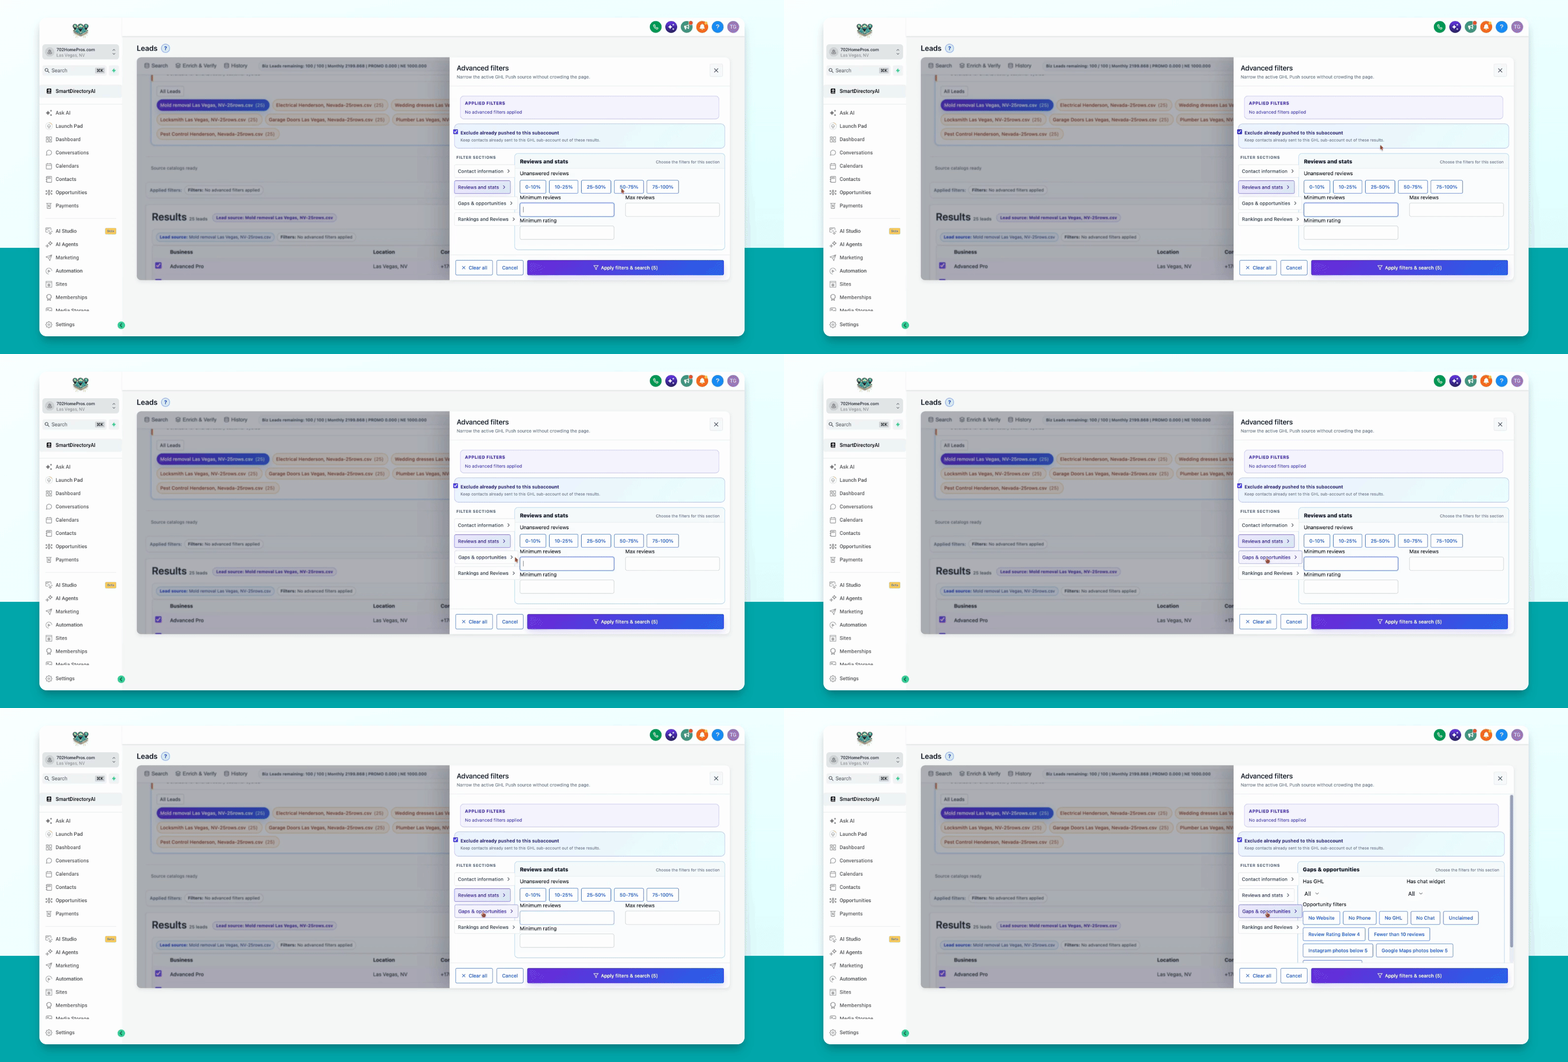
Step 5: Filter by Gaps and Opportunities
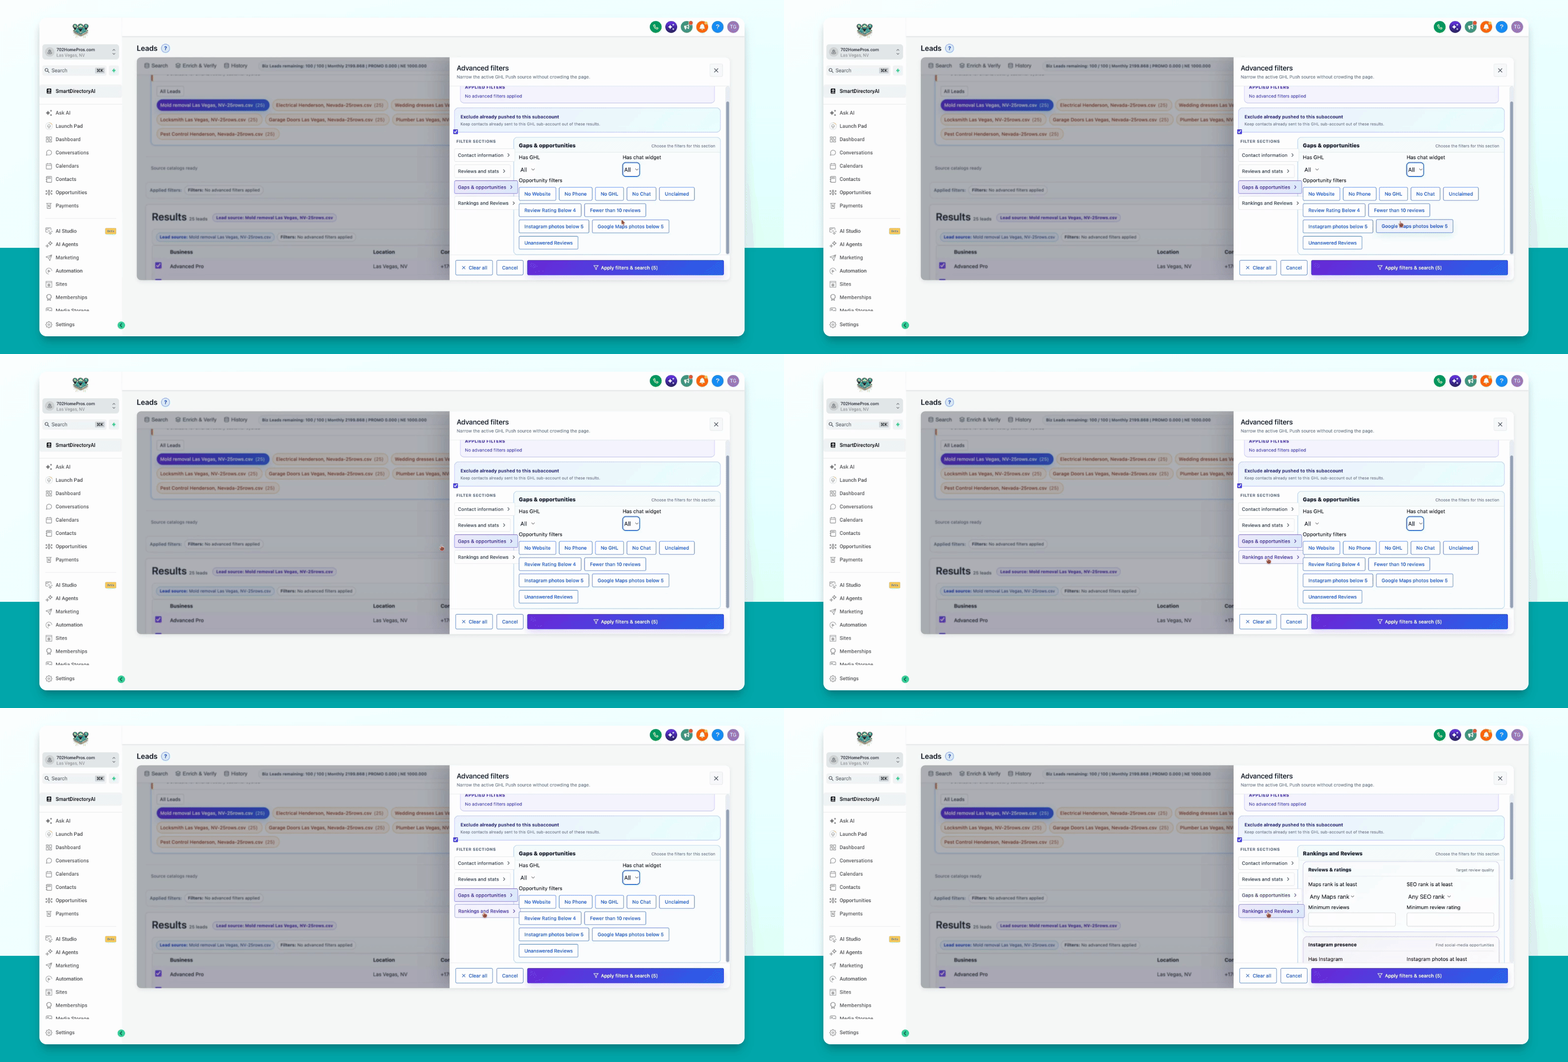
Use the Gaps and opportunities section to filter leads based on features like high level, chat widget presence, website, unclaimed reviews, review ratings below 4, unanswered reviews, Instagram or Google Maps photos below 5, and more. Select the relevant options to automatically filter leads that match your criteria.
Step 6: Filter by Rankings and Reviews
In the Rankings and reviews section, set filters for maps ranking (e.g., out of top 10, 21, 51, or not in top 100) and SEO rank. You can also specify minimum reviews and minimum review rating to further refine your results.
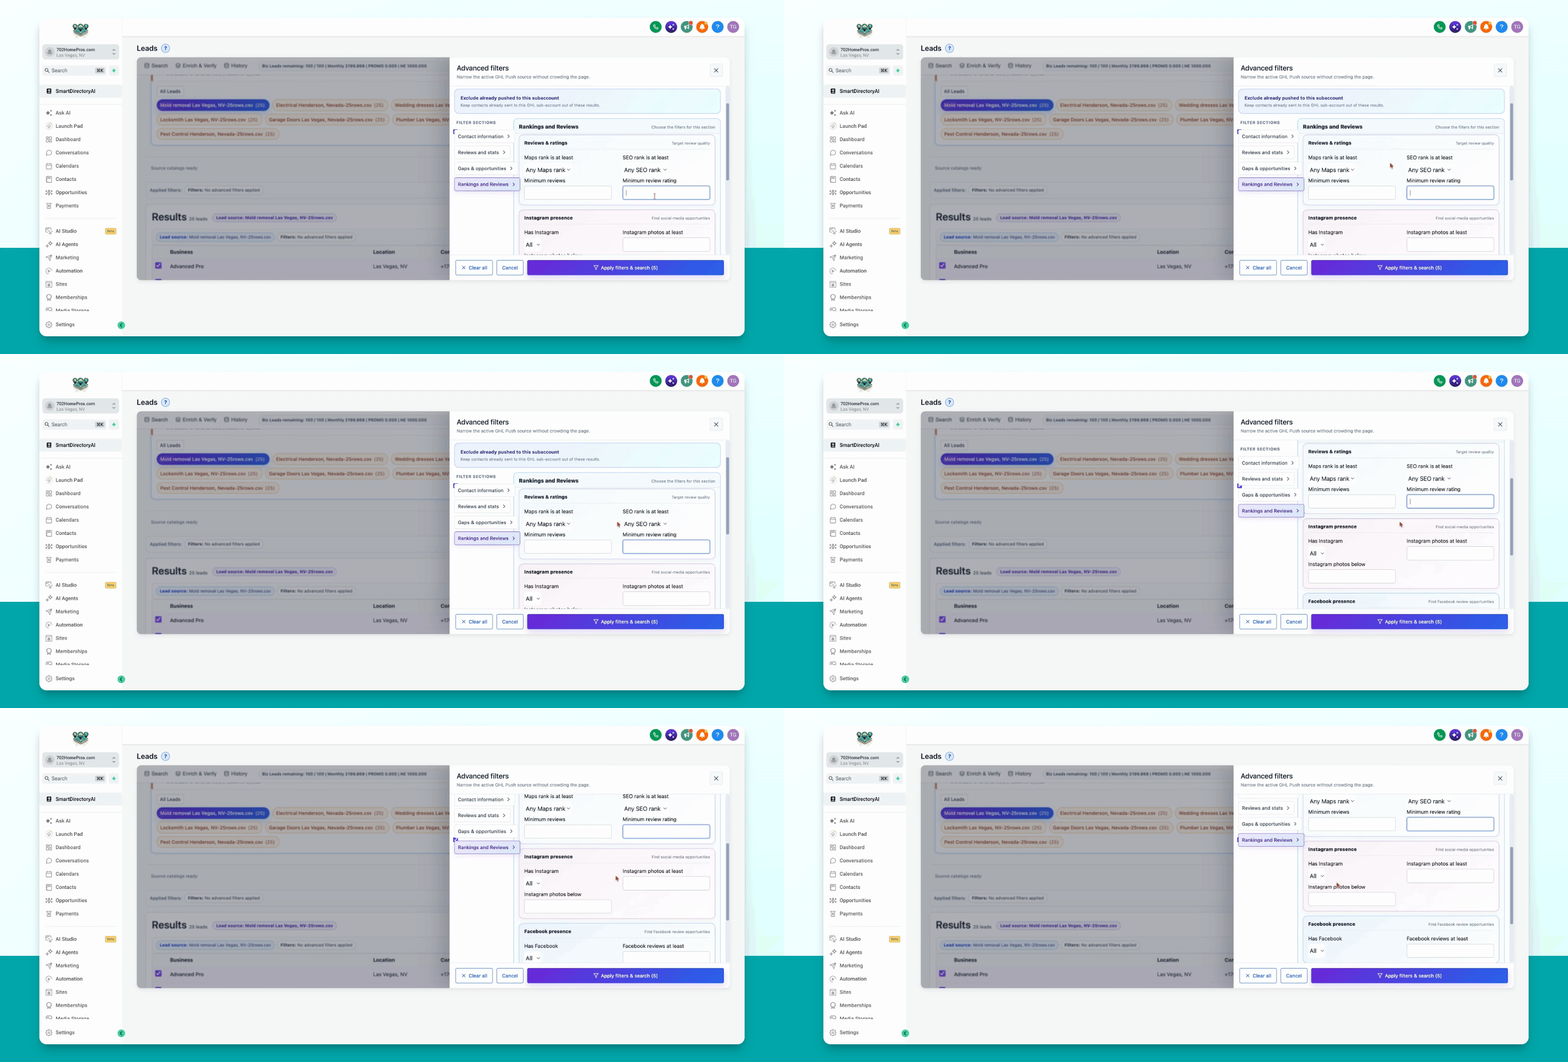
Step 7: Filter by Social Media and Mobile Friendliness
Filter leads based on their Instagram and Facebook presence, including minimum number of photos. This is helpful if you offer social media management. You can also filter by Google Business Maps photos and whether the site is mobile friendly.
Step 8: Apply Filters and Add Leads
Once you've selected your desired filter options, click Apply Filters. The system will display leads matching your criteria. You can then continue to add these filtered leads to your directory.