
This guide explains how to automate outreach emails using the Free Listing Outreach workflow in Smart Directory AI. Let's look at the steps:
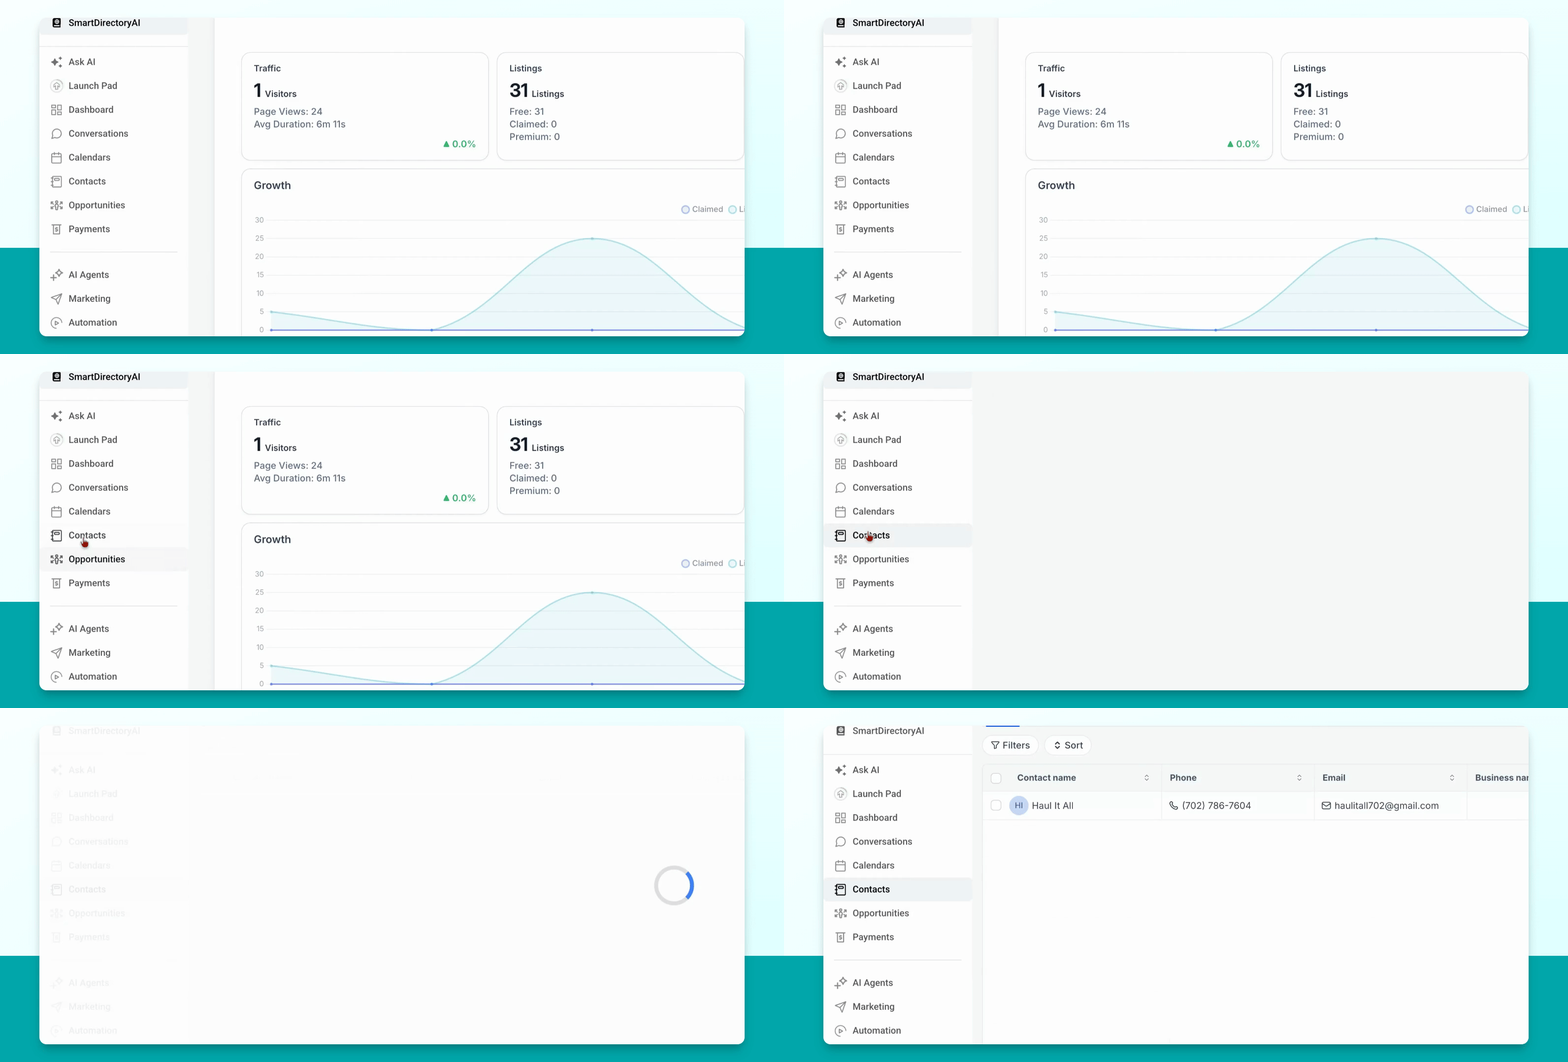
Step 1: Go to Contacts
In your Smart Directory AI dashboard, navigate to Contacts.
Step 2: Select Contacts for Automation
Select the contacts you want to include in the automation. You can choose them individually or sort by tags, depending on how your businesses are tagged.
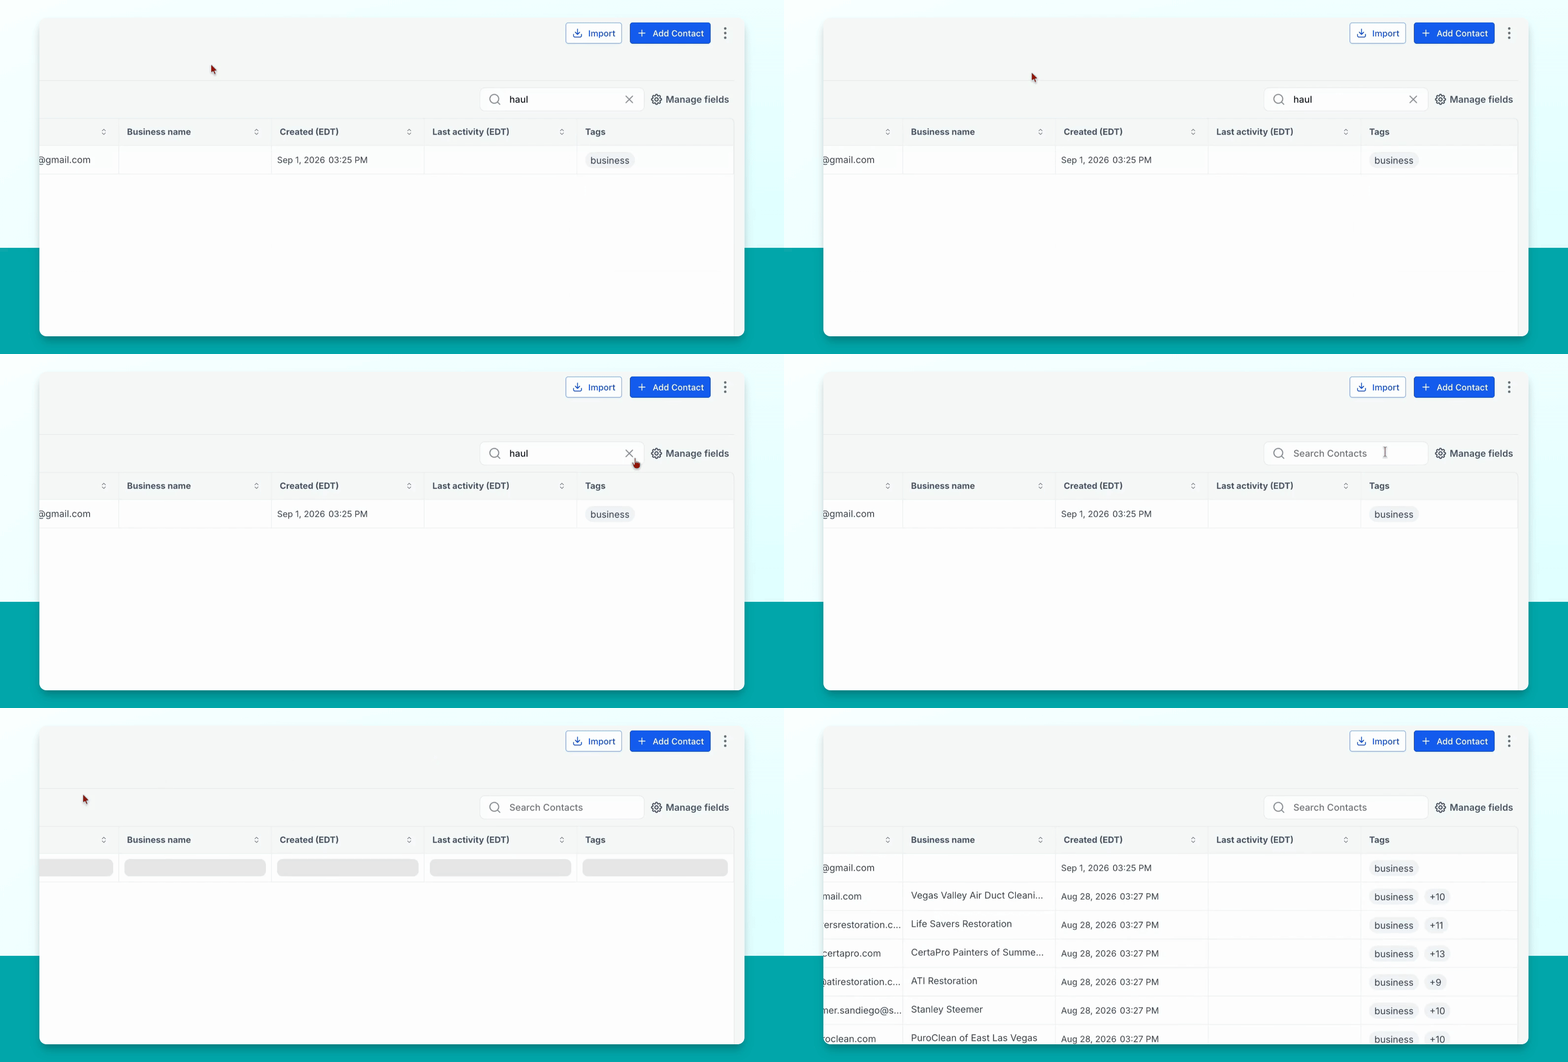
For example, you might have businesses tagged if they don't have a chat widget. To add only those businesses, ensure the contacts have the appropriate tag.
Step 3: Filter Contacts by Tag
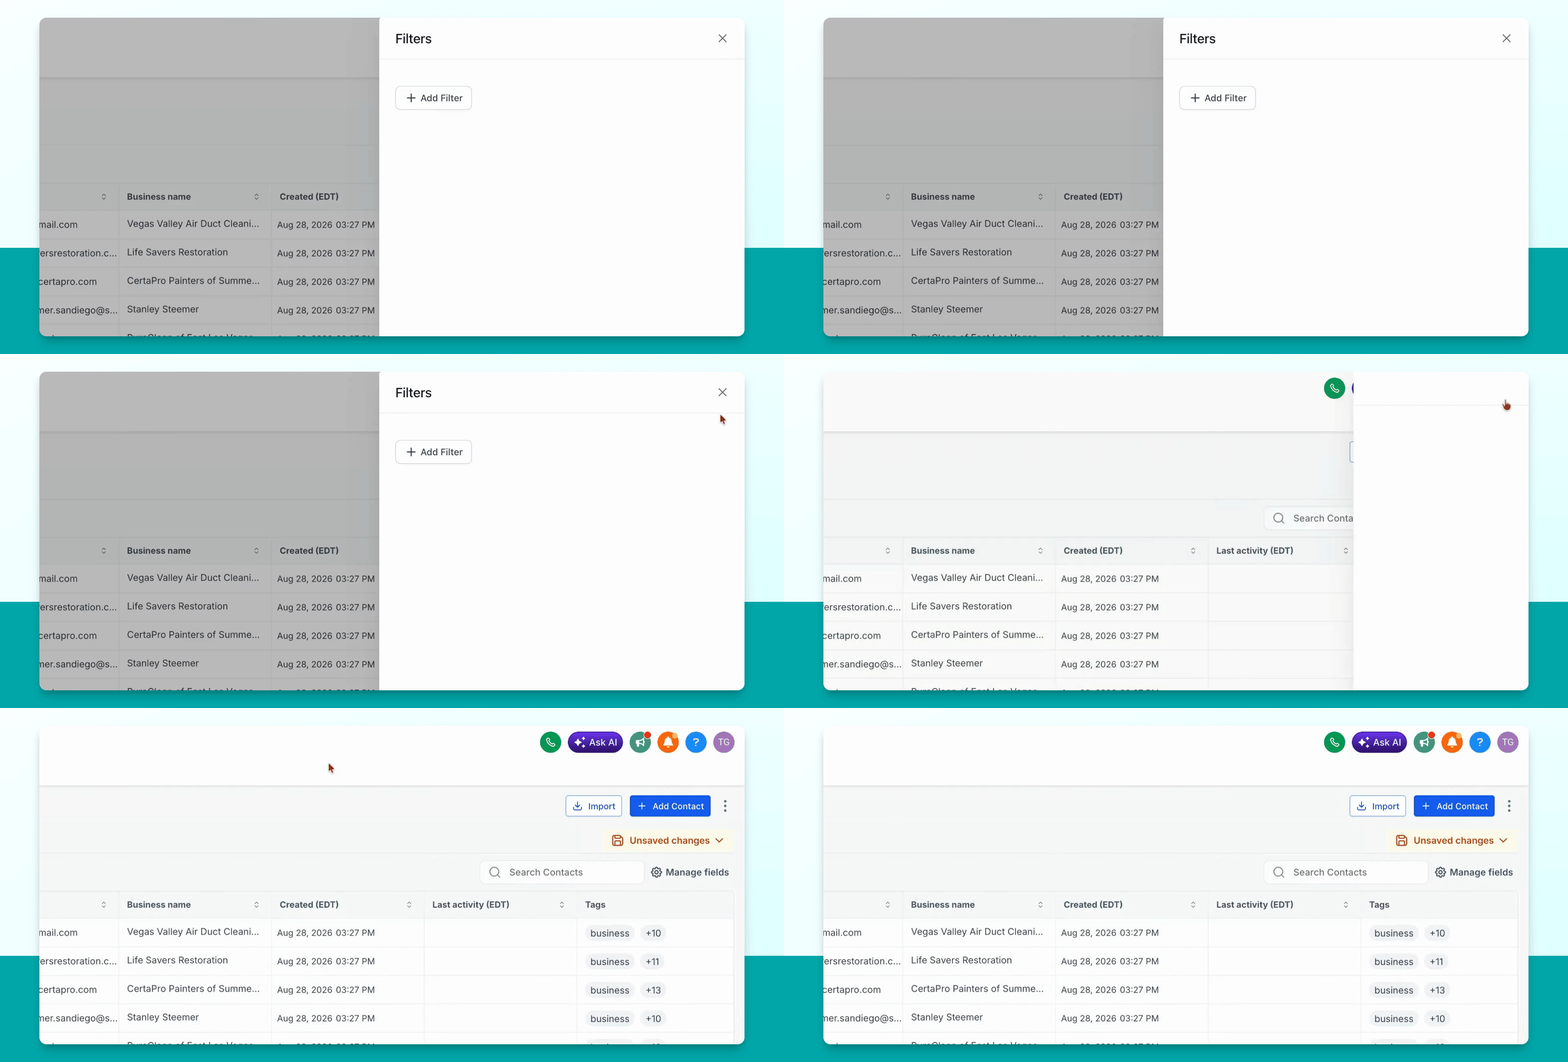
Click on filters, search for the tag field, and select the relevant tag (e.g., Problem no Chat widget). Click Apply to display only contacts with that tag.
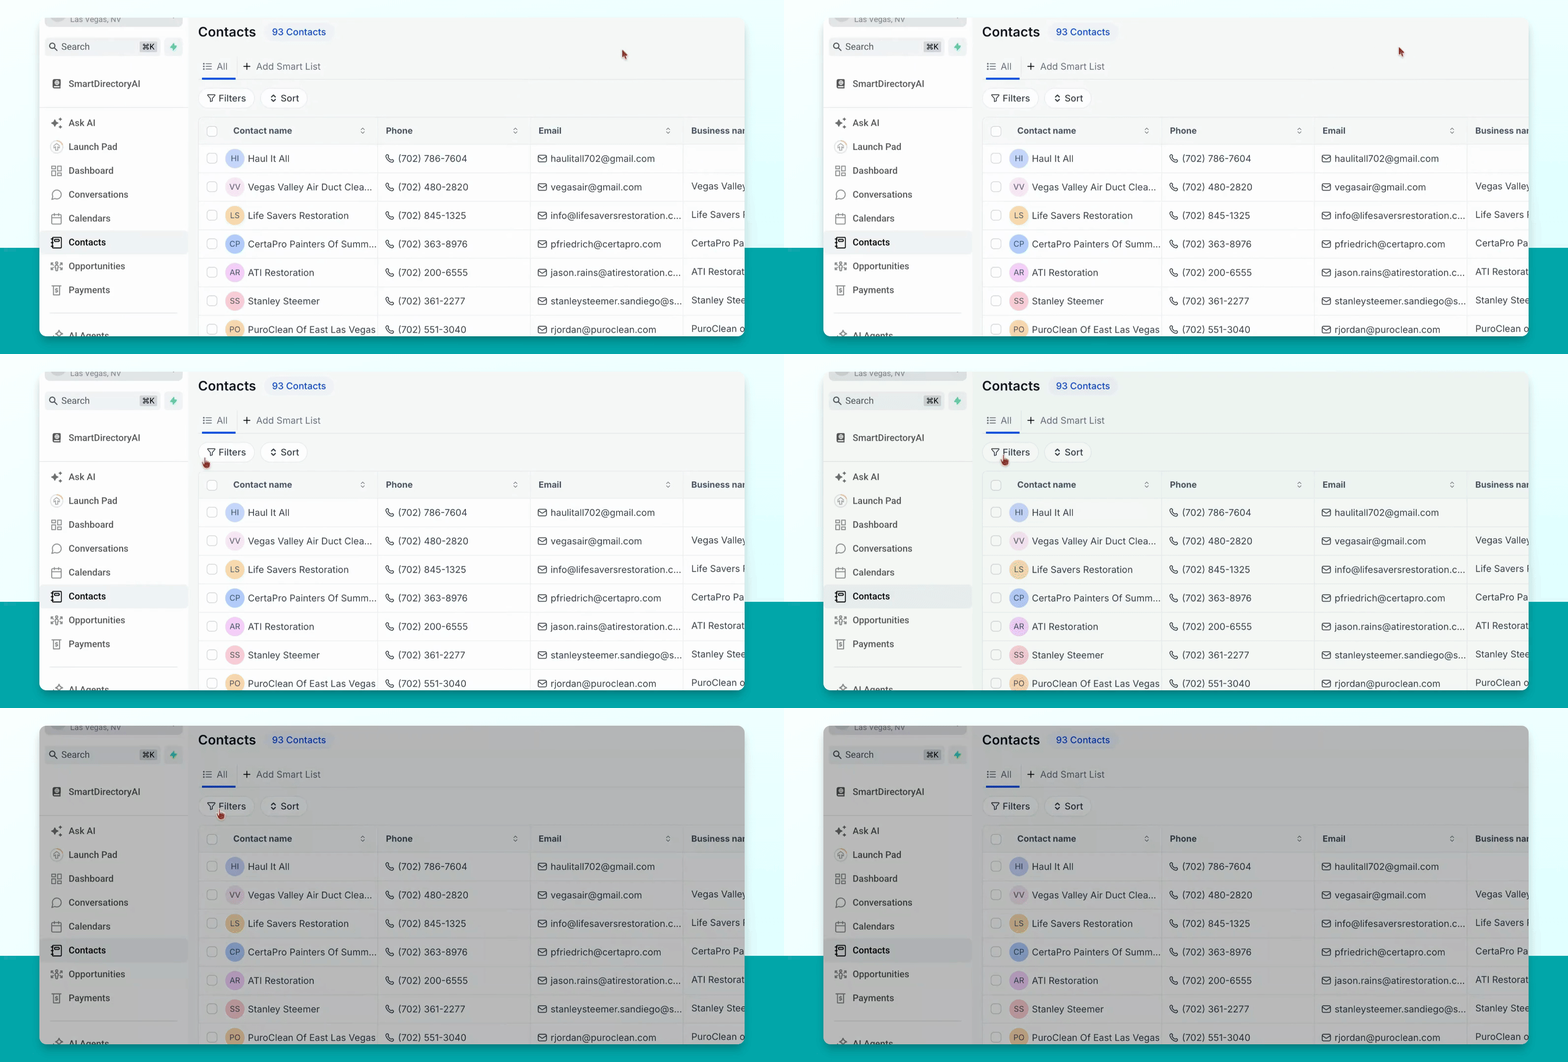
Step 4: Add Filtered Contacts to Automation
Add the filtered contacts to the email automation.
If you imported contacts as a smart list, you can simply select the smart list to proceed. You can also clear filters and create a smart list first if needed.
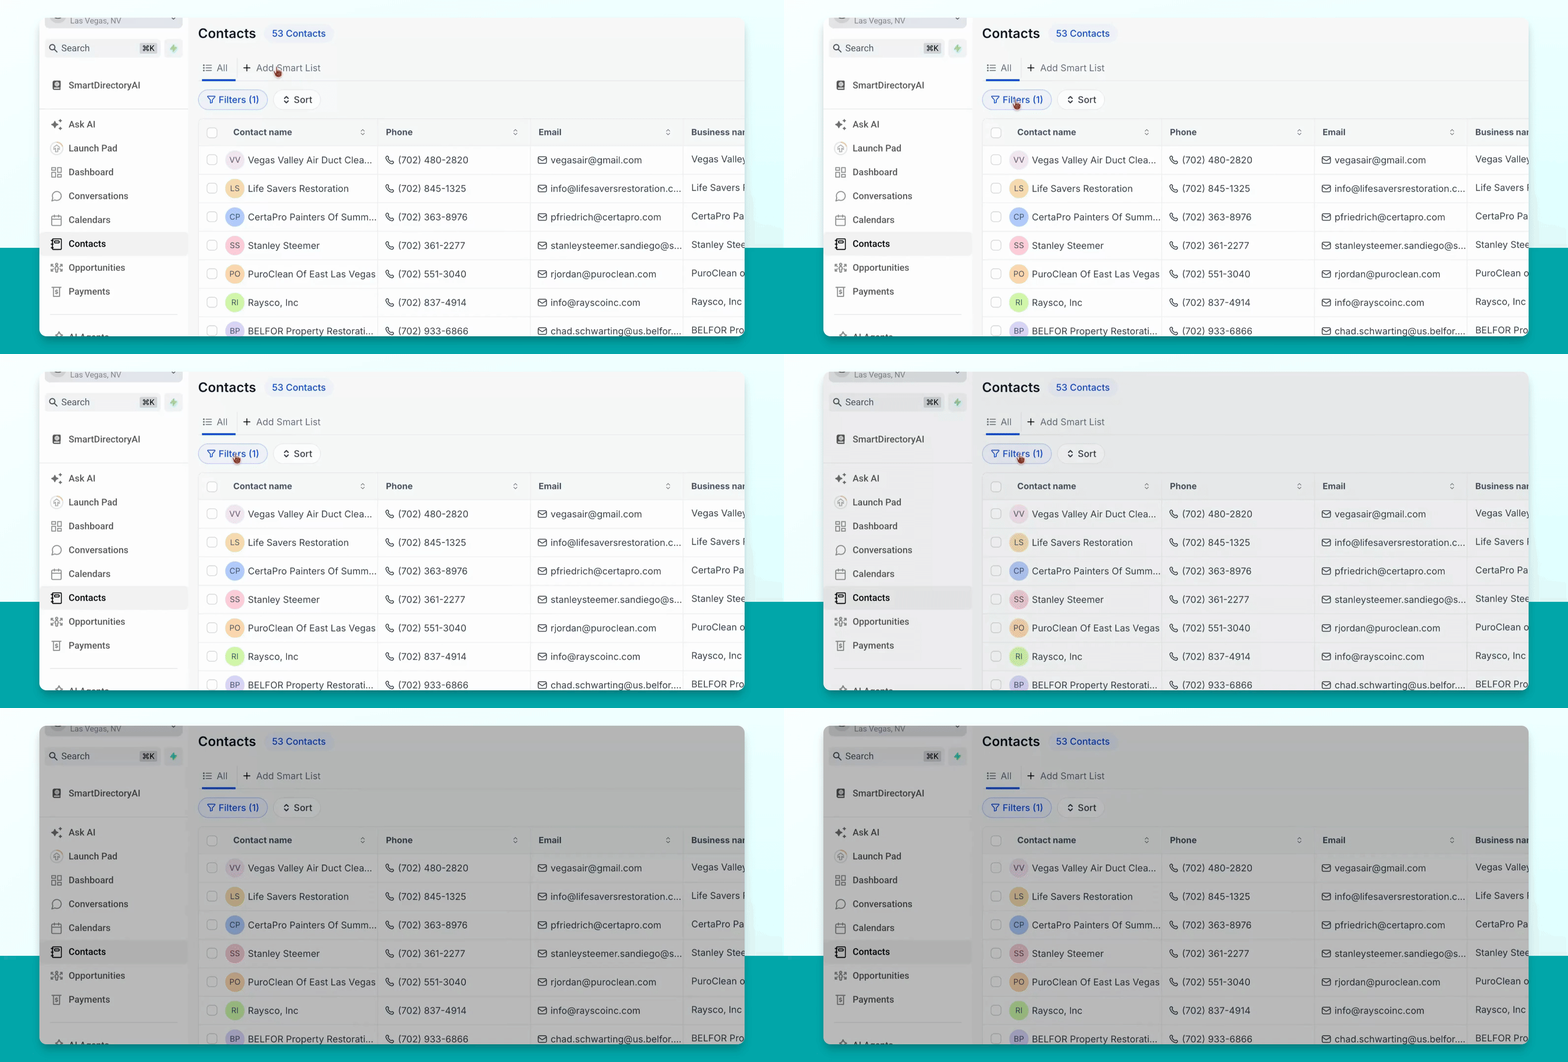
Step 5: Create a Smart List (Optional)
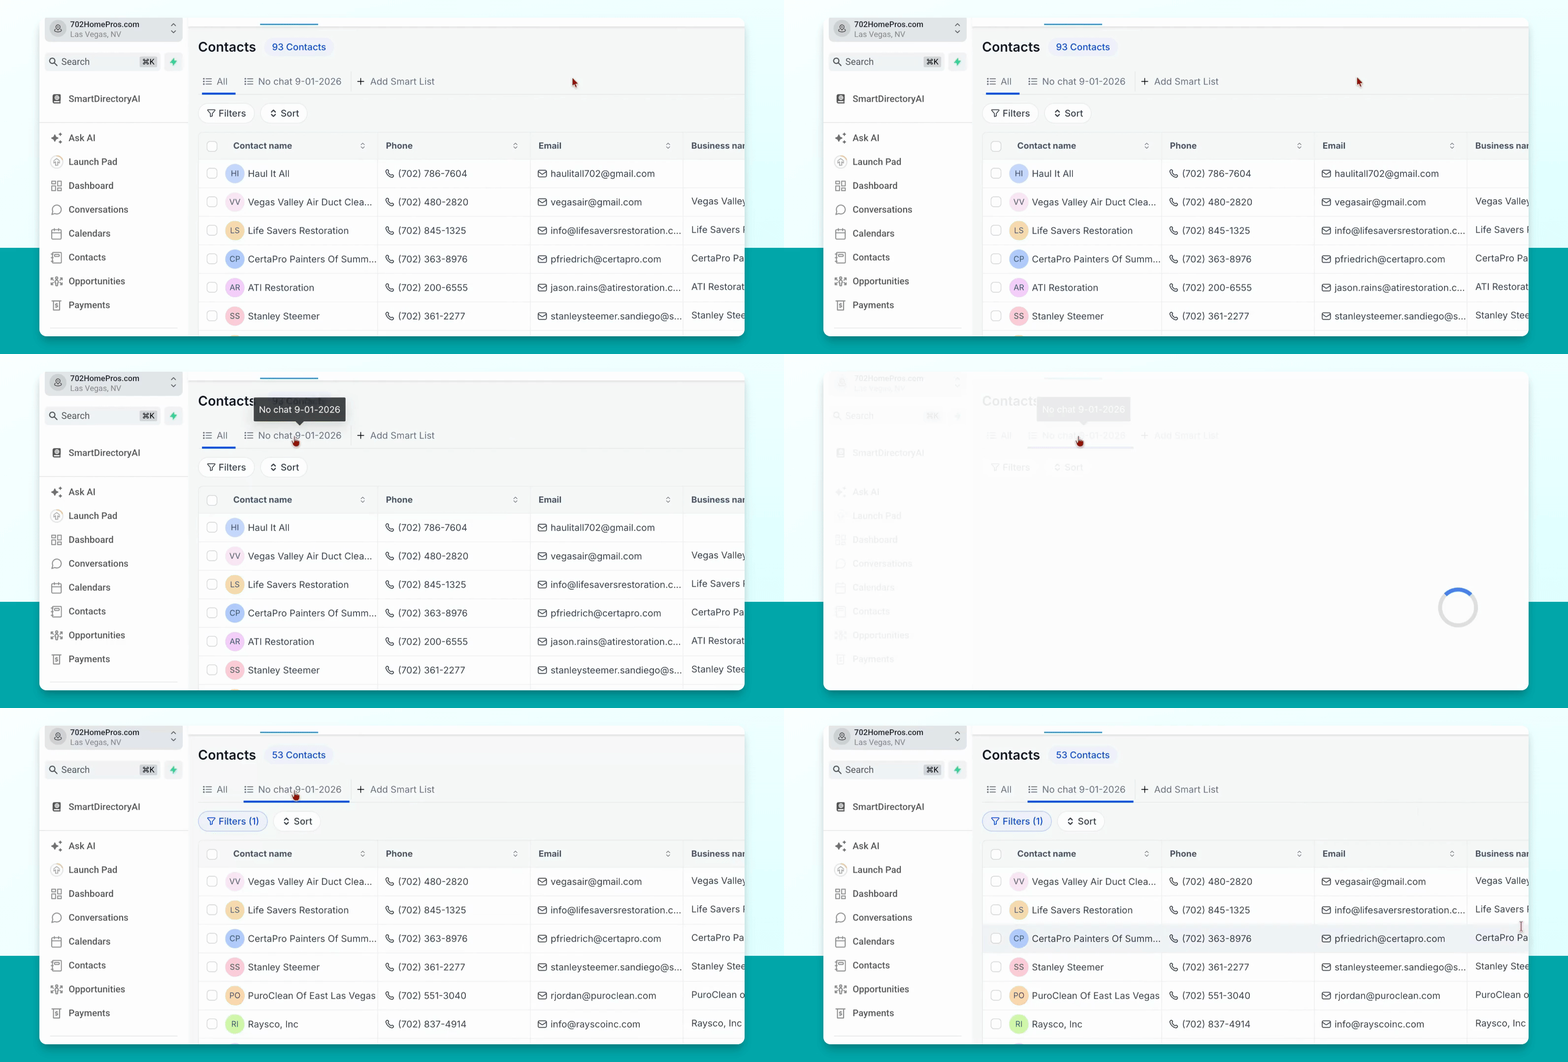
Click Add Smart List, give it a name (e.g., no chat with the current date), apply the desired filters, and click Create. The new smart list will appear in your list of contacts.
To view only the businesses in your new smart list, click on the smart list name. This will display all contacts that match your criteria.
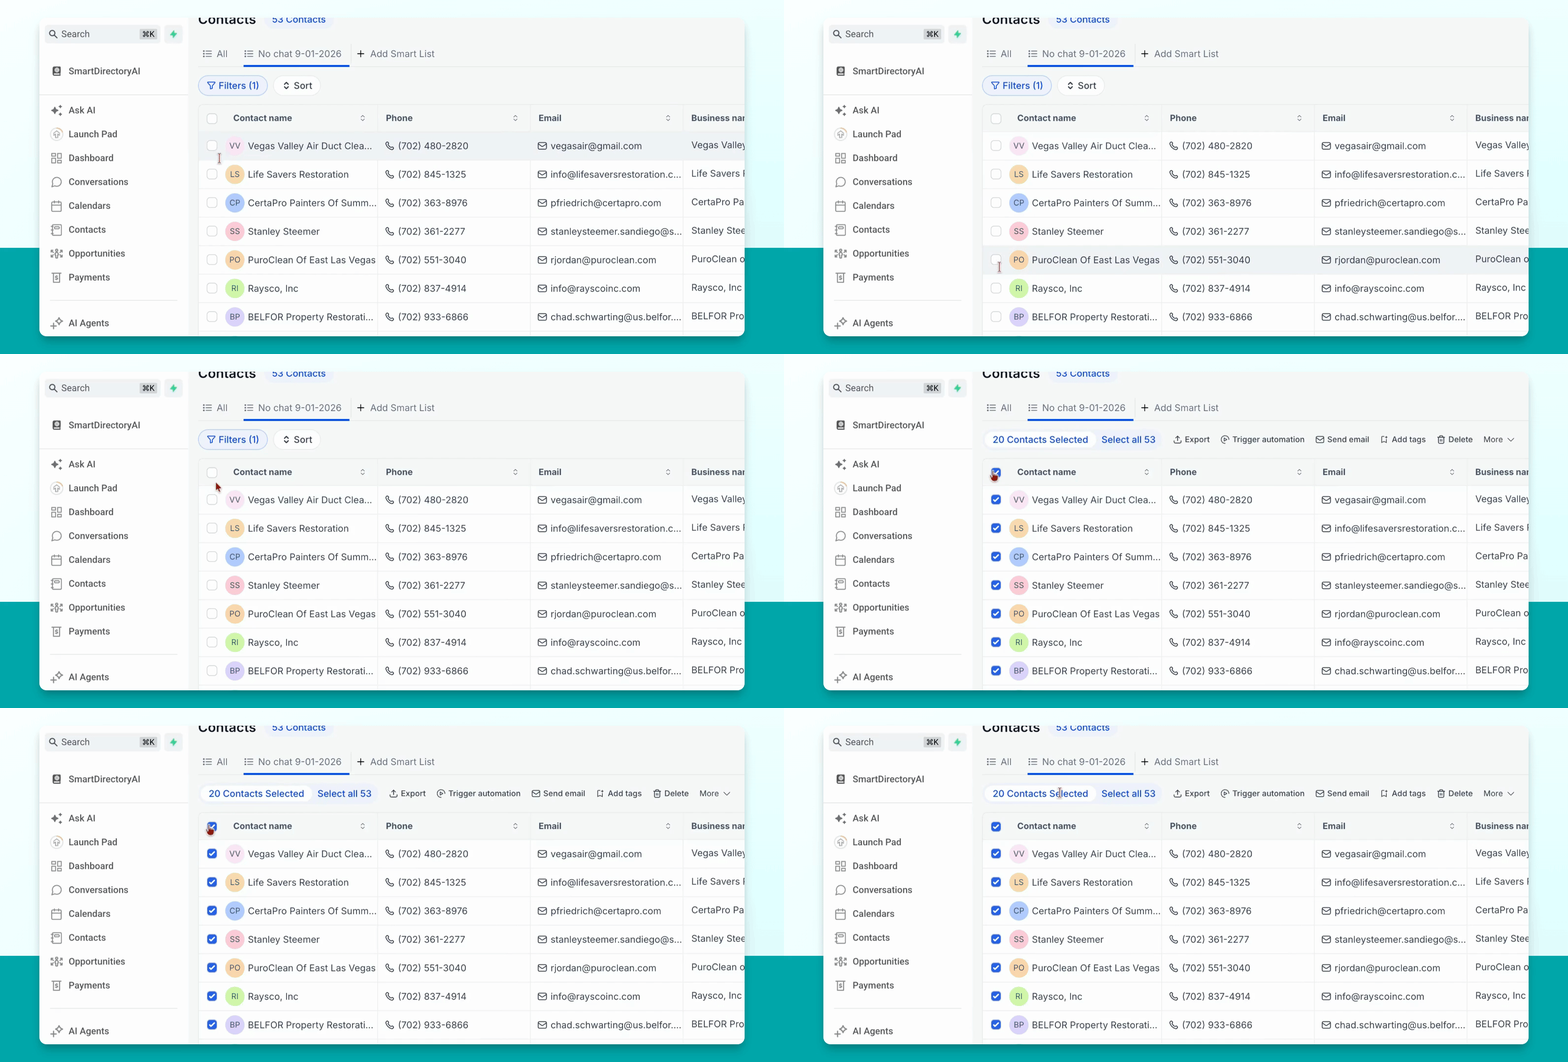
Step 6: Select Contacts to Add to Automation
Select the contacts you want to add—either individually or all at once. Use the new menu to click trigger automation.
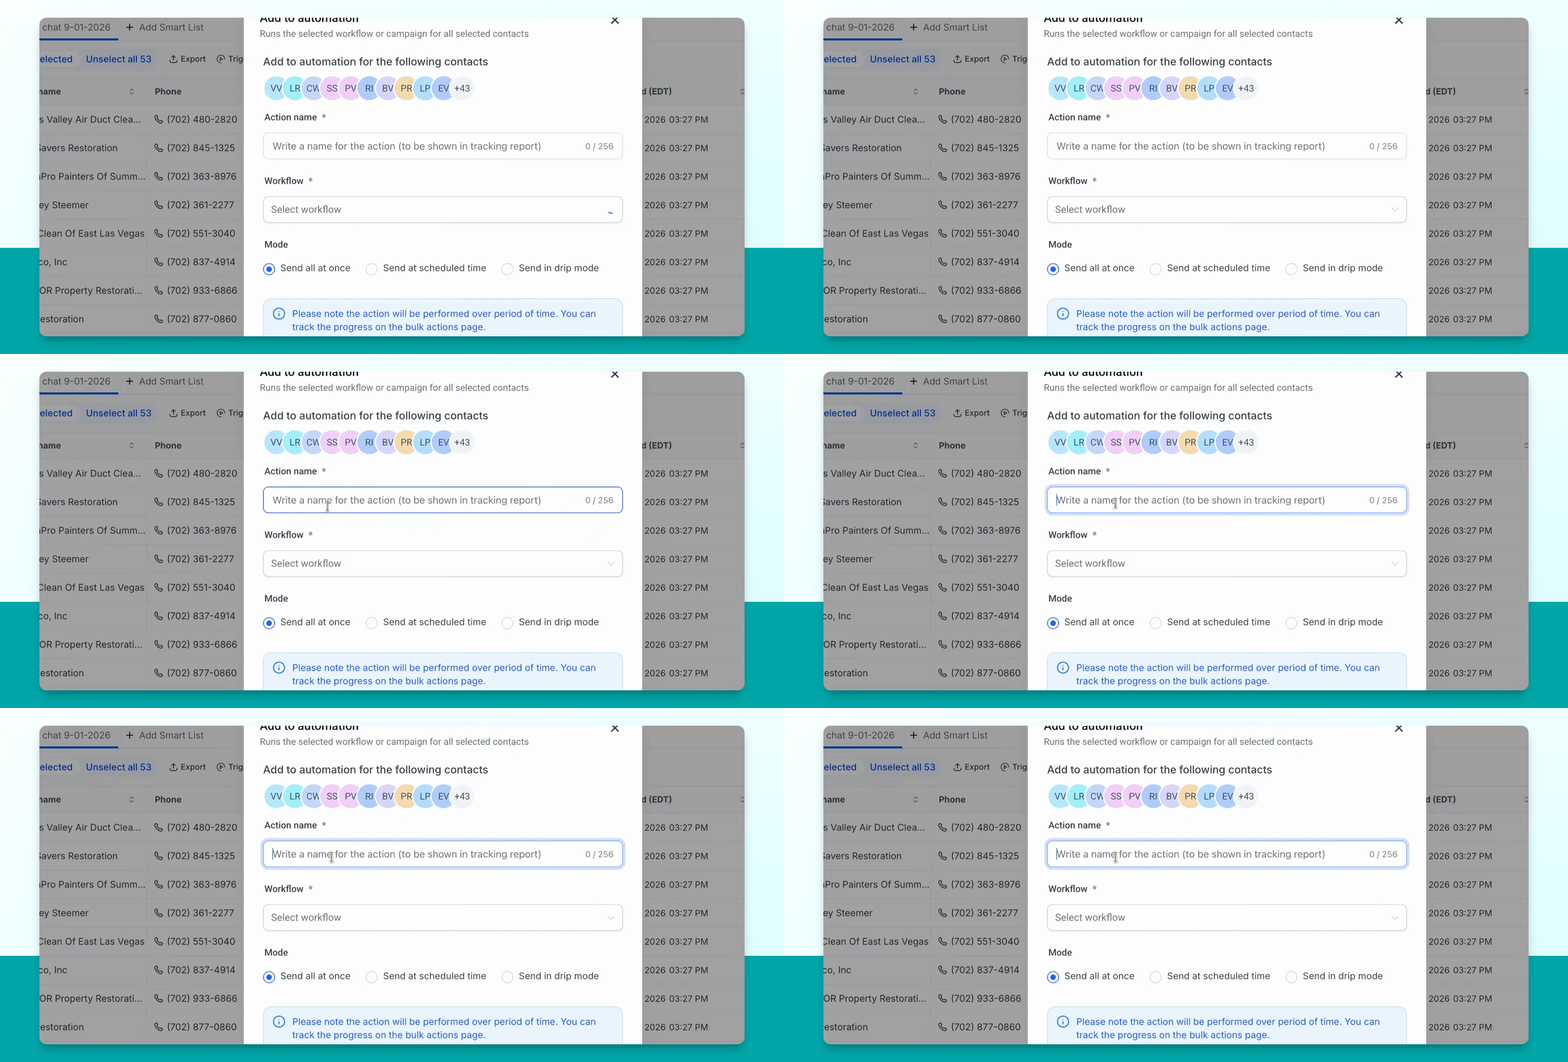
Step 7: Name the Automation
Give your automation a descriptive name, such as no Chat Email Free Listing with the date, so you can find it later.
Step 8: Select the Workflow
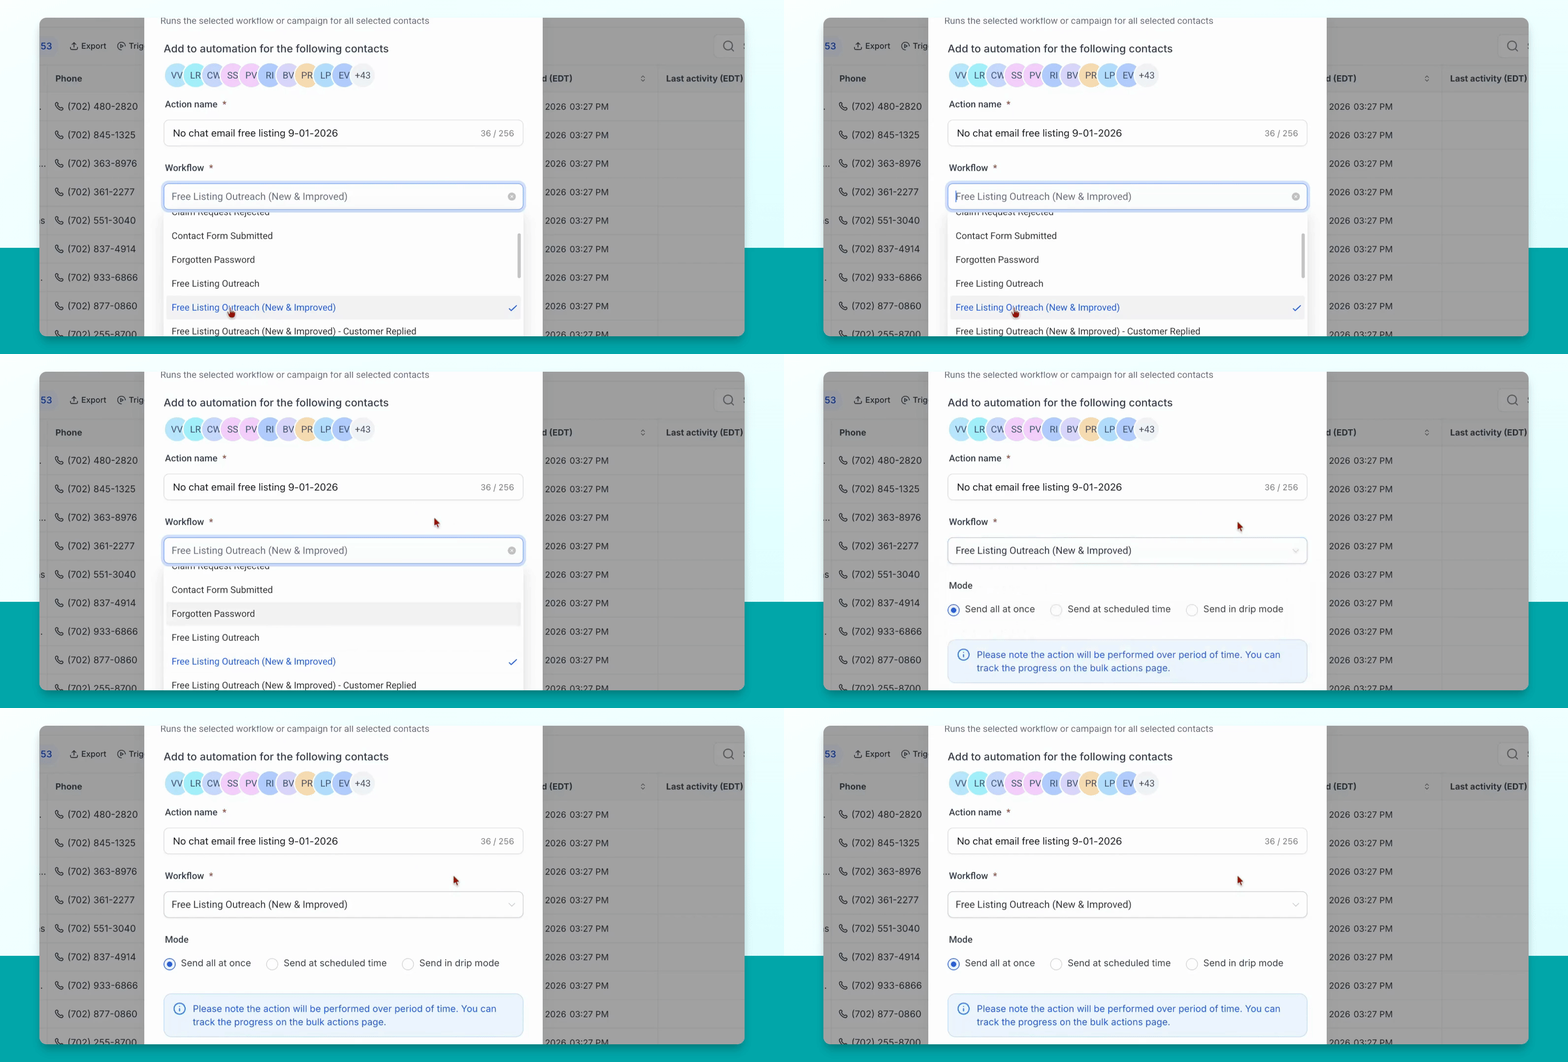
From the dropdown, select the workflow Free Listing Outreach New and Improved. There may be two similar workflows—choose the one labeled New and Improved.
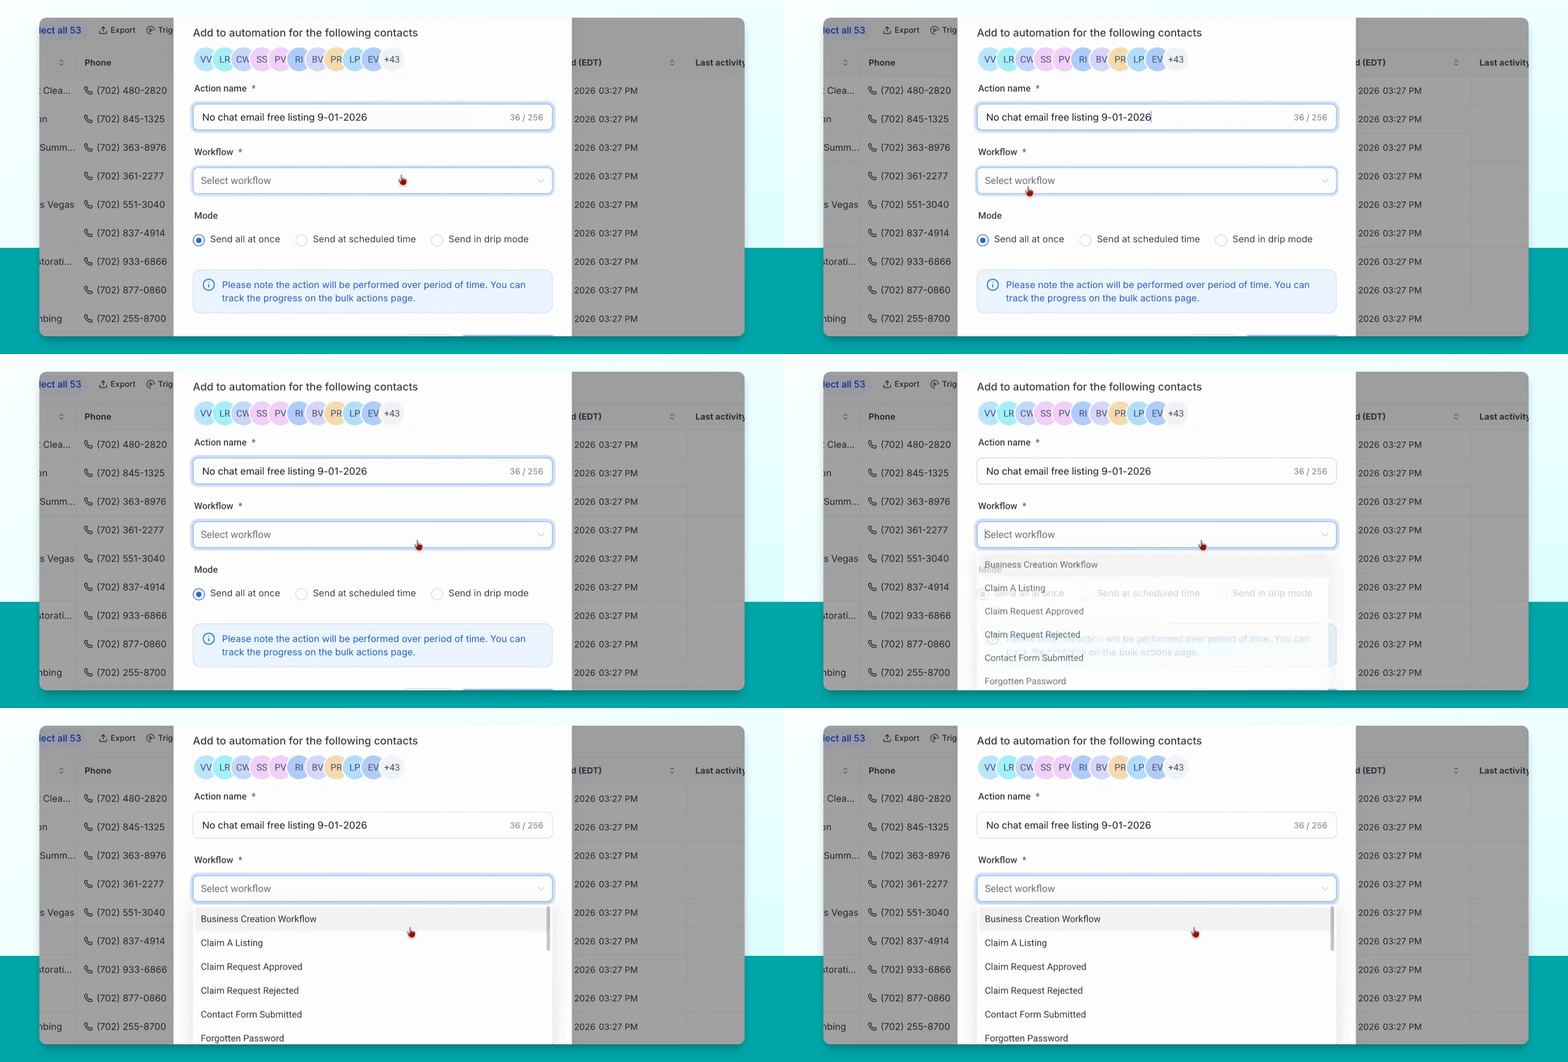
These two workflows are connected. If a contact replies 'yes' to any of your emails, they are automatically added to the new workflow, which starts a new set of automations. When initially adding contacts, select only the Free Listing Outreach New and Improved workflow.
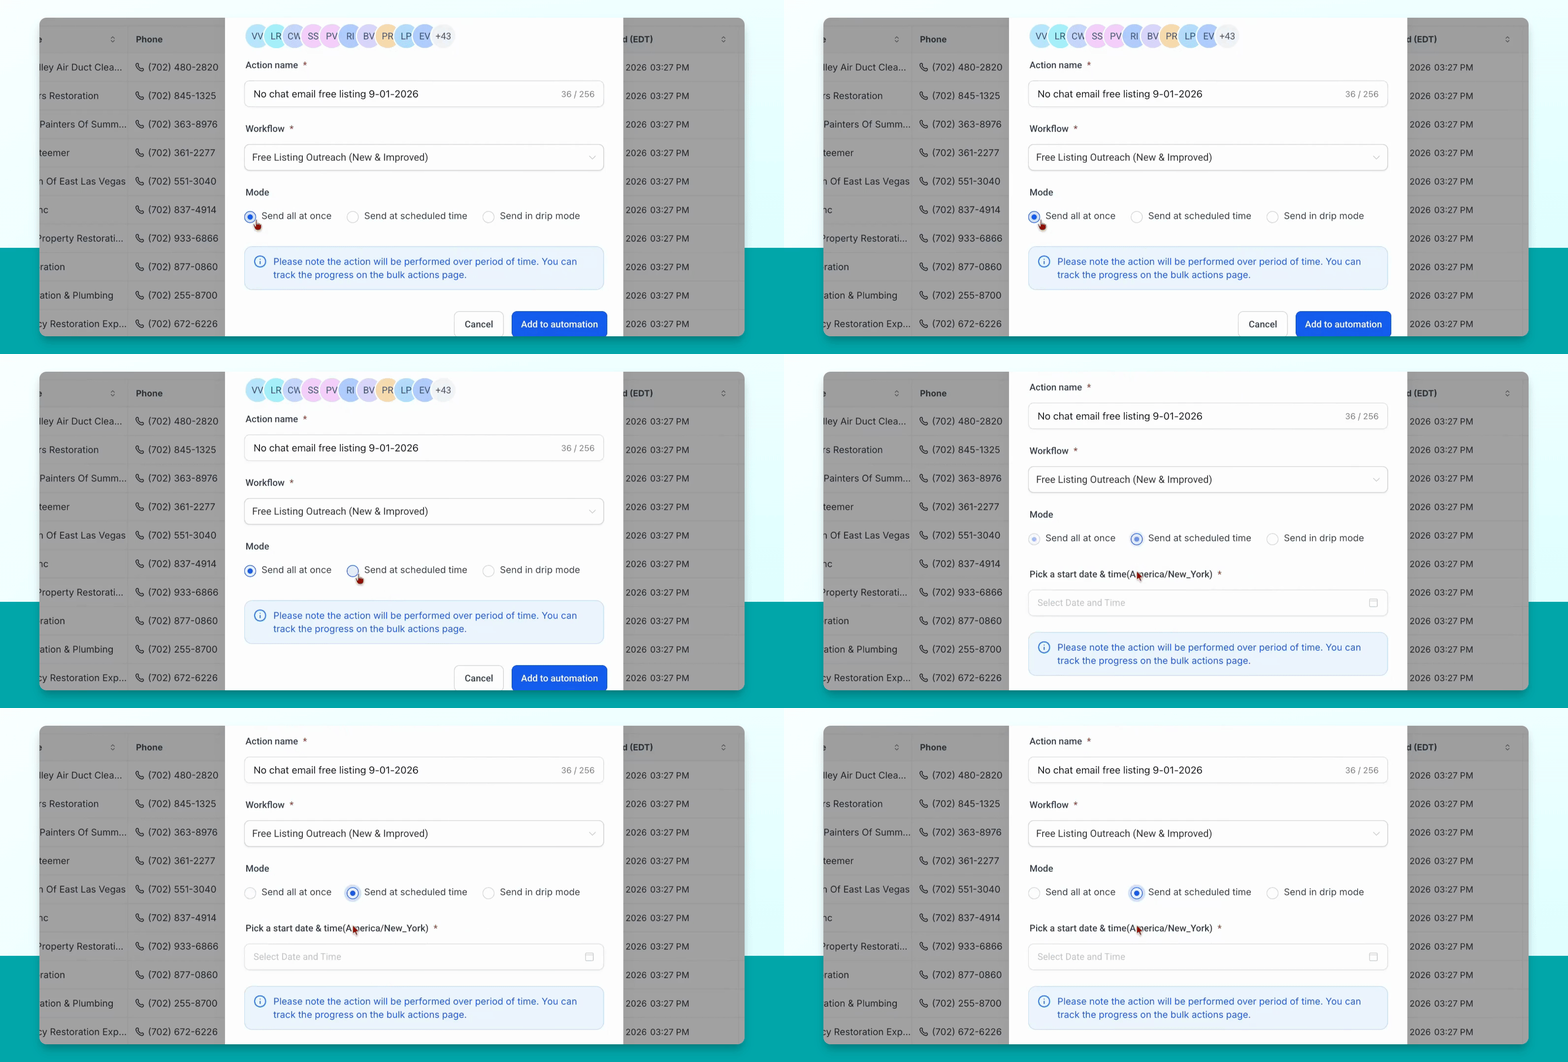
Step 9: Choose Sending Options
You can choose how to send the emails:
Send all at once
Schedule a specific time and date
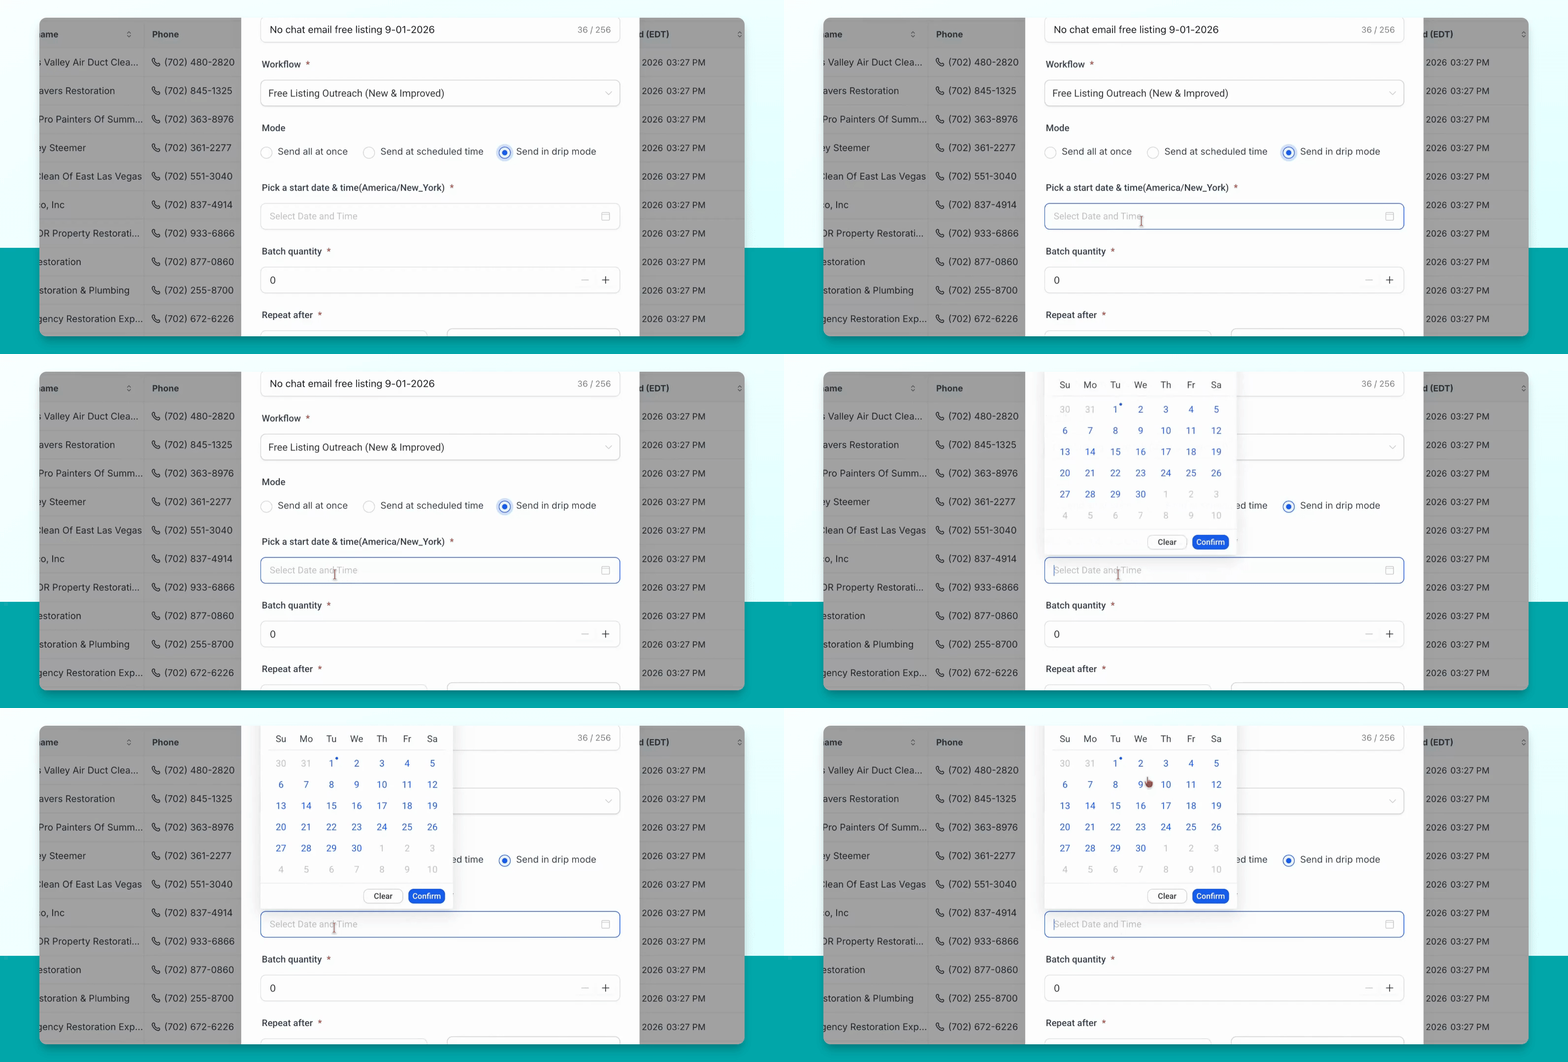
Send in drip mode (recommended)
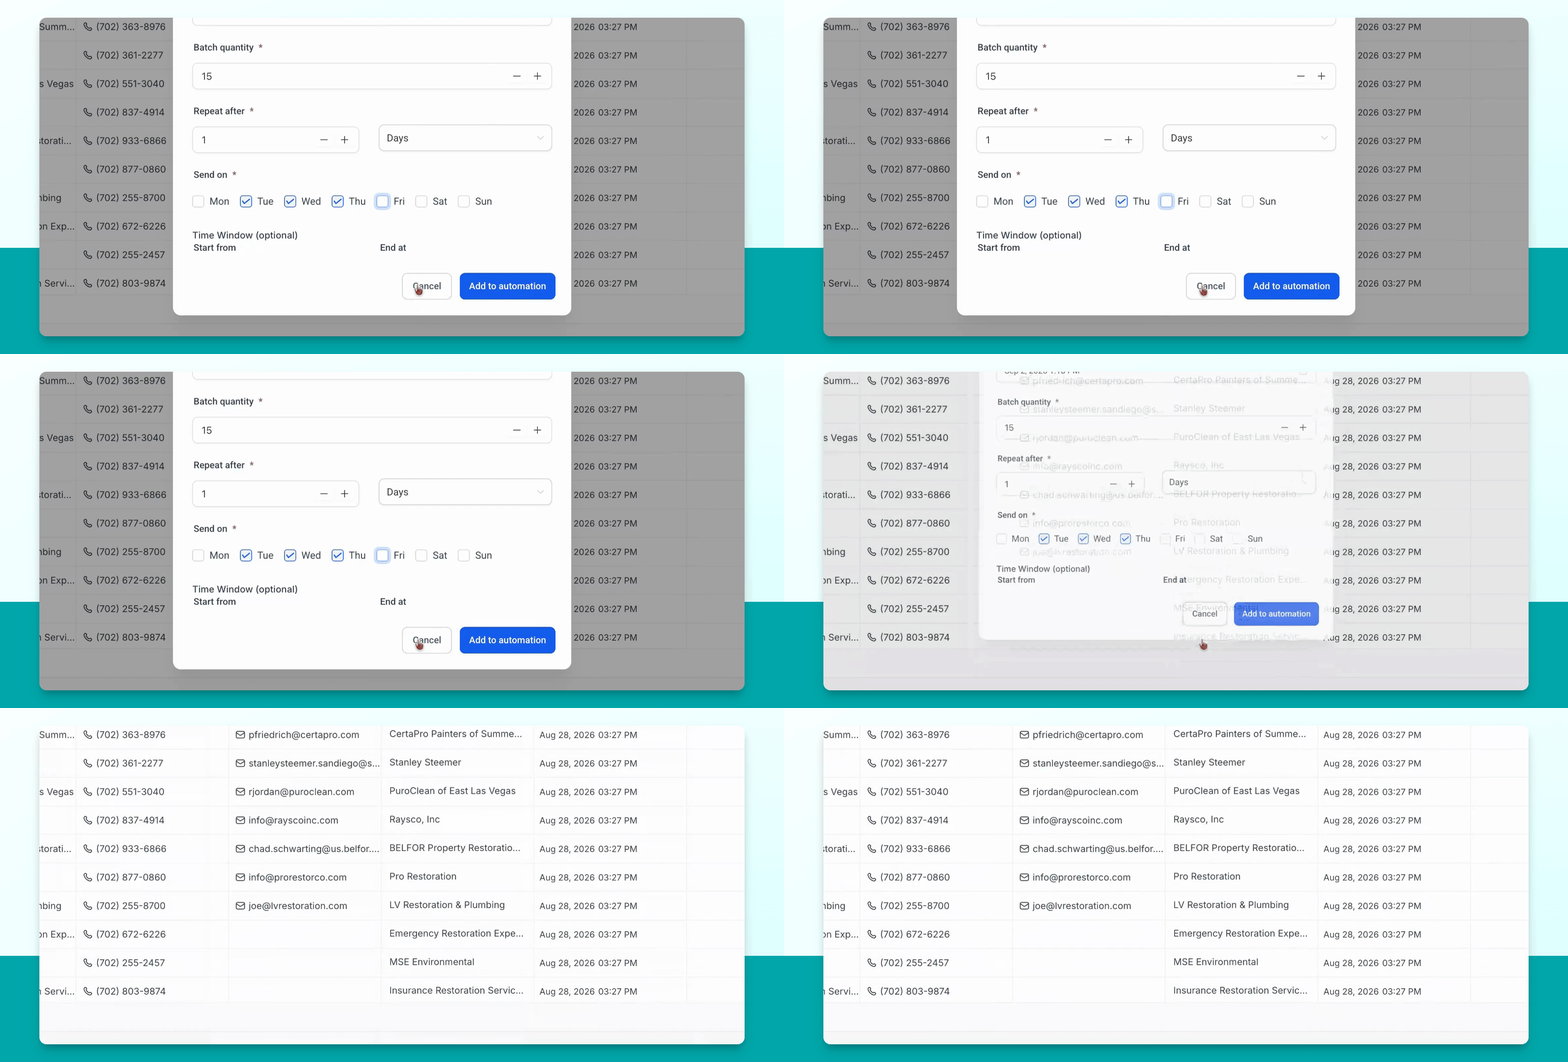
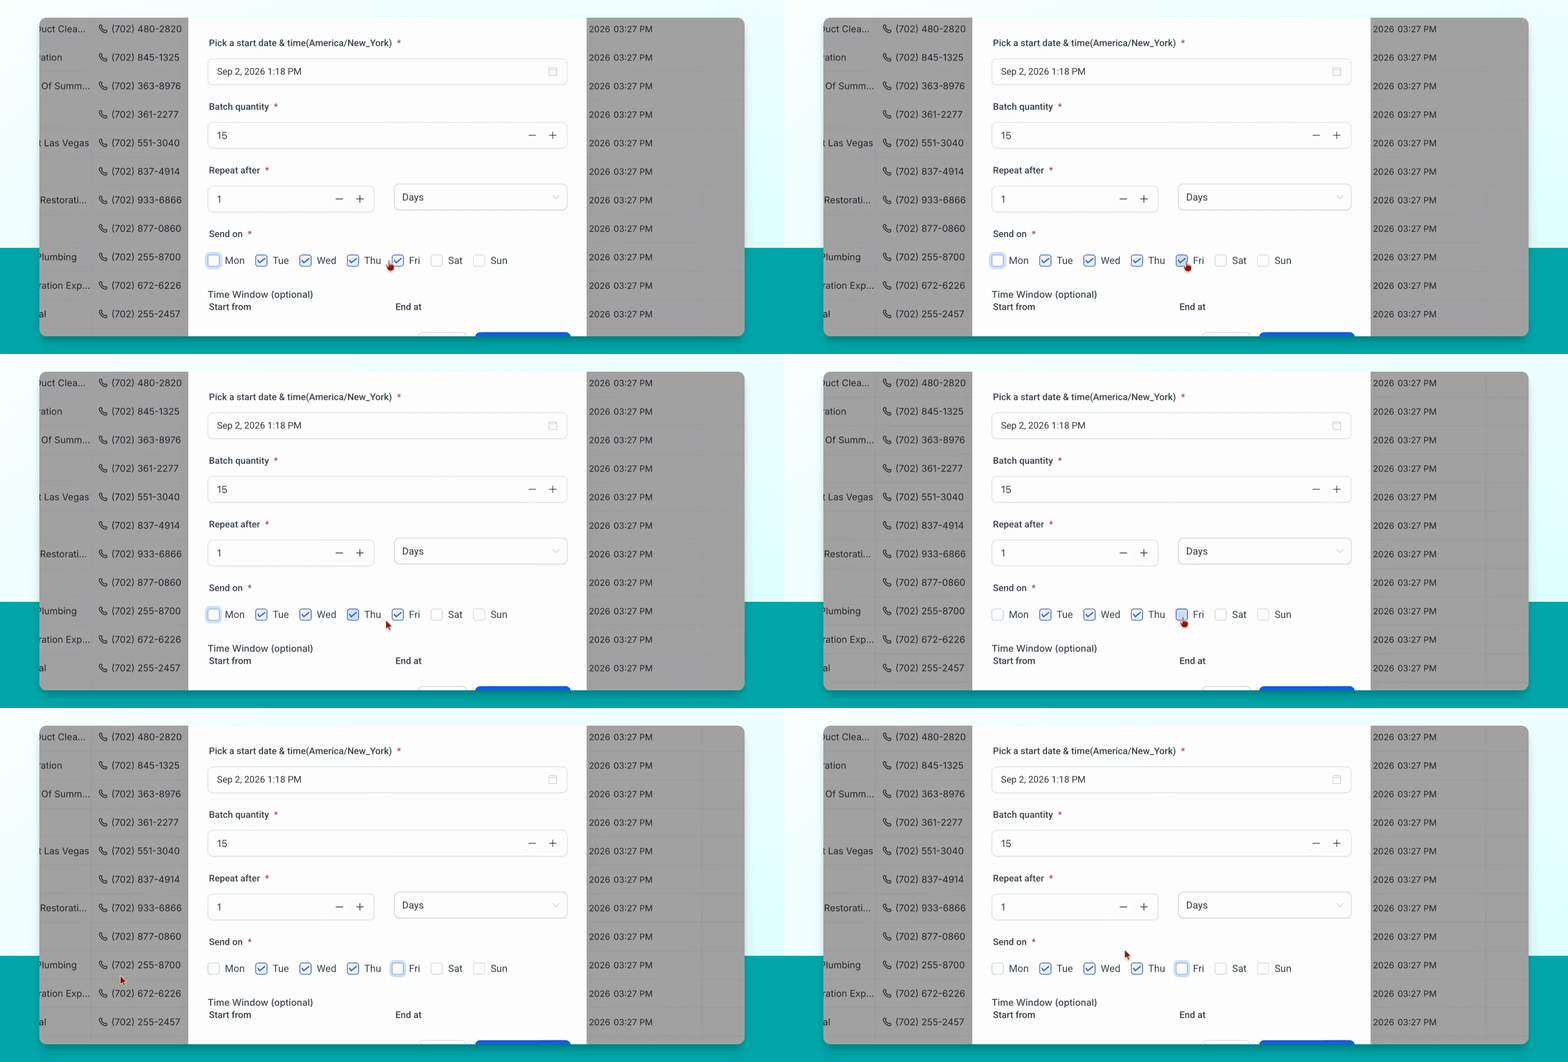
Drip mode allows you to select how many contacts to email per day and over which days. Set your start date, choose the number of emails to send each day (e.g., 15), and select which days to send (e.g., Tuesday, Wednesday, Thursday).
Some days, like Mondays and Fridays, may be busier and less effective for responses. Adjust your schedule accordingly.
Step 10: Add Contacts to Automation
Click add to automation. The contacts will be added and emails will be sent based on your selected parameters.
Step 11: Monitor Automation Progress
To track your contacts in the automation, go to automation in the dashboard. Navigate to Smart Directory AI workflows > Outreach workflows > Free Listing Outreach. Here, you can view how many people are enrolled, active, and see stats like delivered, opened, clicked, replies, bounces, and SMS stats.