

Let's do it together!
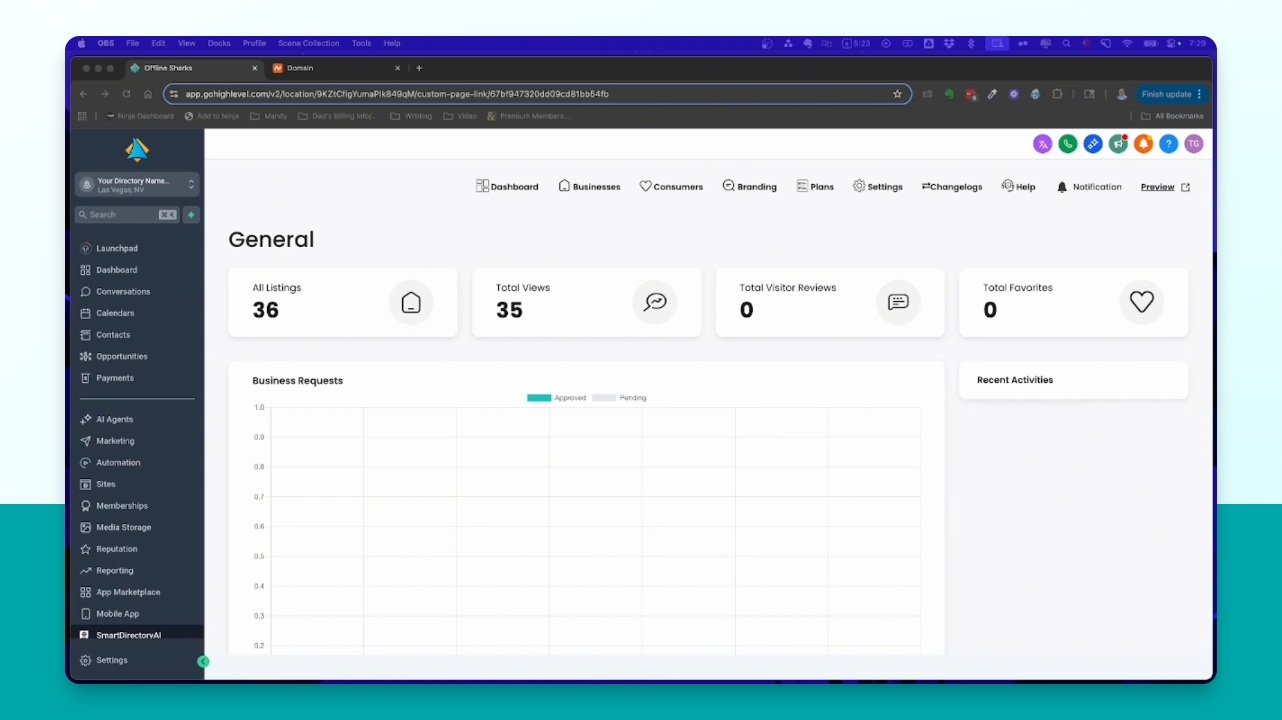
Step 1: Access Dashboard
Log into your Smart Directory AI sub account to access the dashboard.
Step 2: Preview Site
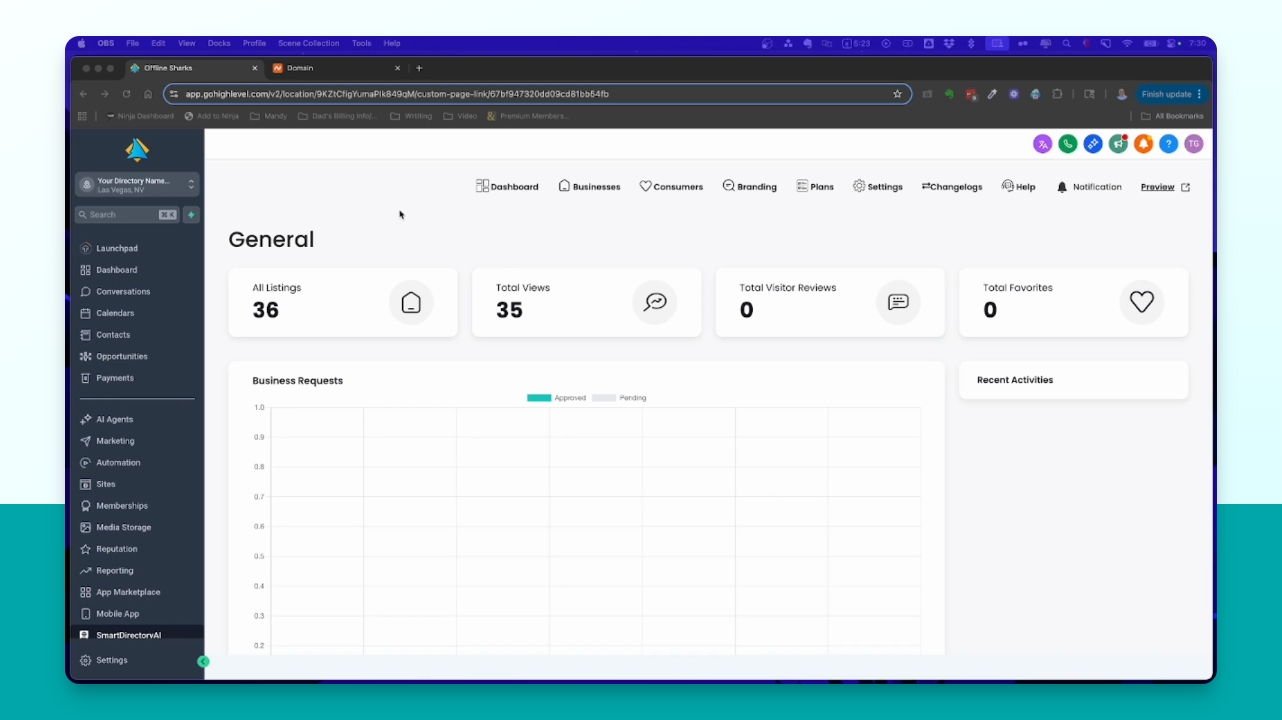
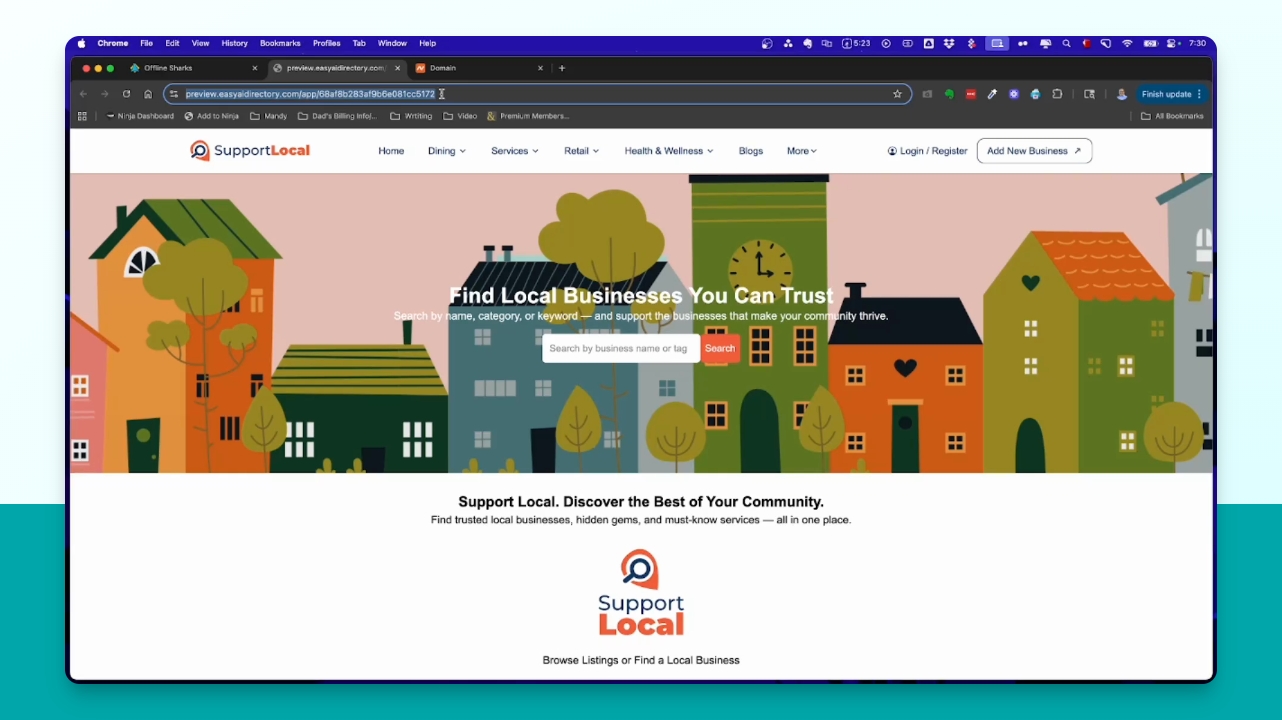
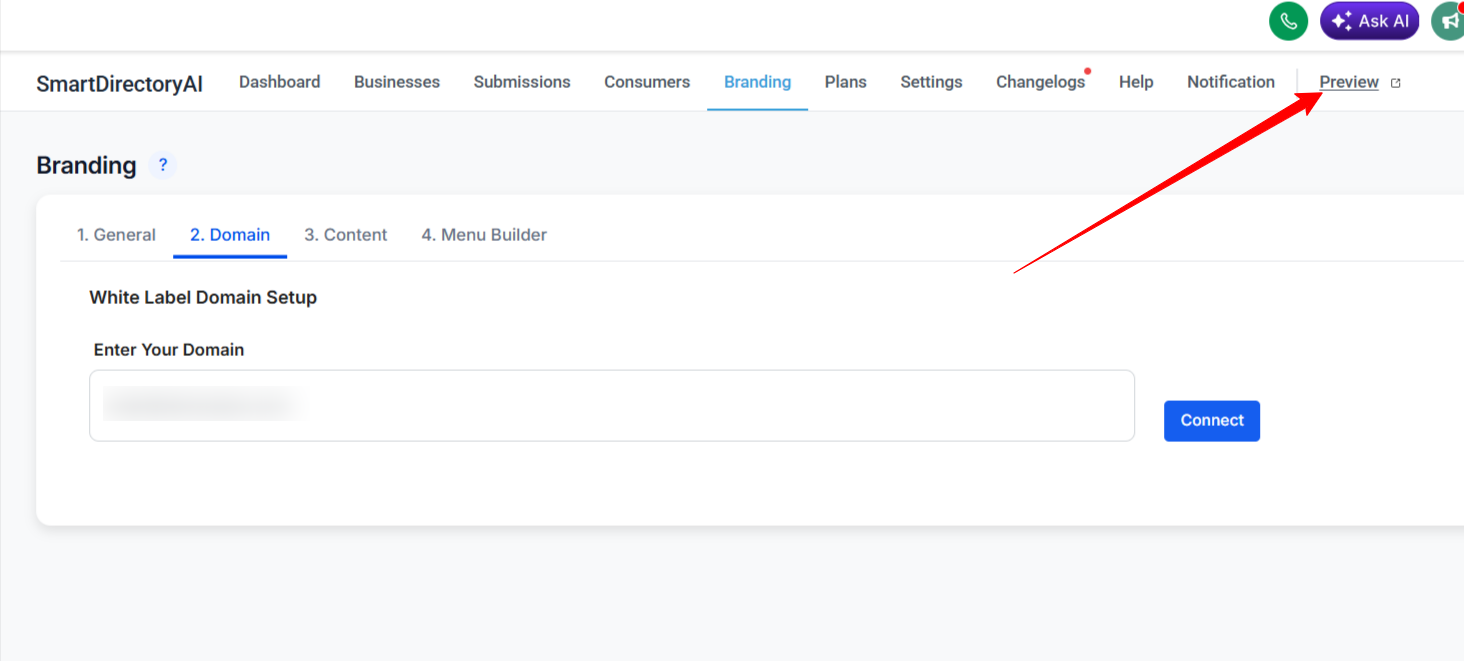
Click the Preview button to view the current site URL.
Step 3: Note Current URL
Recognize that the displayed URL is a preview URL, not the final domain.

Step 4: Confirm Setup Completion
Ensure all setup steps for Smart Directory AI are completed before connecting your domain.
Step 5: Log into Domain Provider
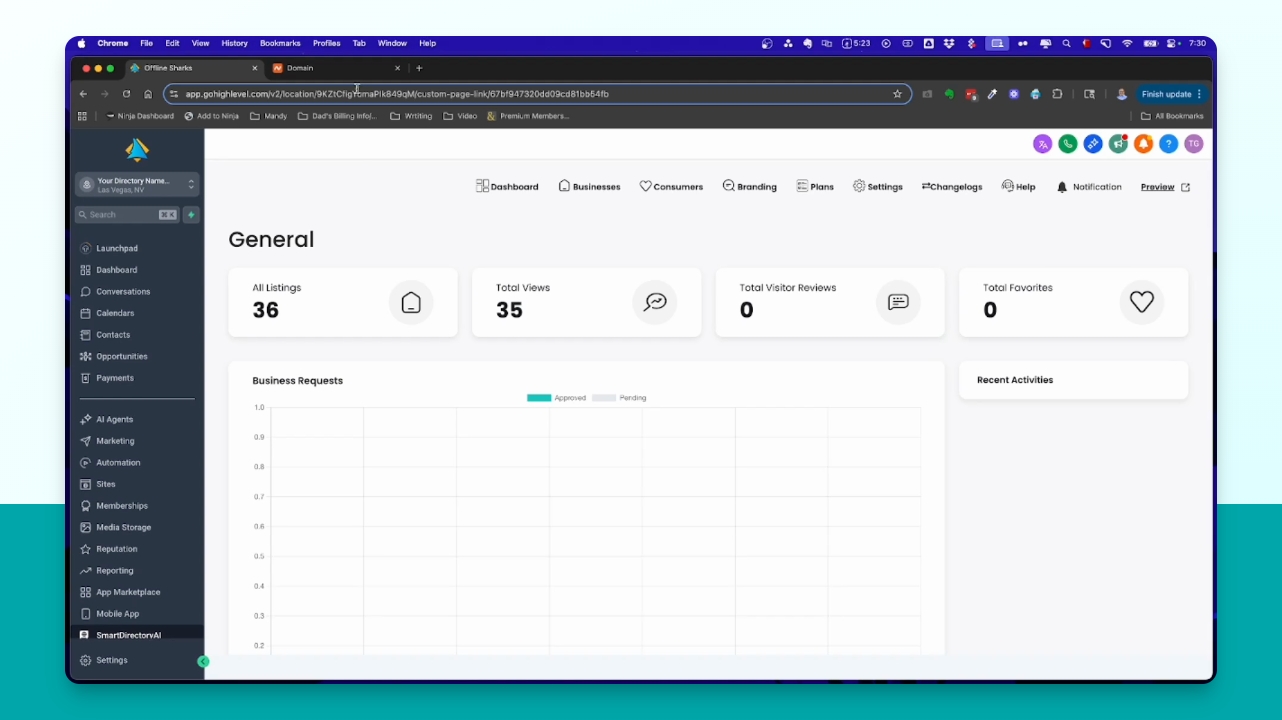
Access the account of your domain name provider where your domain was purchased.
Step 6: Identify Domain Provider
Identify your domain provider, such as GoDaddy or Bluehost, to find instructions.
Check the bottom of this article for instructions for common registrars.
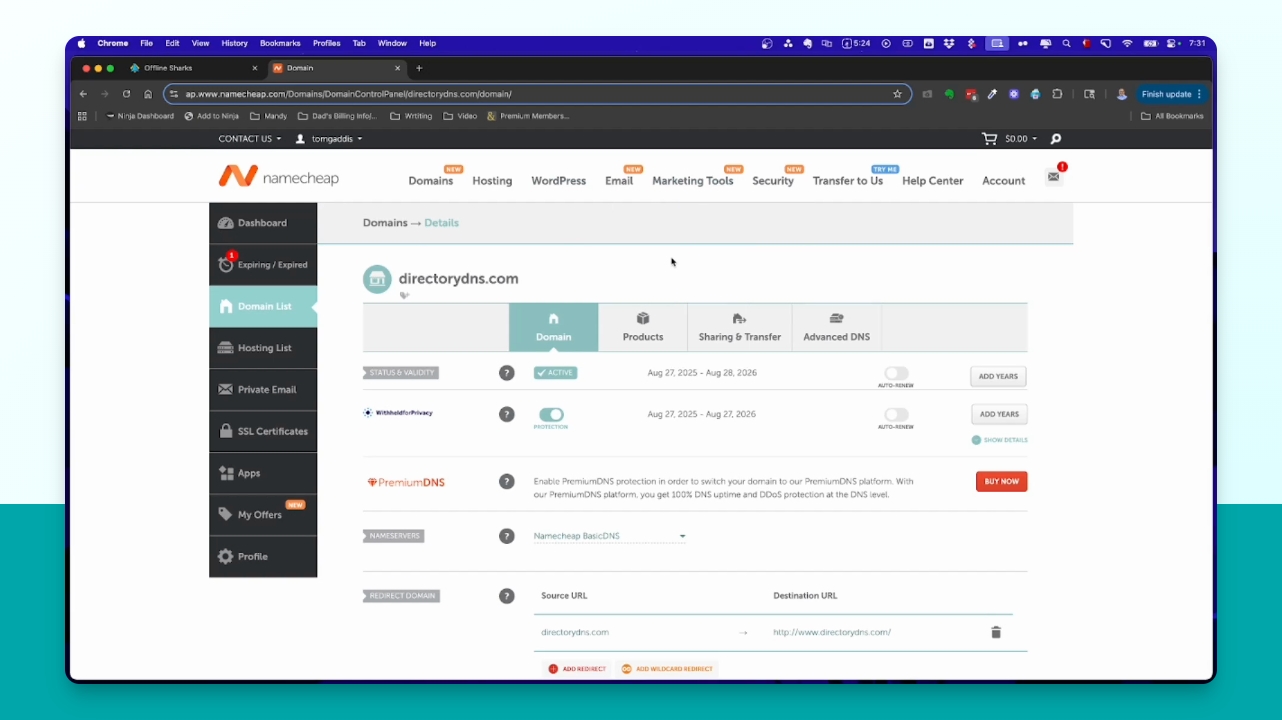
Step 7: Prepare to Add CNAME Record
Navigate to the branding section in your Smart Directory AI and click on the domain tab.
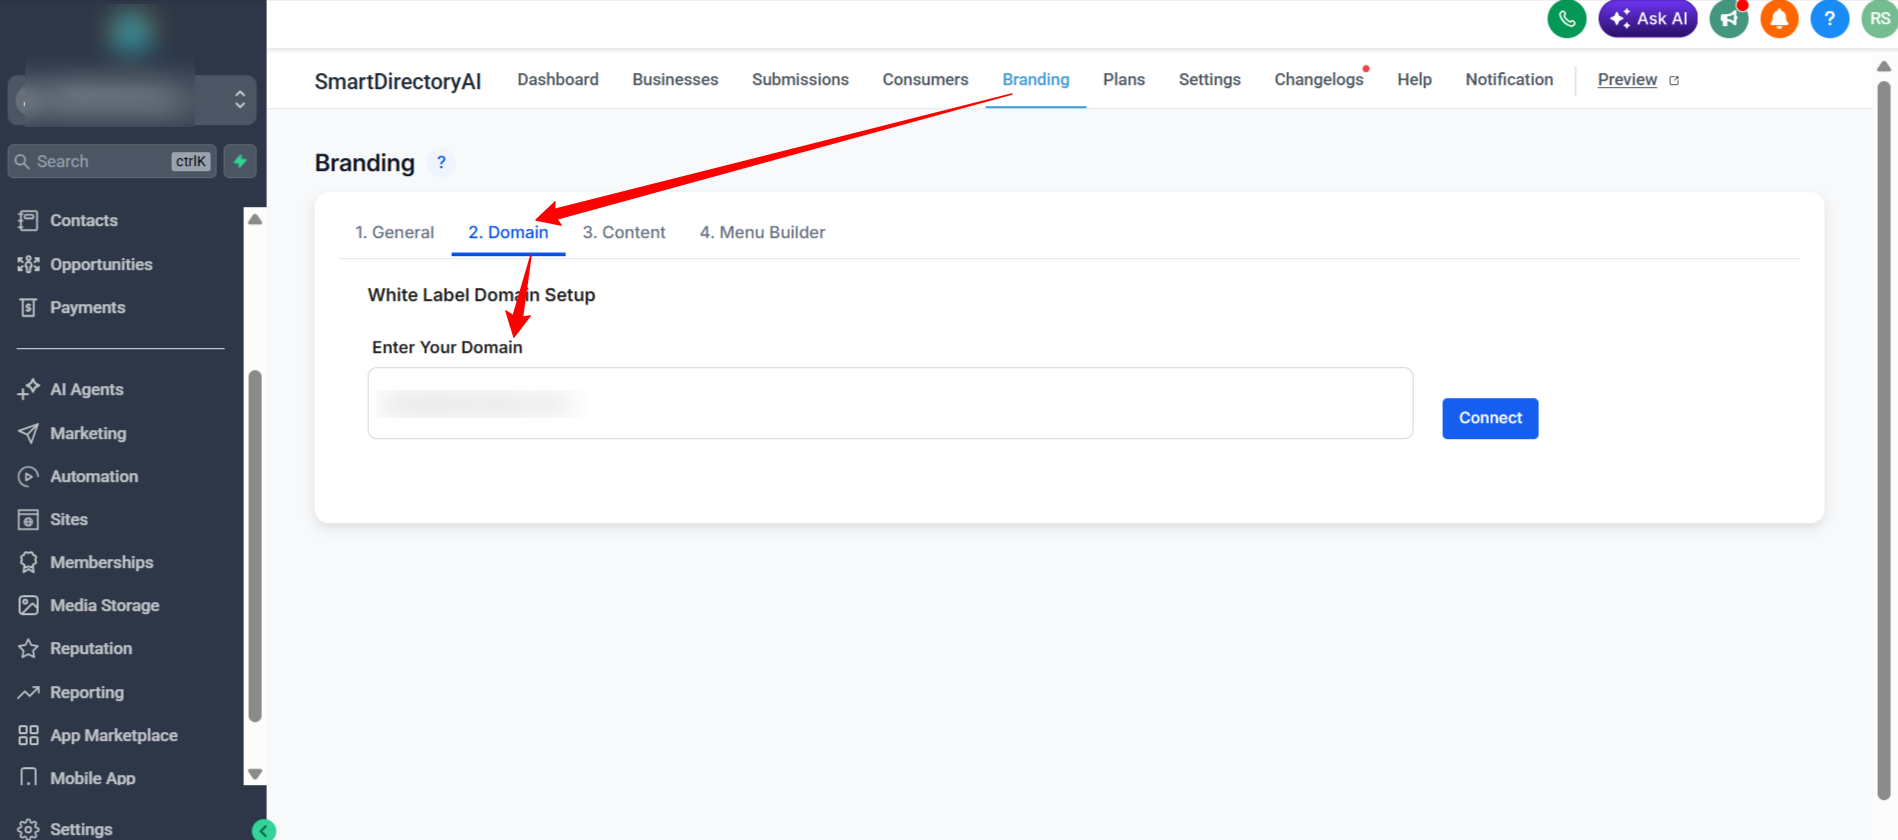
Step 8: Copy CNAME Value
Enter your domain, and it will provide a CNAME value that you need to add as a DNS record in your hosting account.
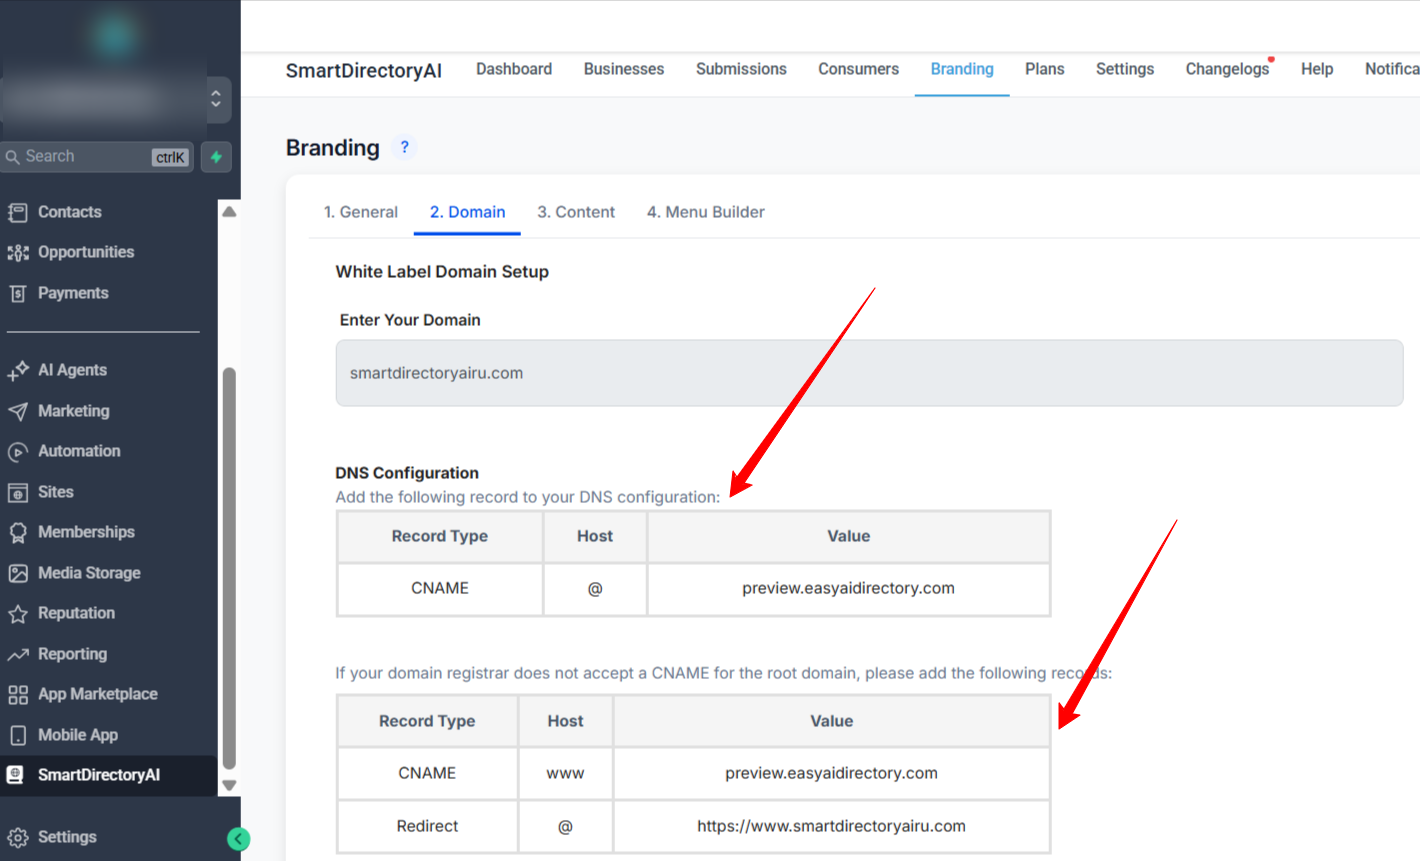
Add the following record to your DNS configuration:
Record Type: CNAME
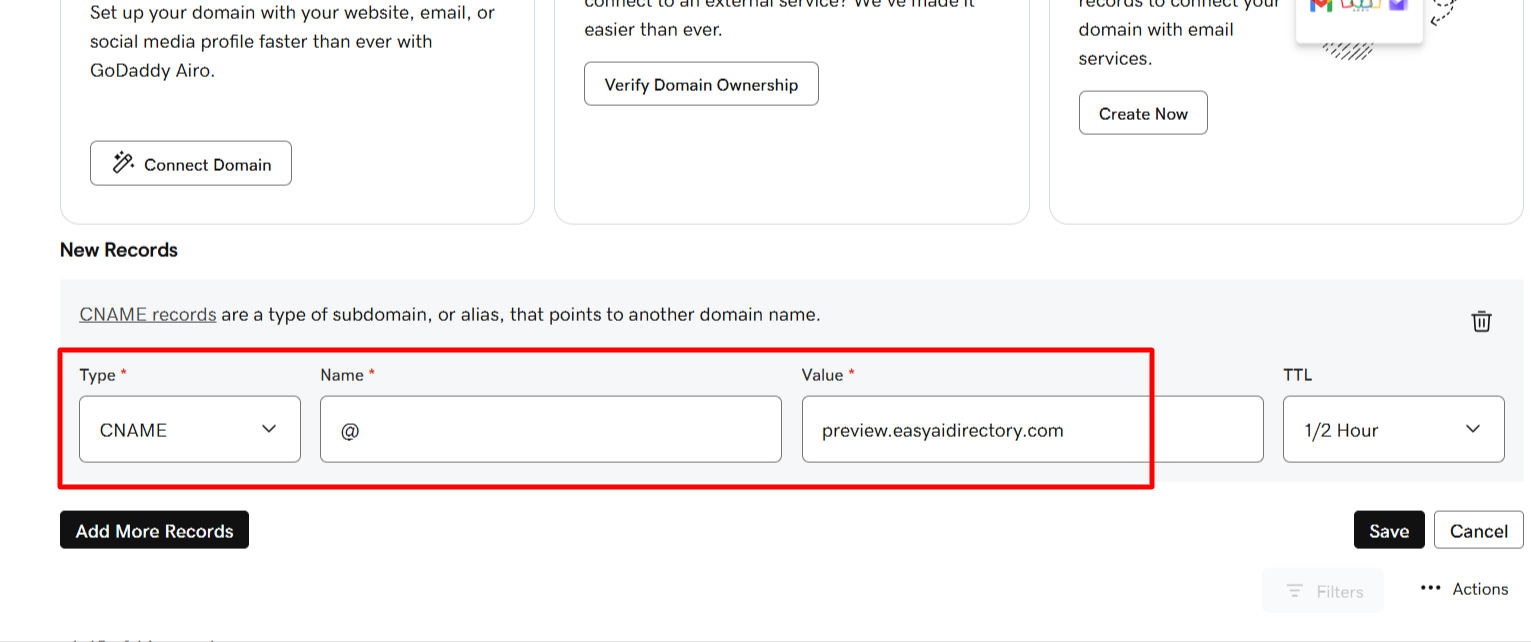
Host: @
Value: preview.easyaidirectory.com
Registrar not accepting a CNAME record for the root?
If your domain registrar does not accept a CNAME for the root domain, please add the following records:
Record Type: CNAME
Host: www
Value: preview.easyaidirectory.com
Record Type: Redirect / Forwarding / Alias Rule (different registrars have different names for this)
Host: @
Value: https://www.yourdomain.com
Step 9: Delete Existing Records
In your domain provider, delete any existing redirection and old DNS records.
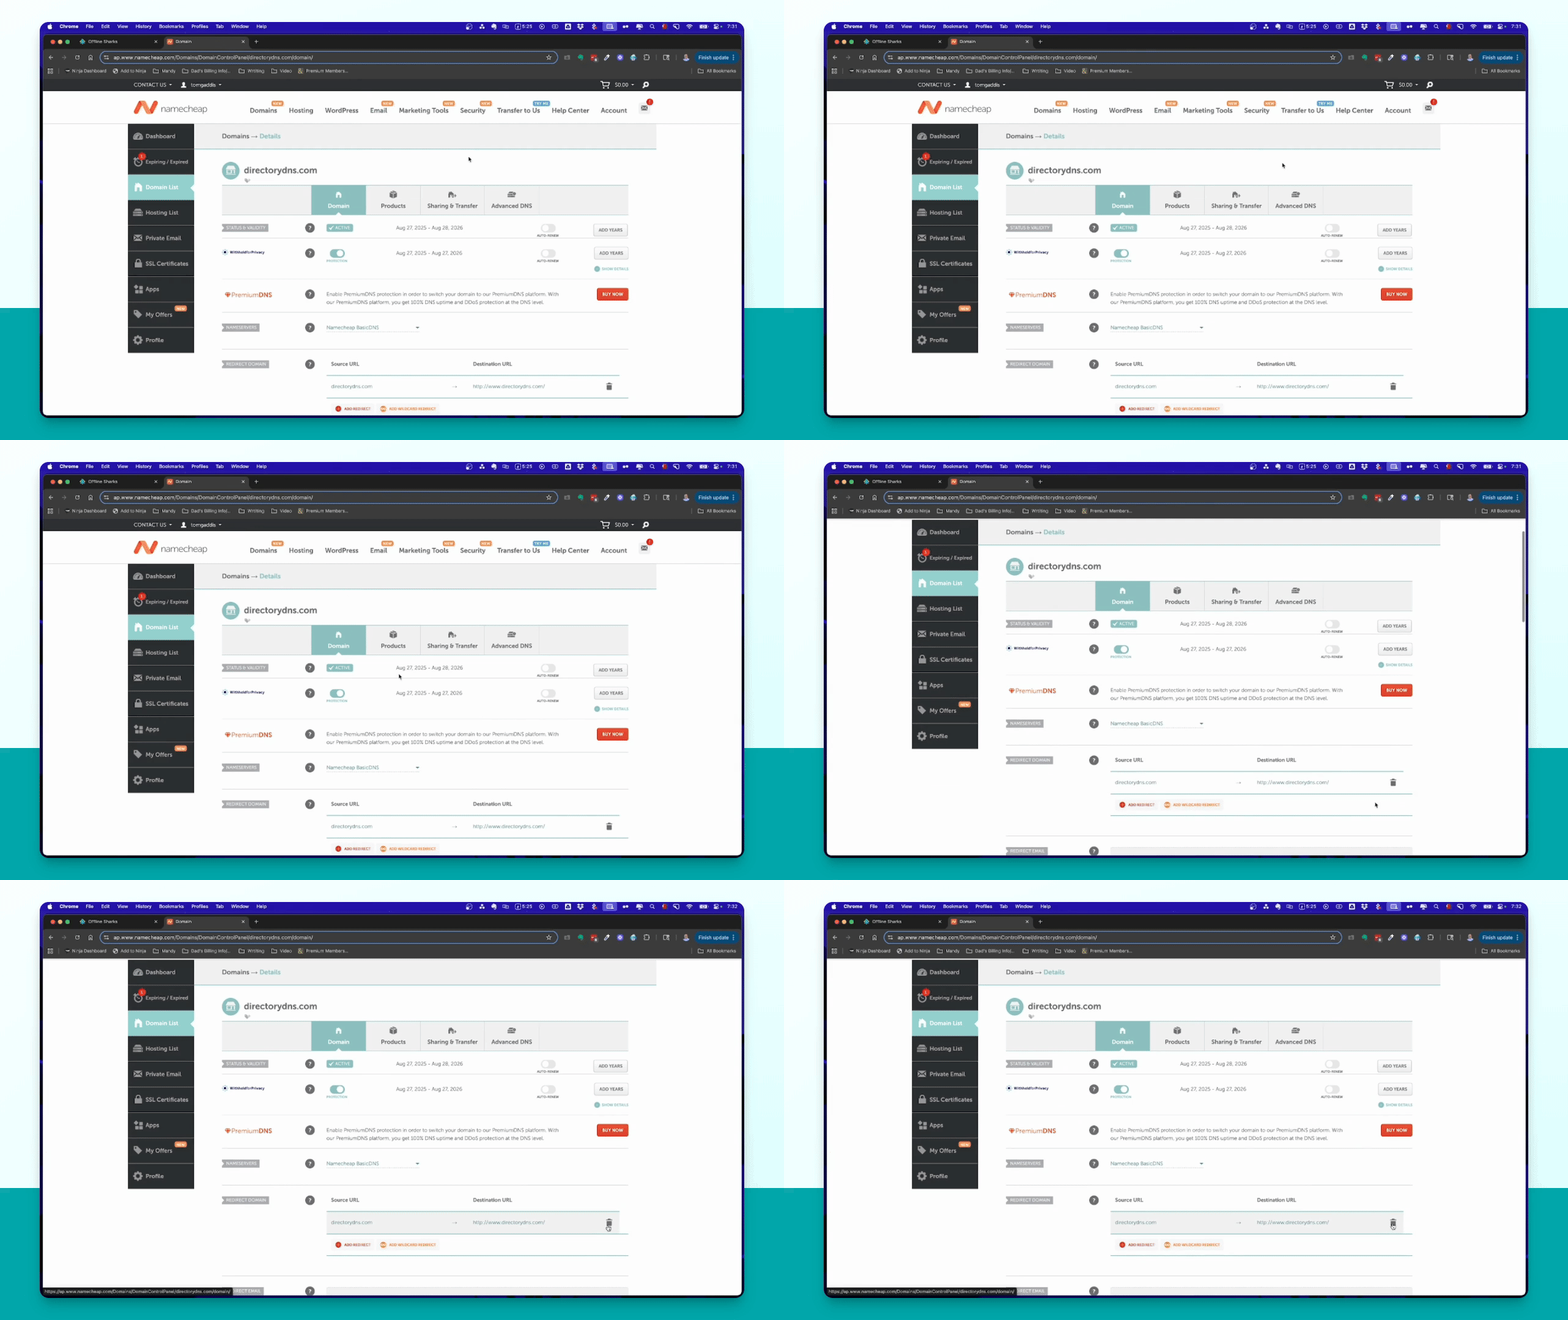
Step 10: Add CNAME Record
Add a new CNAME record by selecting it from the list and using the at symbol as the host.
Step 11: Save Changes
Note: If you want to use a sub-domain for your SmartDirectory, instead of using host @ for your CNAME record, set the host value to whatever subdomain you'd like to use. Do not include the full domain, just the subdomain itself. For example, if you wanted to setup your SmartDirectory at directory.yourdomain.com, you'd create CNAME record with host value set to directory.
Paste the copied CANME Value and click Save to finalize the CNAME record.
Step 12: Wait for Propagation
Allow time for the DNS changes to propagate before verifying the domain.
Step 13: Update Domain
Return to your Smart Directory AI dashboard. Your domain should be connected automatically after you add the CNAME record.
Step 14: Check Configuration
If you see a configuration error, wait before trying to update again. Propagation may take time.
Step 15: Confirm Success
After successful update, your site will be live. Click Preview to check.
DNS Update Instructions for Common Registrars
The process for updating your domain's DNS records varies depending on where you purchased the domain. Below are how-to articles for the most commonly used domain registrars:
Instructions for HighLevel Domains
If your registrar is not listed above, try to Google [your registrar name] update DNS settings.
Note: Also, if you're using Cloudflare, you'll need to edit the DNS settings there instead of at your registrar.